Overview
- How to check the battery status
- Charging the drone battery inside the drone
- Charging the battery outside the drone
- Charging the accessories
We recommend having a minimum of 80% battery on the drone and all other devices before starting a dive.
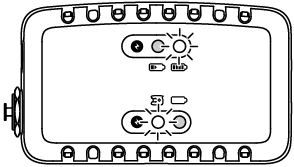
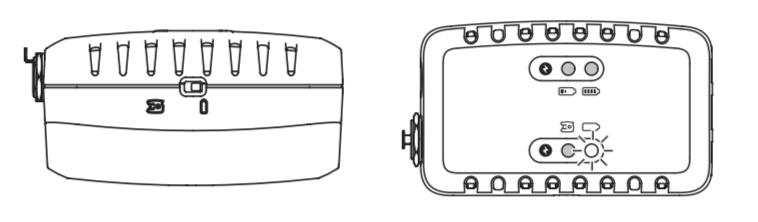
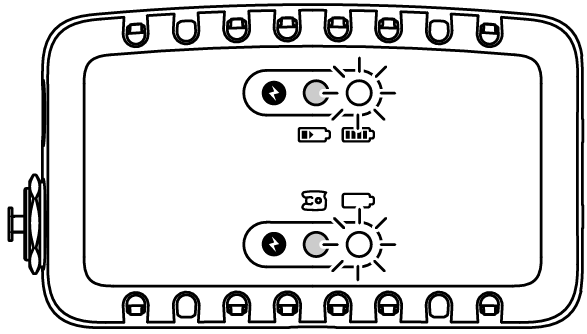
How to check the battery status:

Push the battery check button on the surface unit. The LED lights indicate the current battery status.
1 light indicates that the current battery status is low.
4 lights indicate that the Surface Unit is fully charged.


Controller
For Xbox controllers on iOS, the battery status can be checked under the "Battery" widget.
For the PXN iOS Bluetooth controller inserting the charging cable will show the battery status on the controller for 5 seconds.
On Android, there is no way to check the battery status of the controller.
The Blueye drone
To check the battery status of the Blueye underwater drone, you have to connect the Blueye App to the drone. The drone and surface unit battery status is displayed on the front page of the app.
Read more: how to connect to the drone.
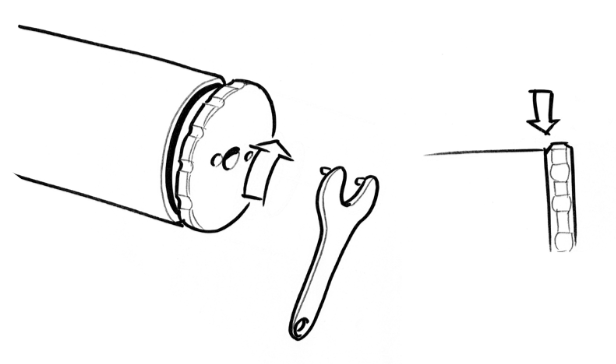
Charging the drone battery inside the drone:
Do not turn the drone on while charging; it may damage the drone and/or charger. When finished charging, remember to put the charging connector cap back on.
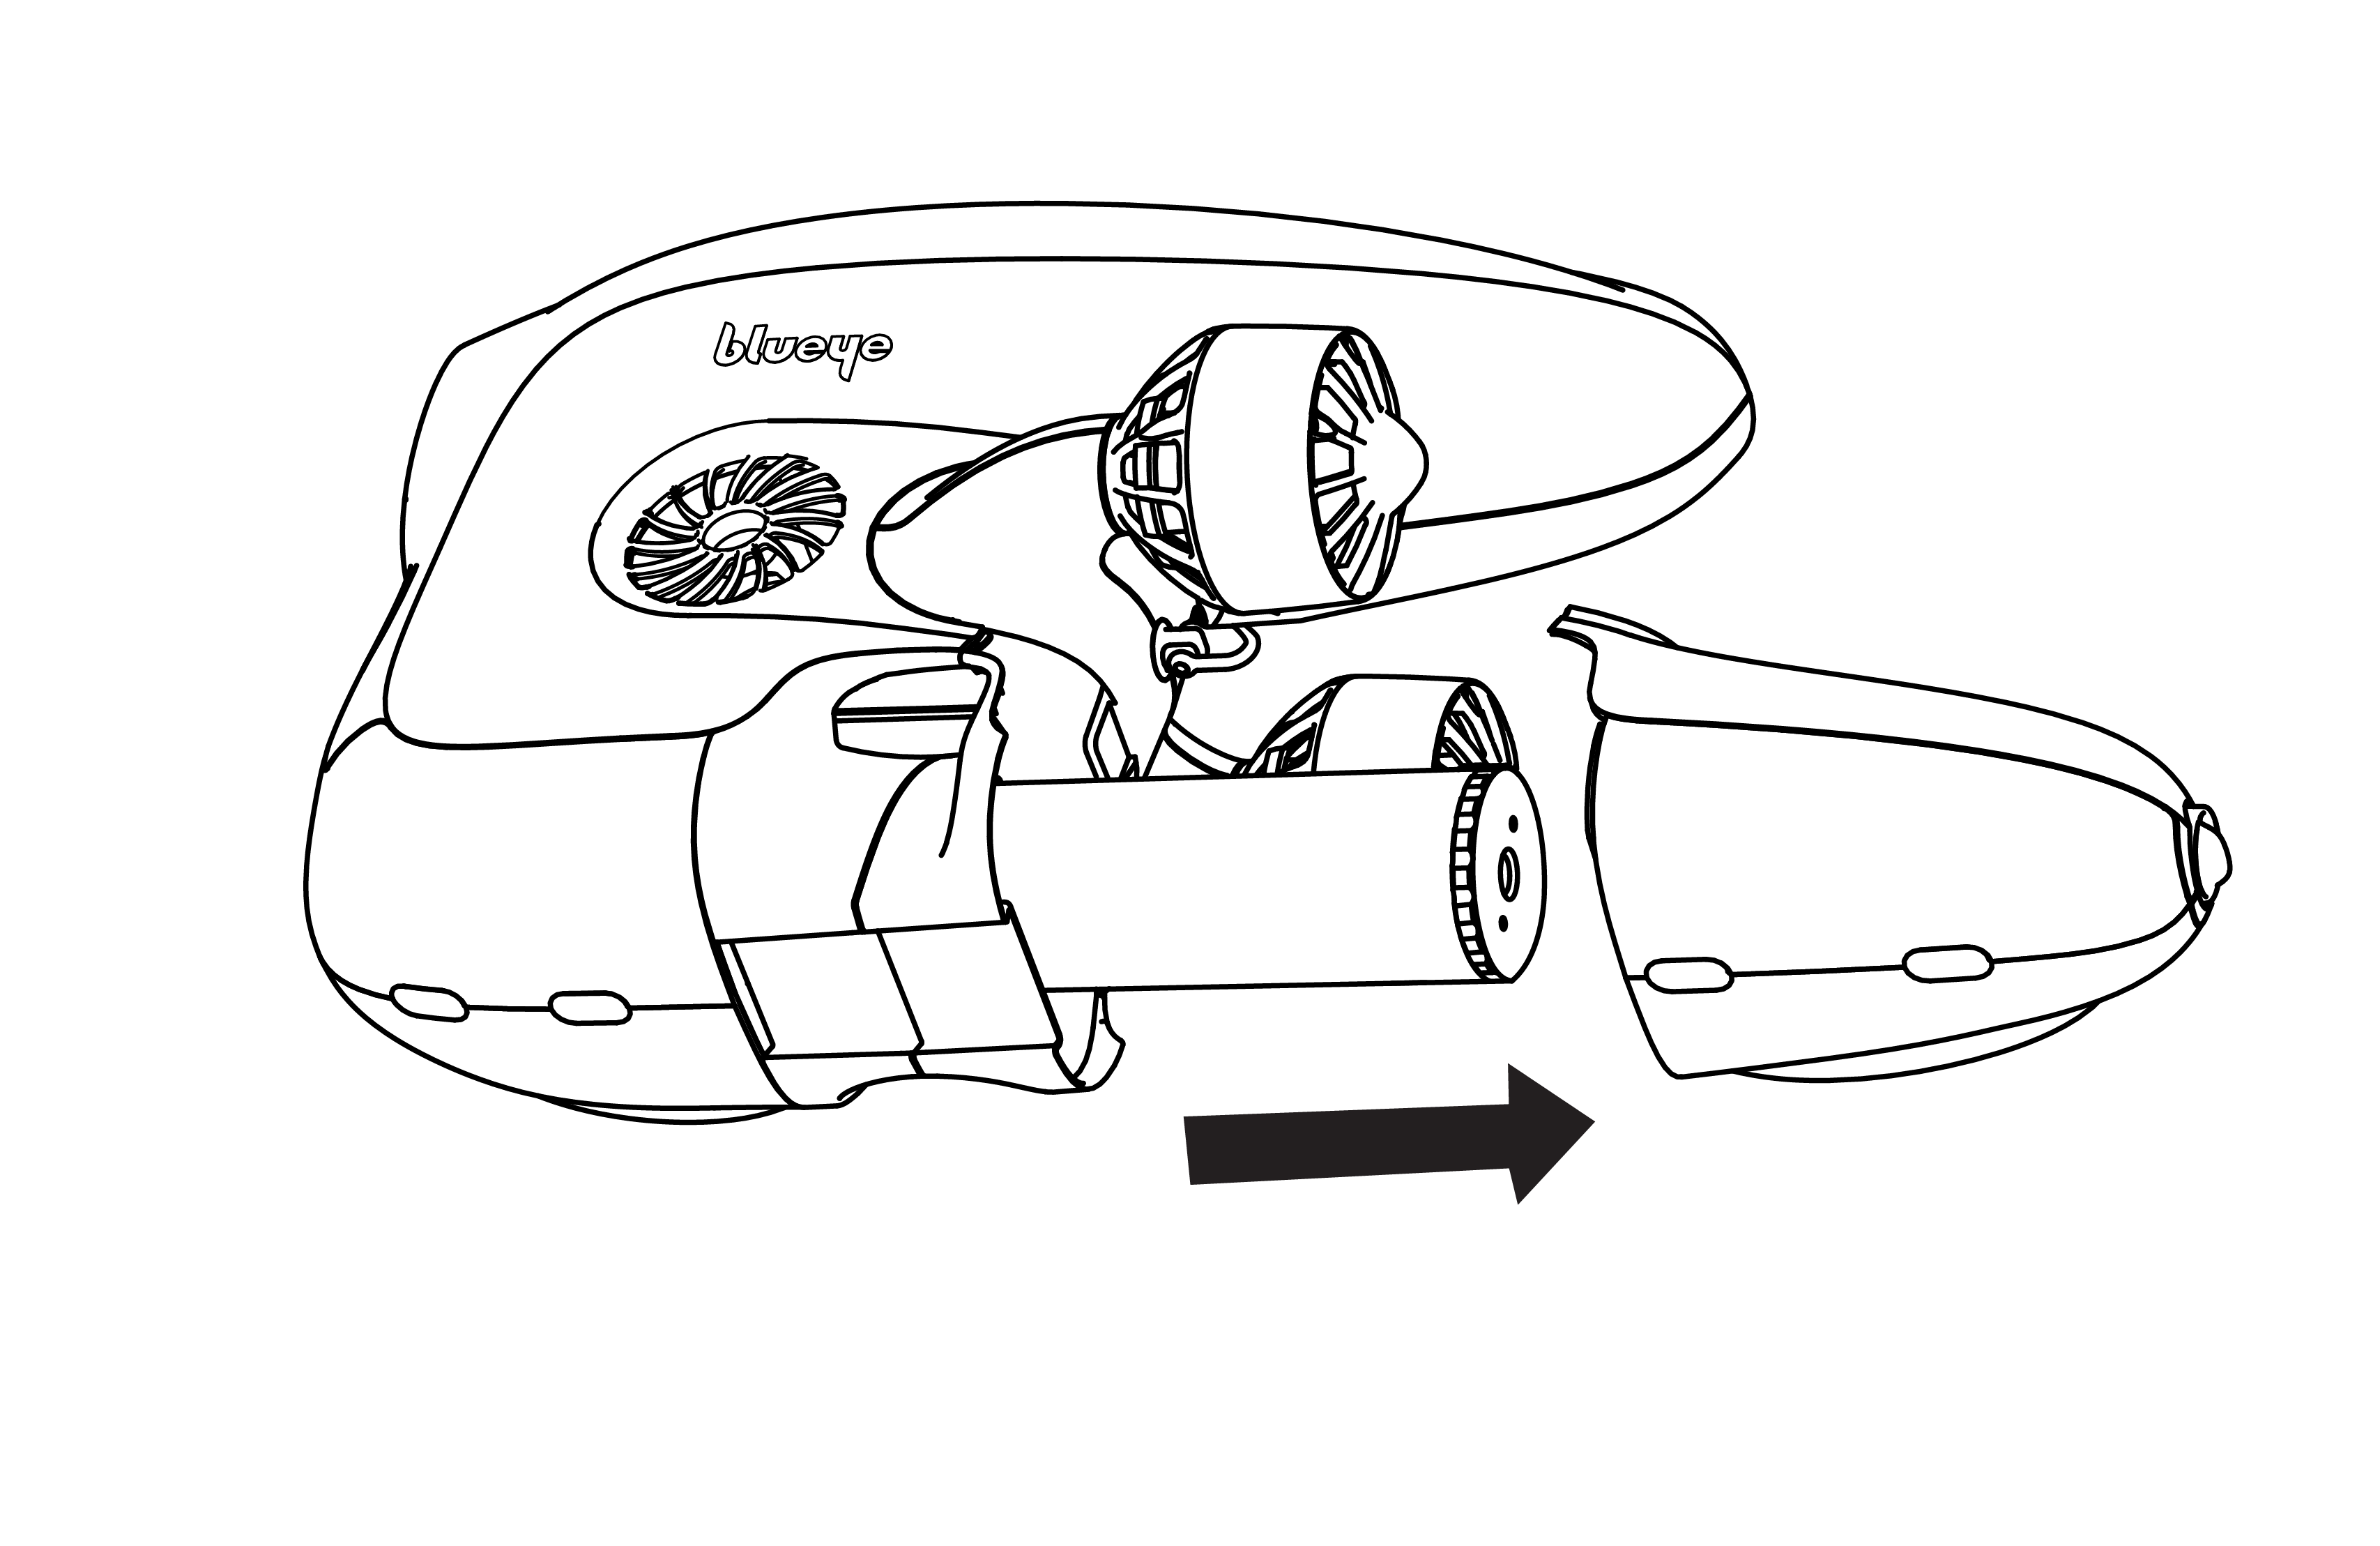
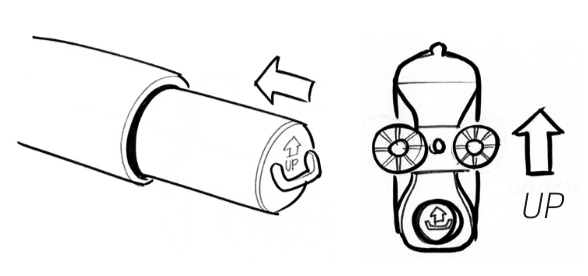
1. Place the drone on a robust and stable surface laying on the left side to remove any risk of the drone falling over.
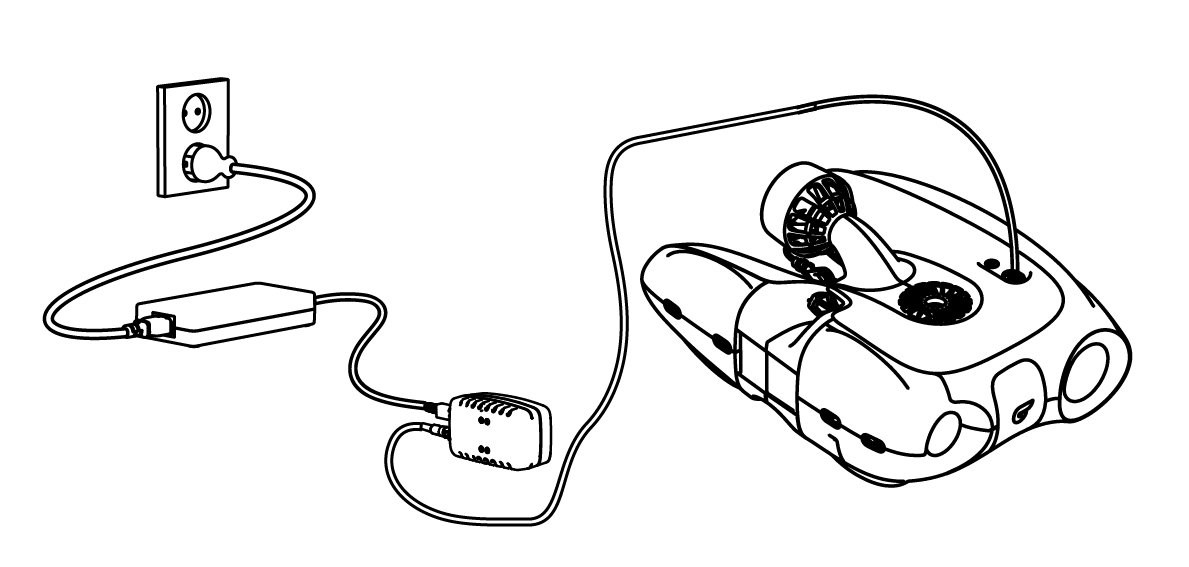
2. Unscrew the charging connector cap on the drone and connect the charger to the charging port on the drone with the included charging cable.

3. Set the charger selector switch to the drone symbol.
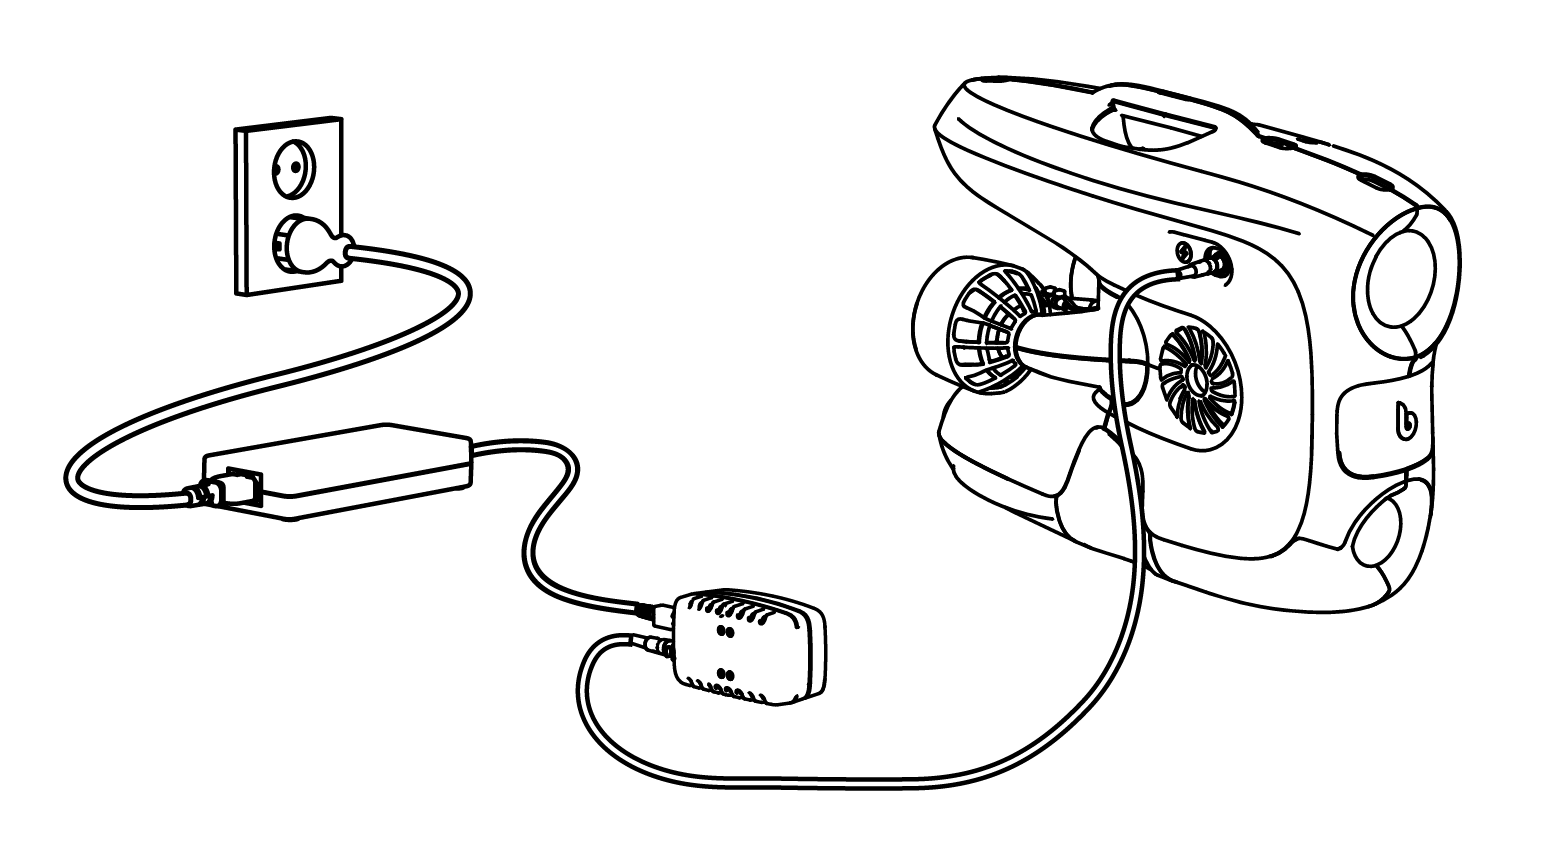
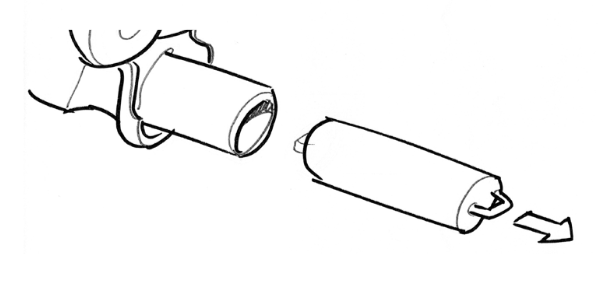
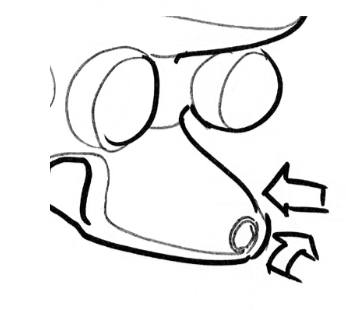
Charging the battery outside of the drone:
We recommend charging the battery inside the drone as much as possible to limit the wear of the o-rings on the aluminum lid.


Charging the accessories
Using V1 charger:
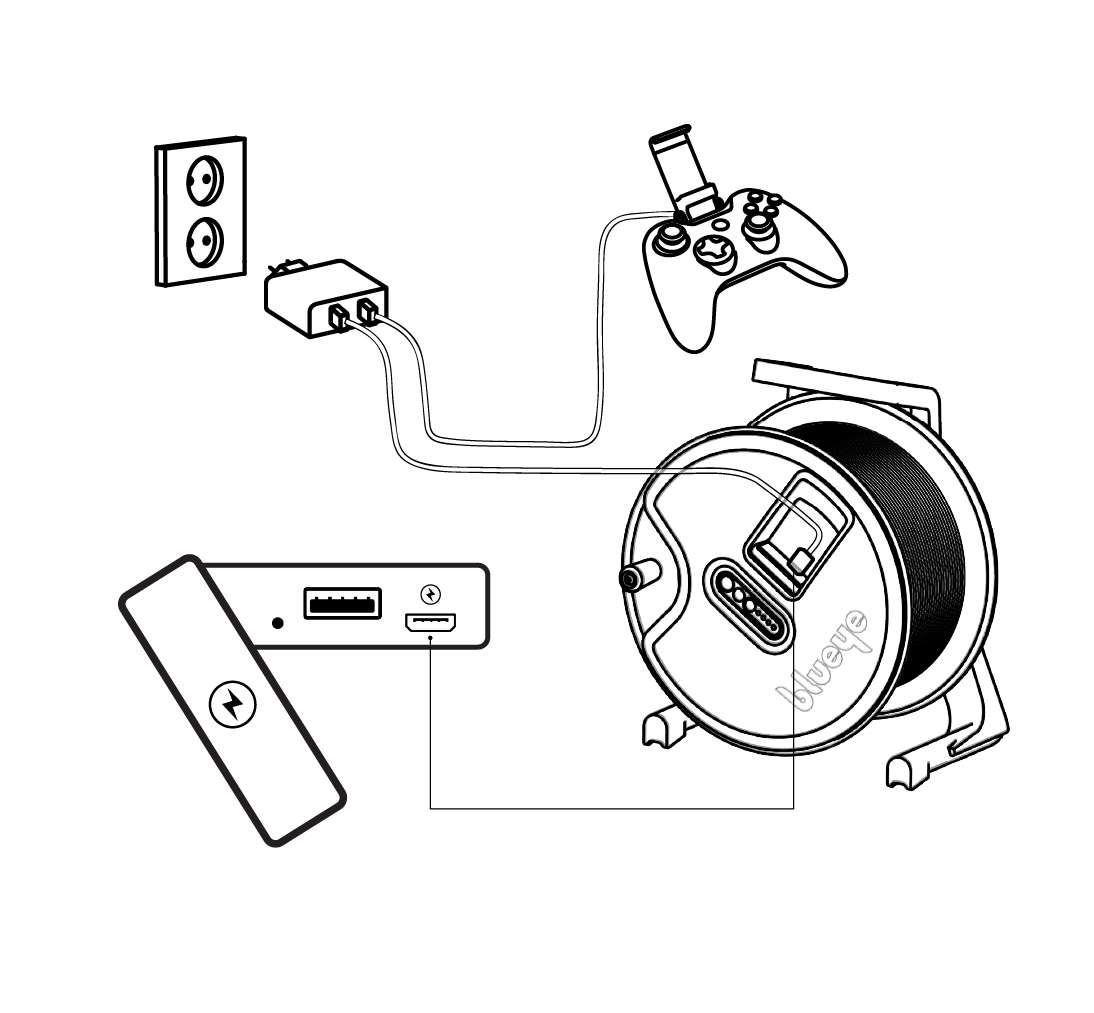
1. Open the connector lid on the Surface Unit
2. Connect an output of the external USB charger to the charging port (micro USB) on the Surface Unit.
NB! Make sure the USB output rating is minimum of 2.1A.
3. Connect the other USB outputs on the external USB charger to charge a mobile device and the controller.
Using V2 charger:
With the V2 charger, you can charge all your accessories with the included power brick. The top USB-C port is reserved for the drone charger. The second USB-C charger can charge your phone or tablet, while the two bottom USB-A ports charge the controller and the surface unit.
Comments
0 comments