Follow these steps for the replacement of lateral thruster.
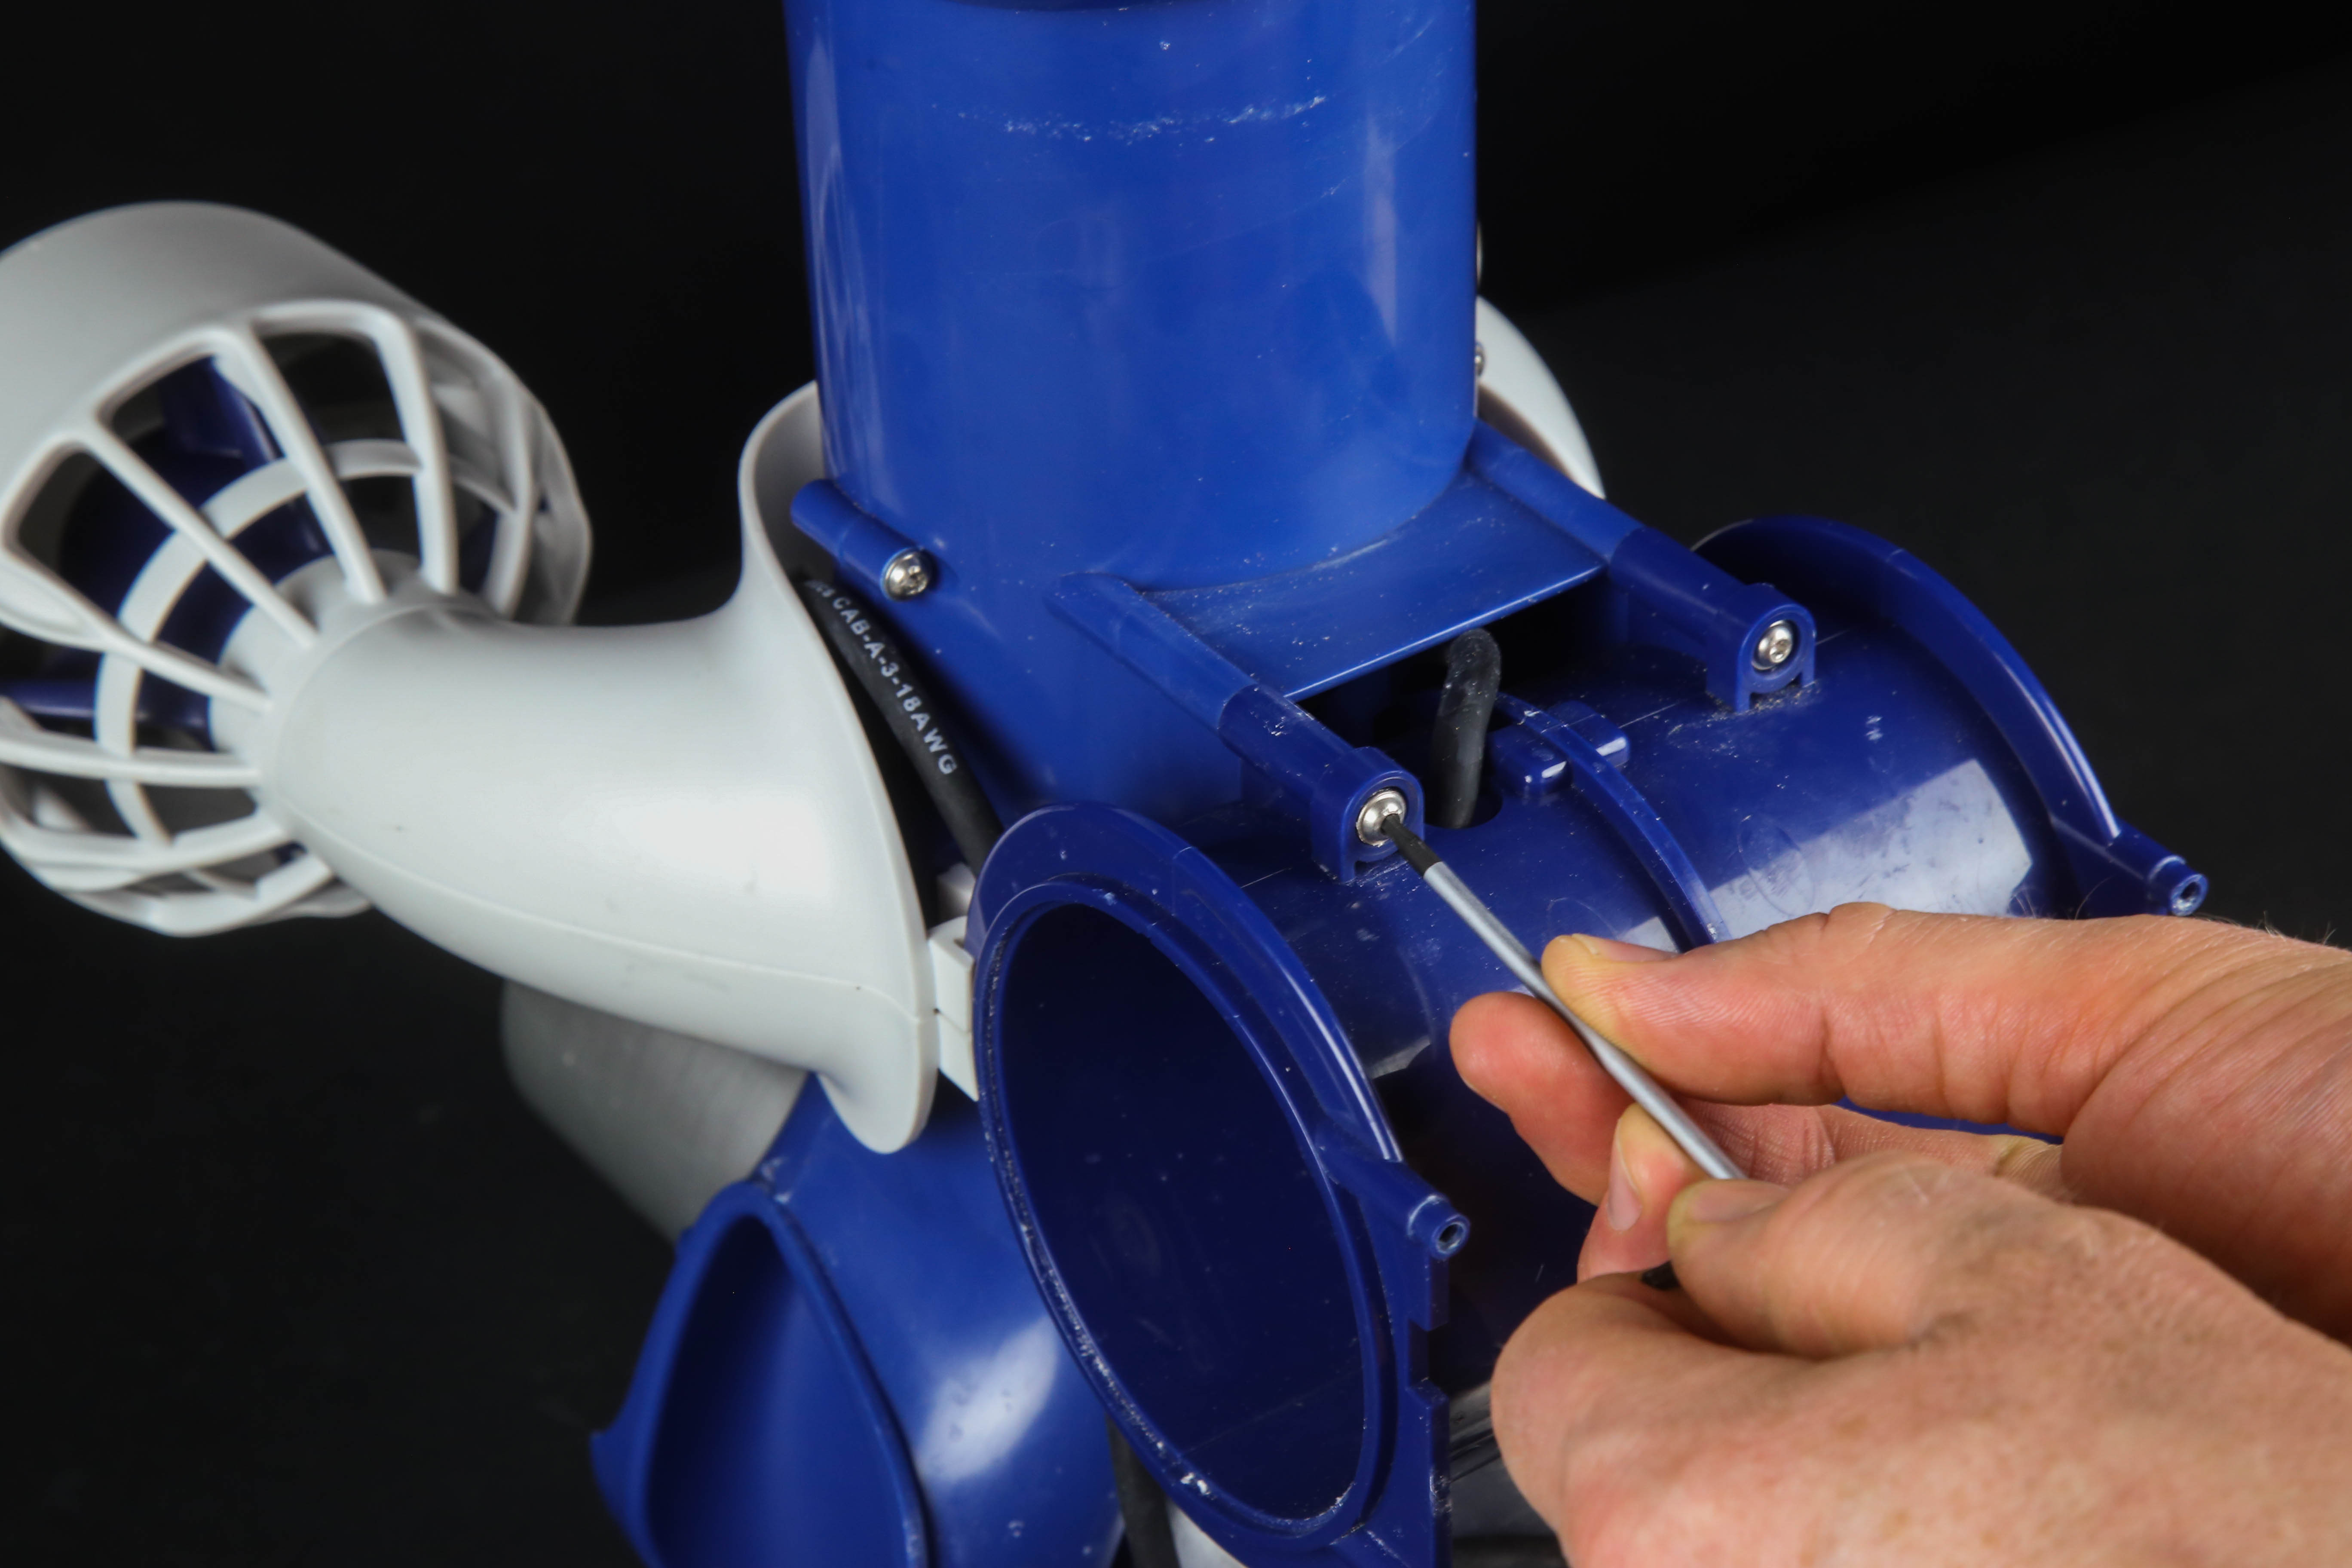
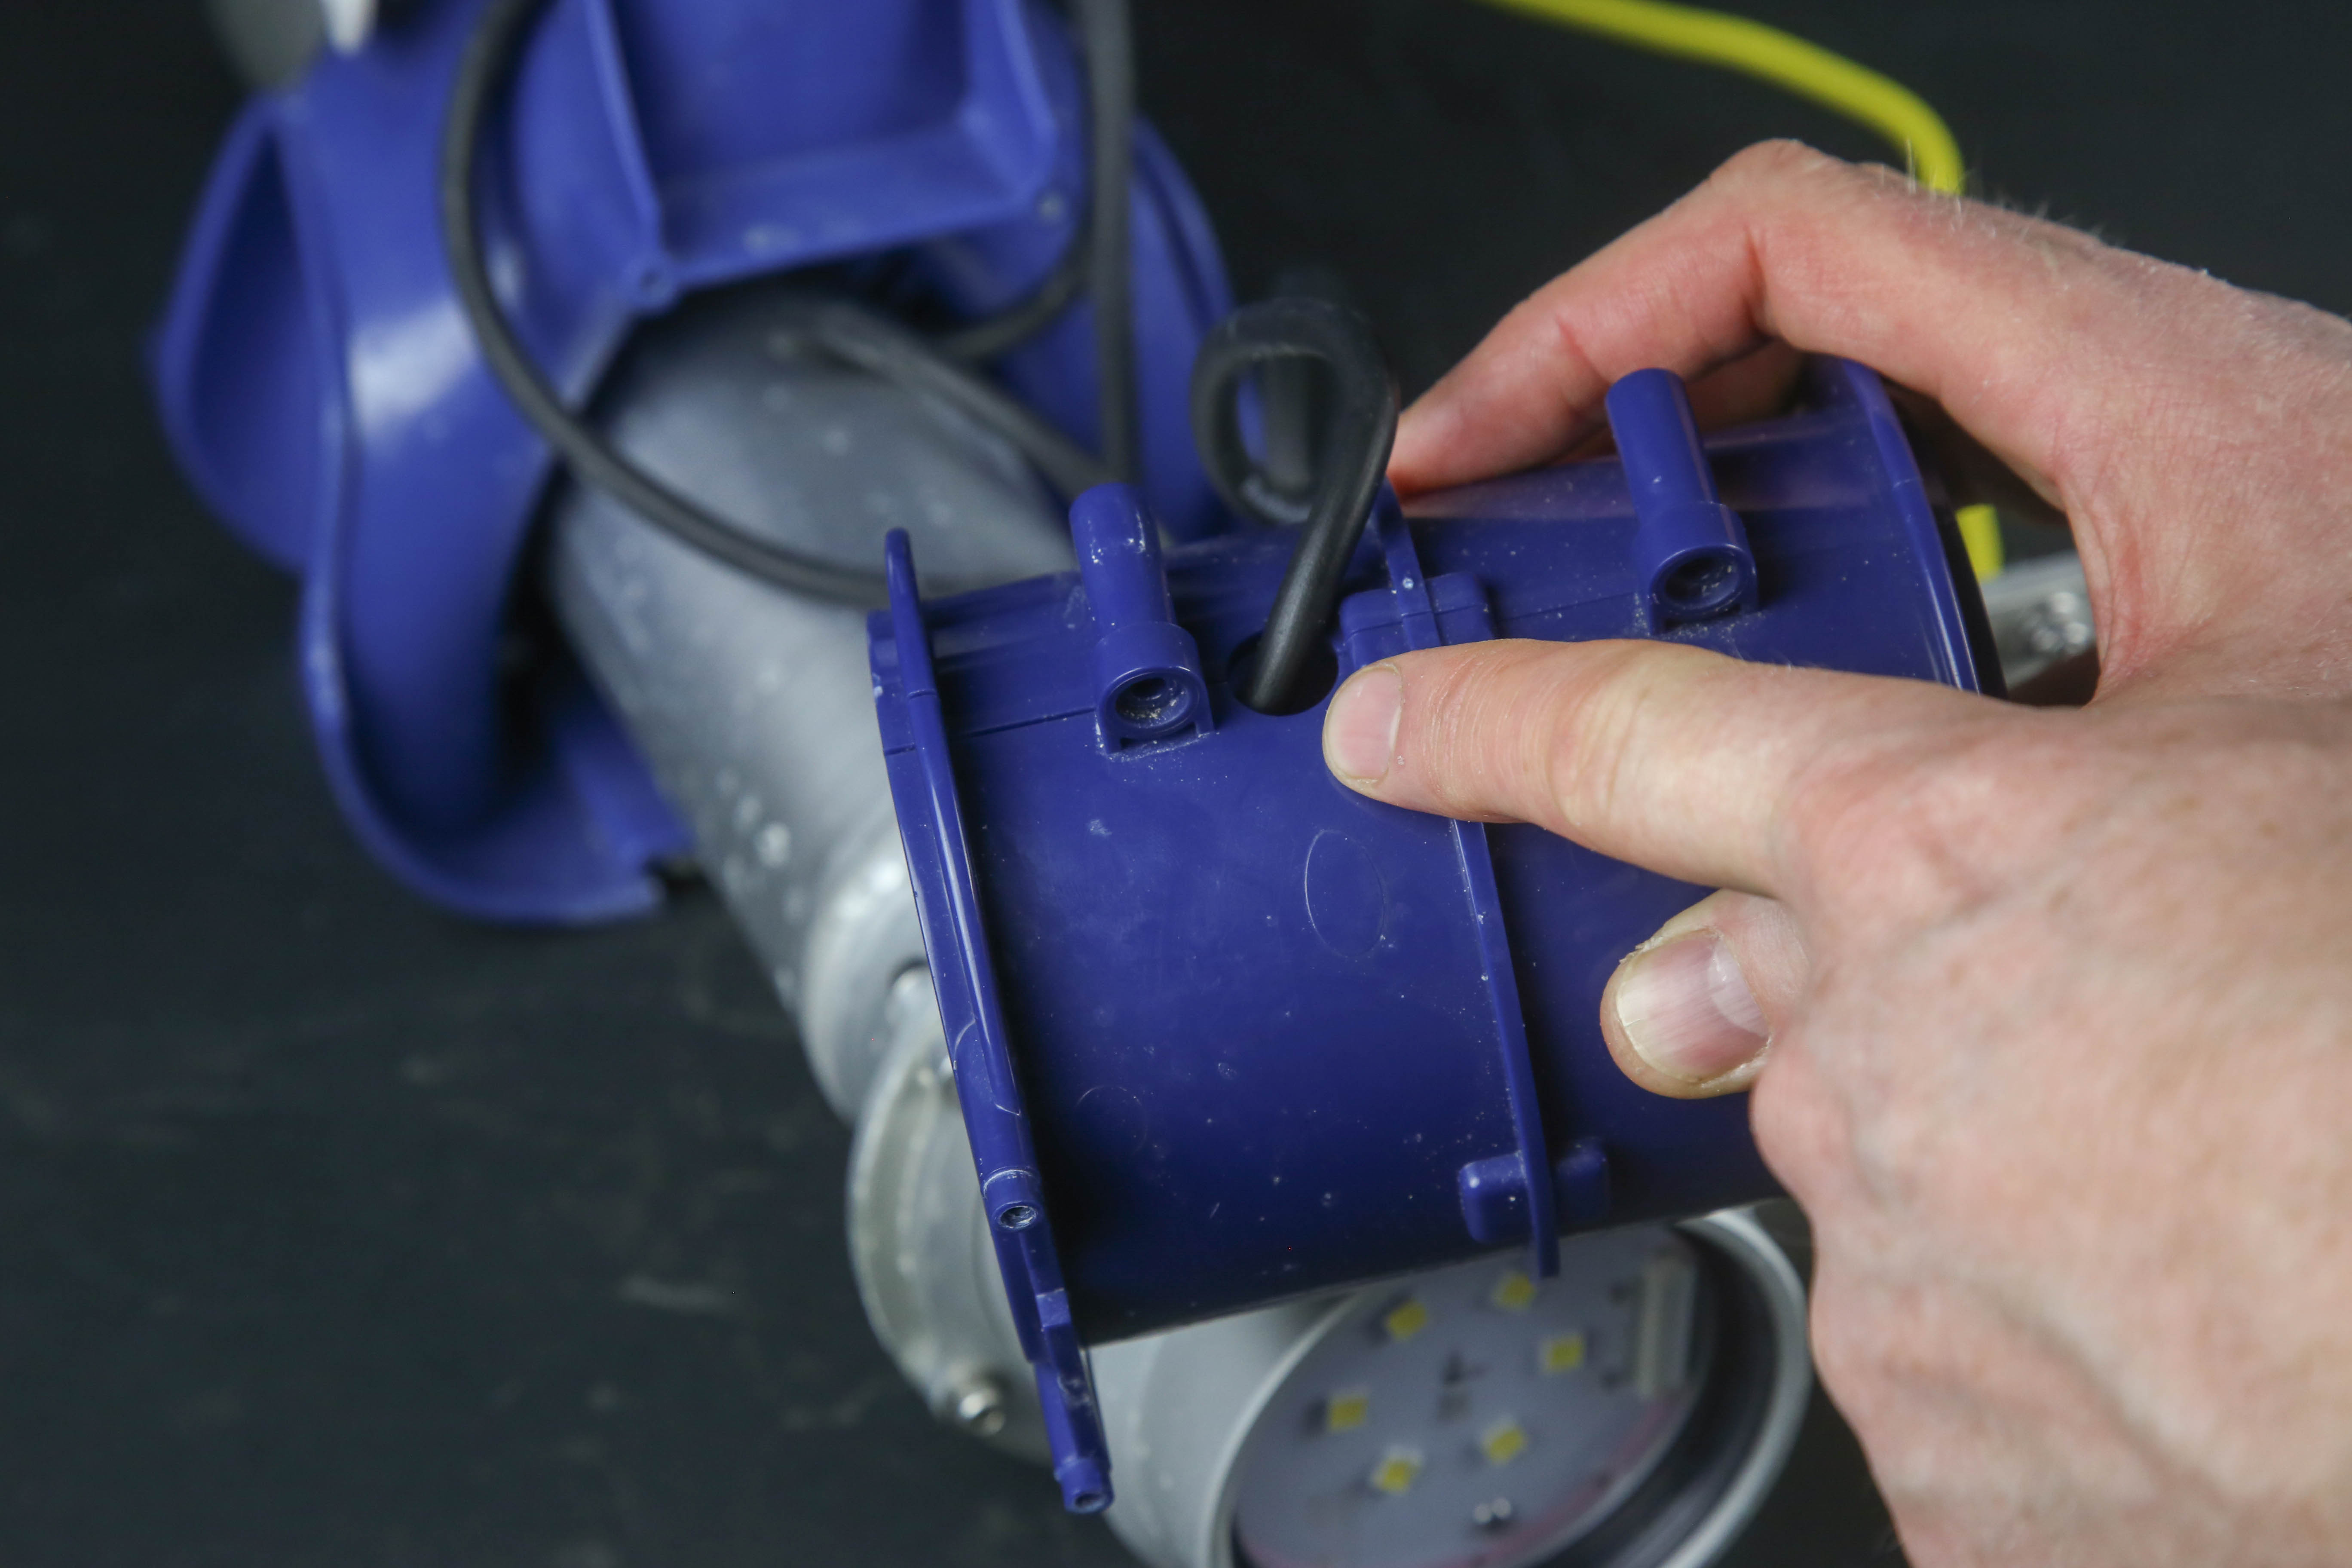
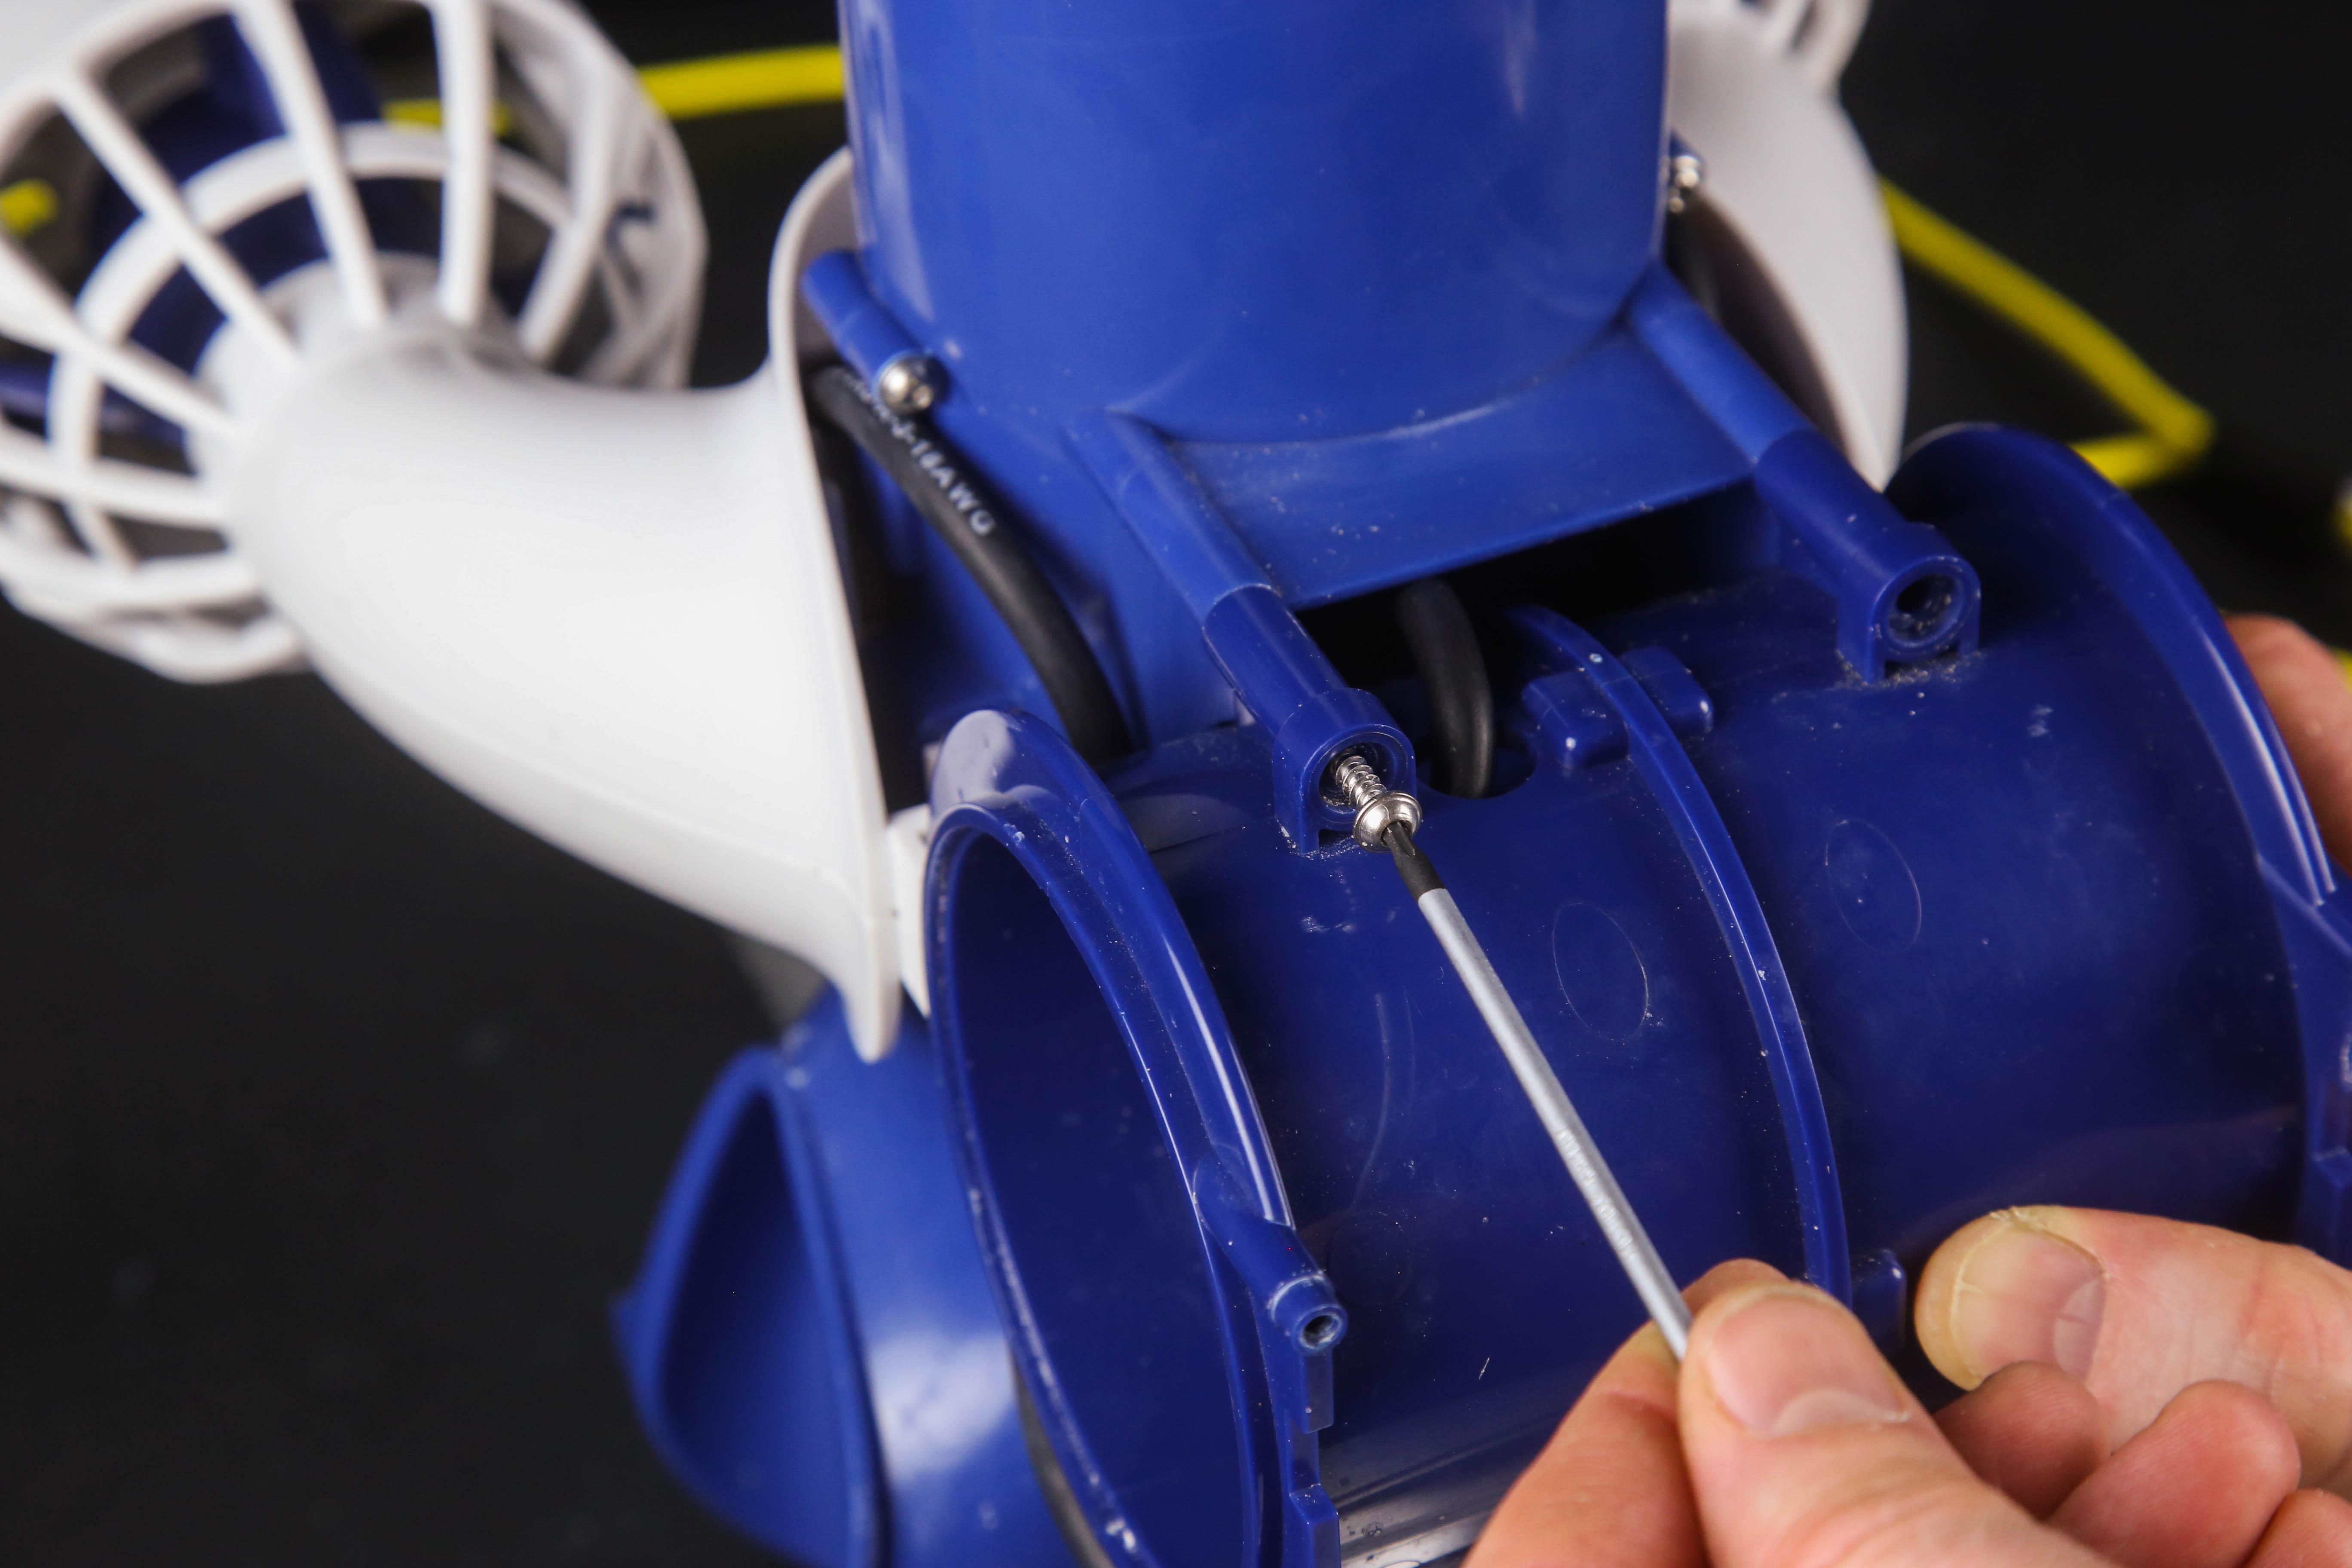
1. Remove the four 3.5x35mm screws securing the lateral thruster tunnel with a Torx T10 key.
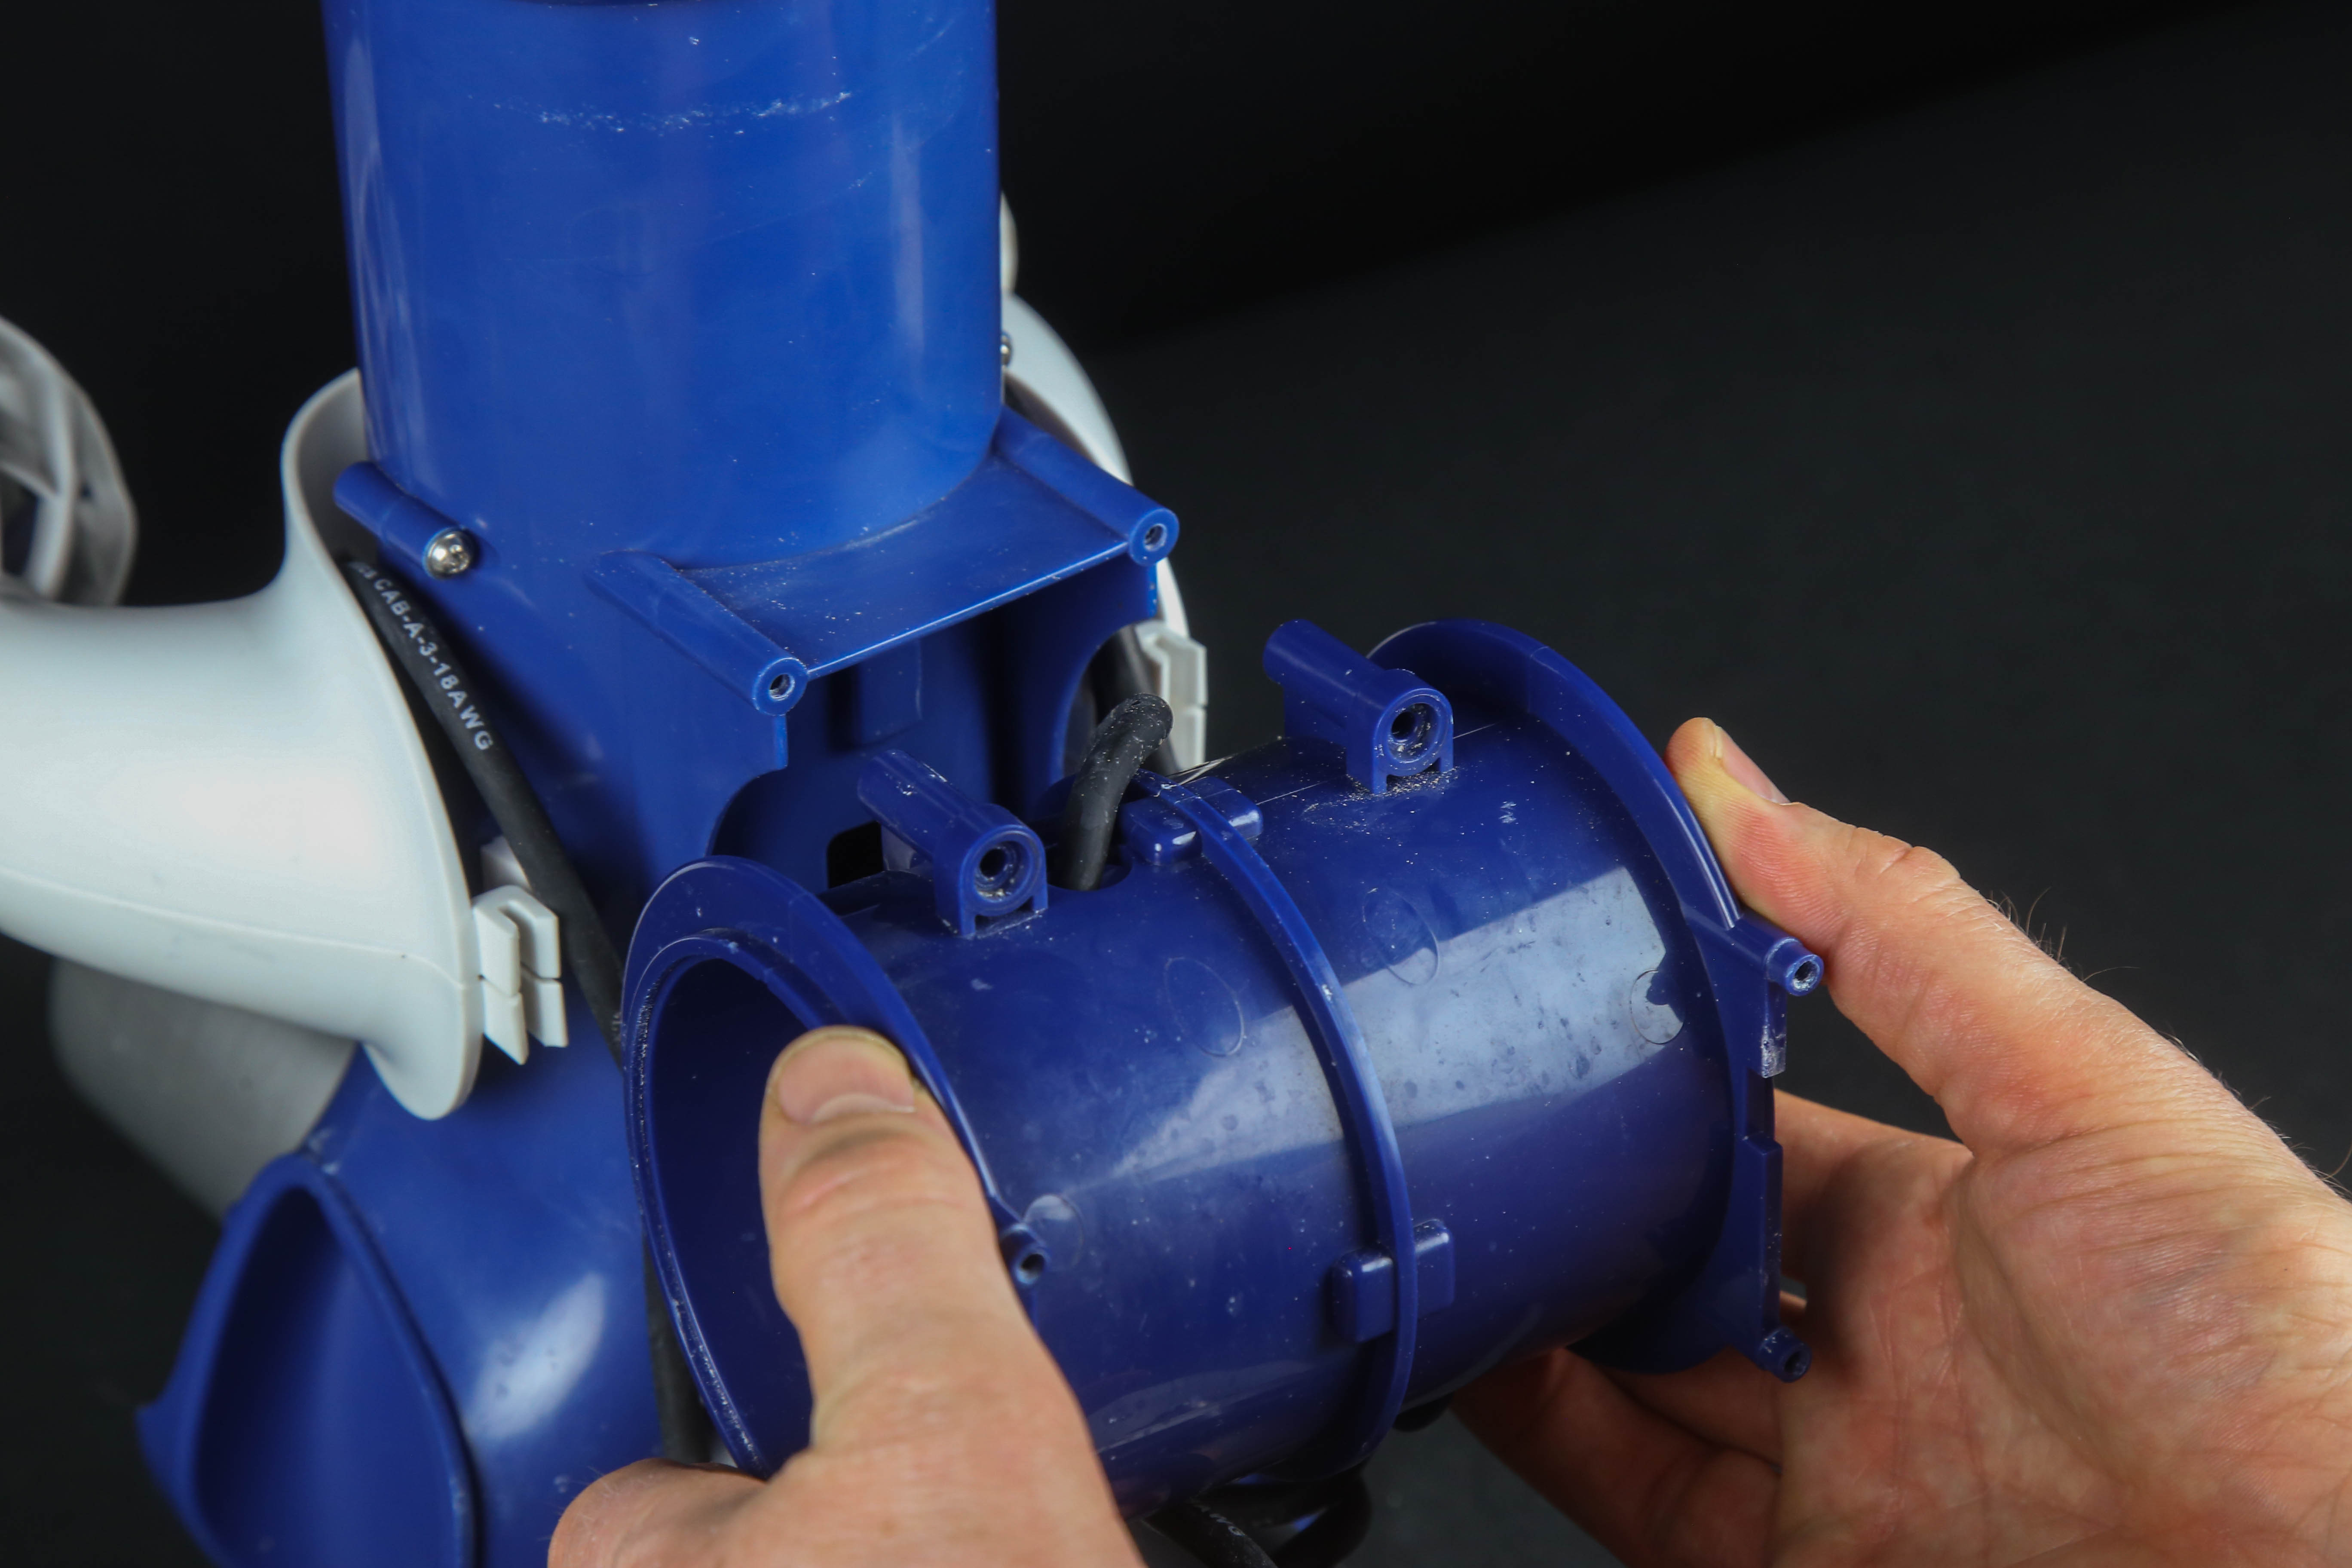
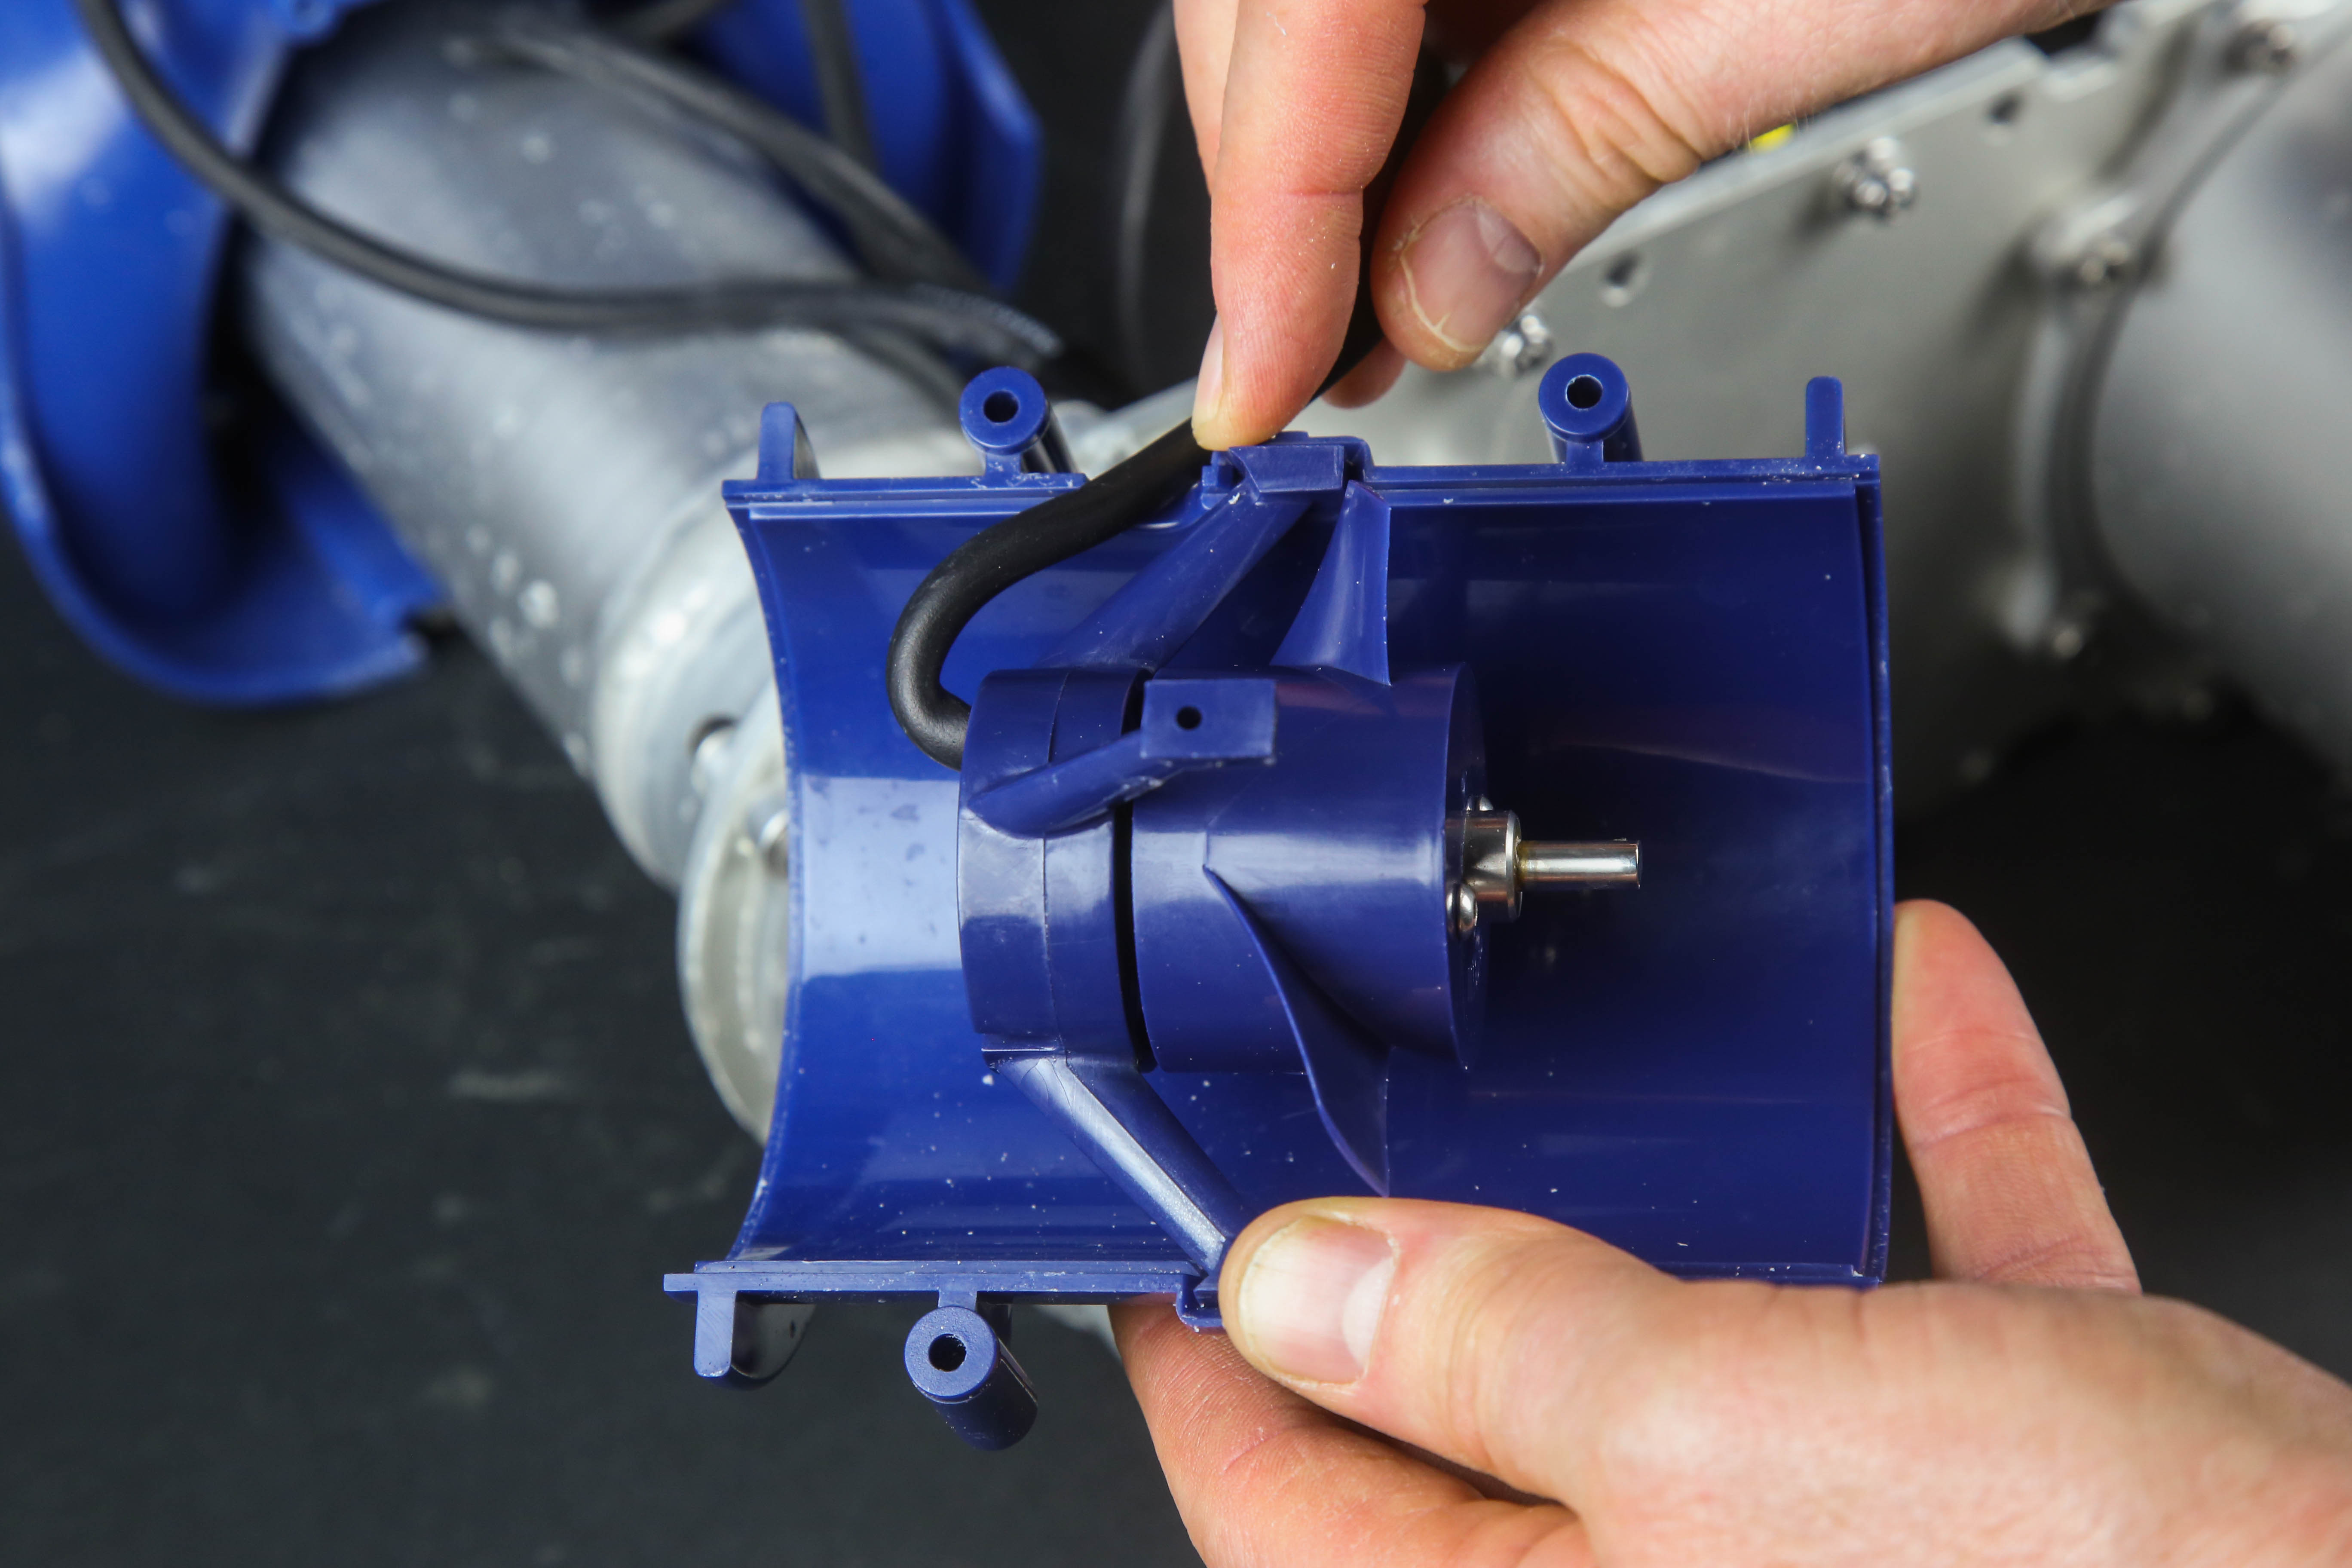
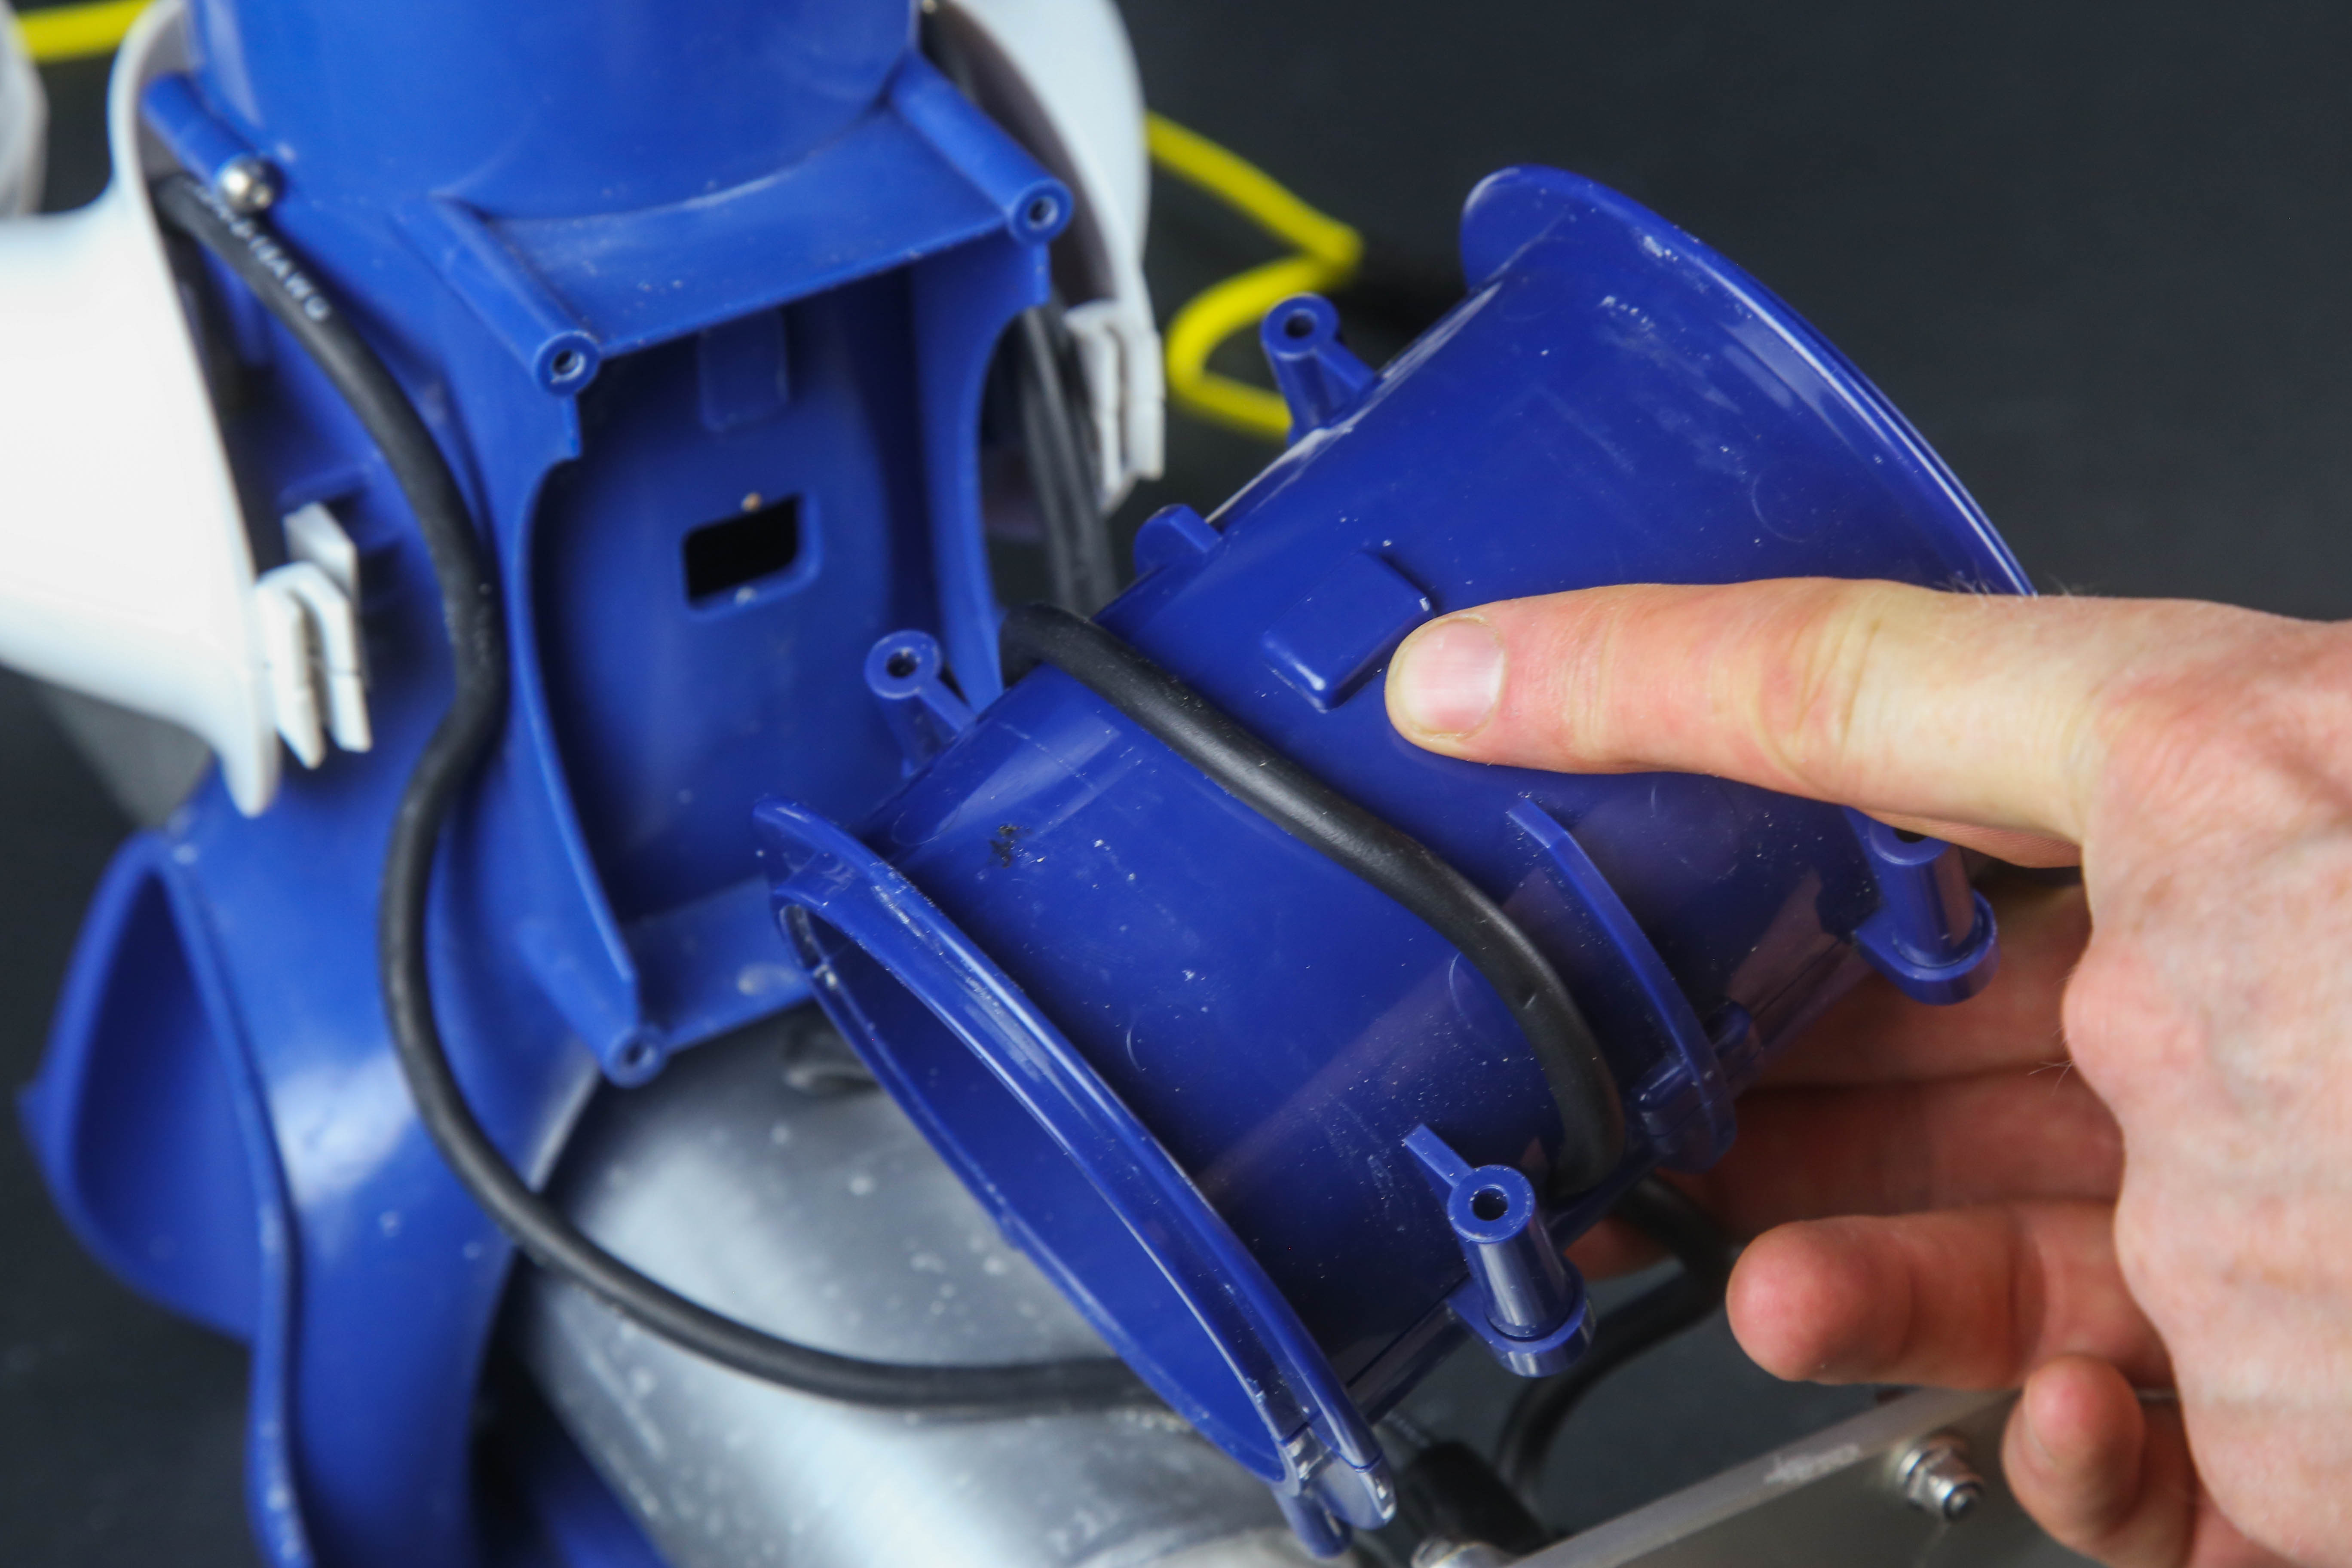
2. Pull the two half thruster tubes forward to release it from the rest of the plastic body.
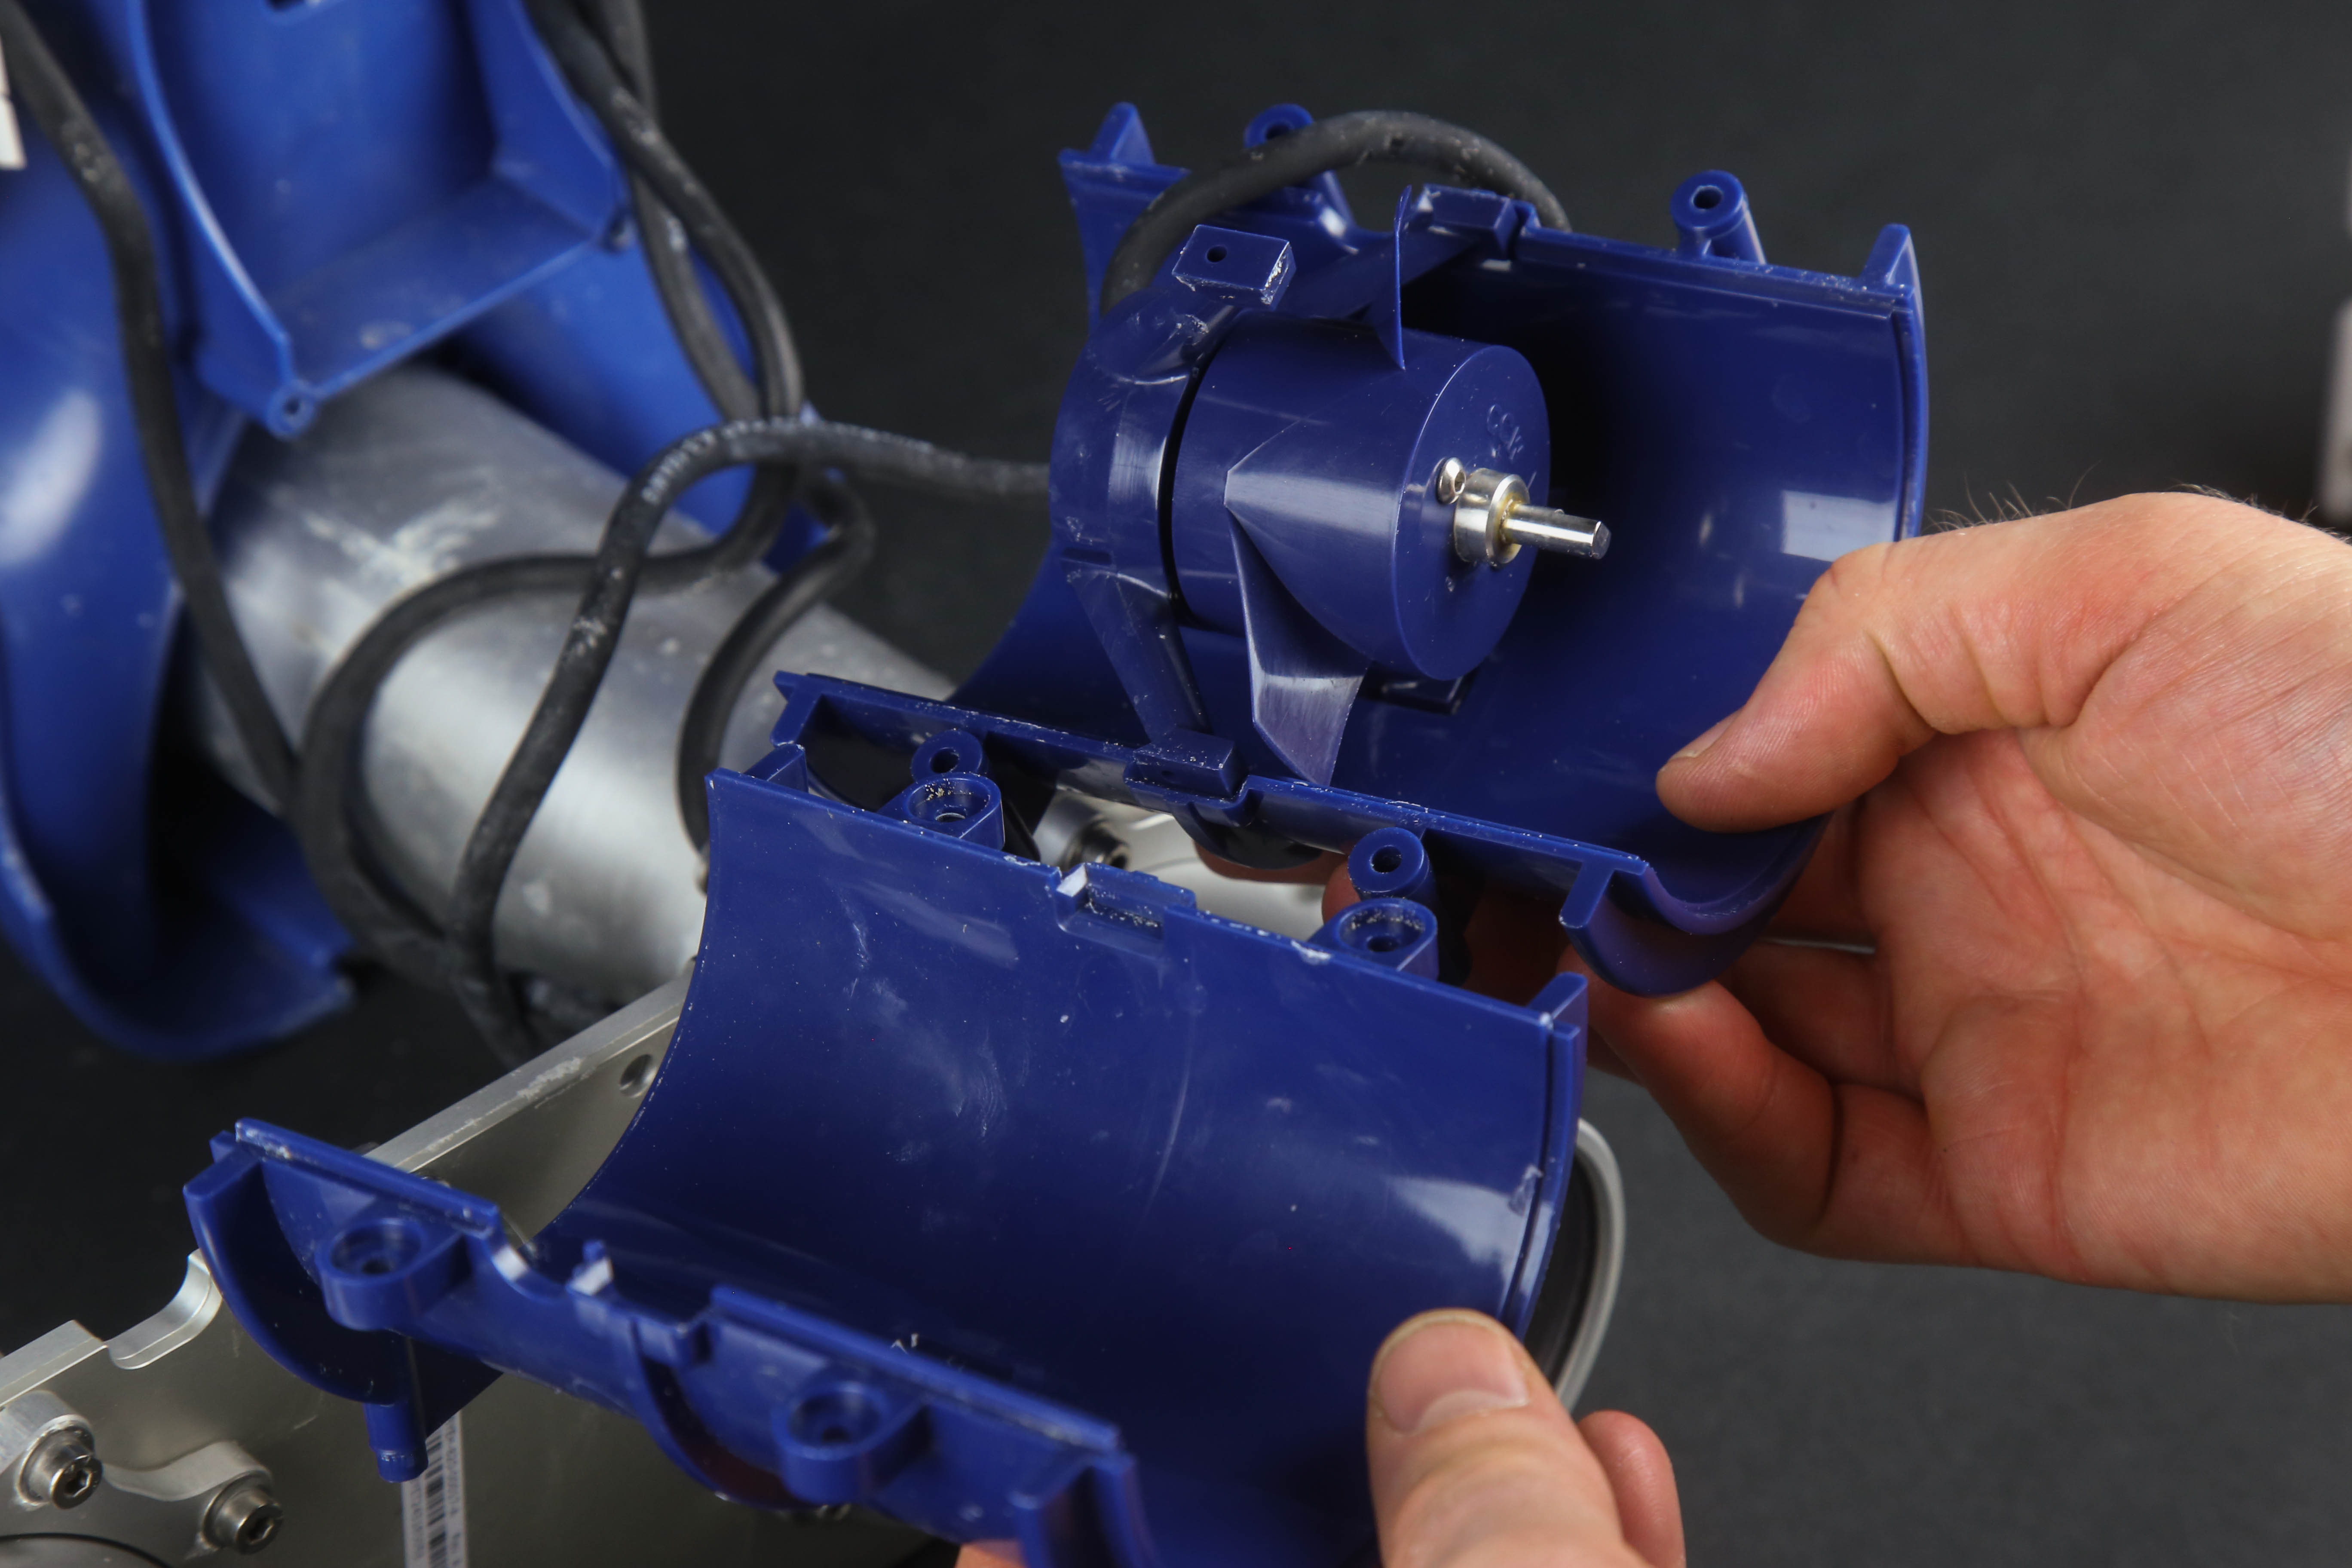
3. Pull the thruster half tubes apart to expose the thruster and pull the thruster out of the positioning sockets.
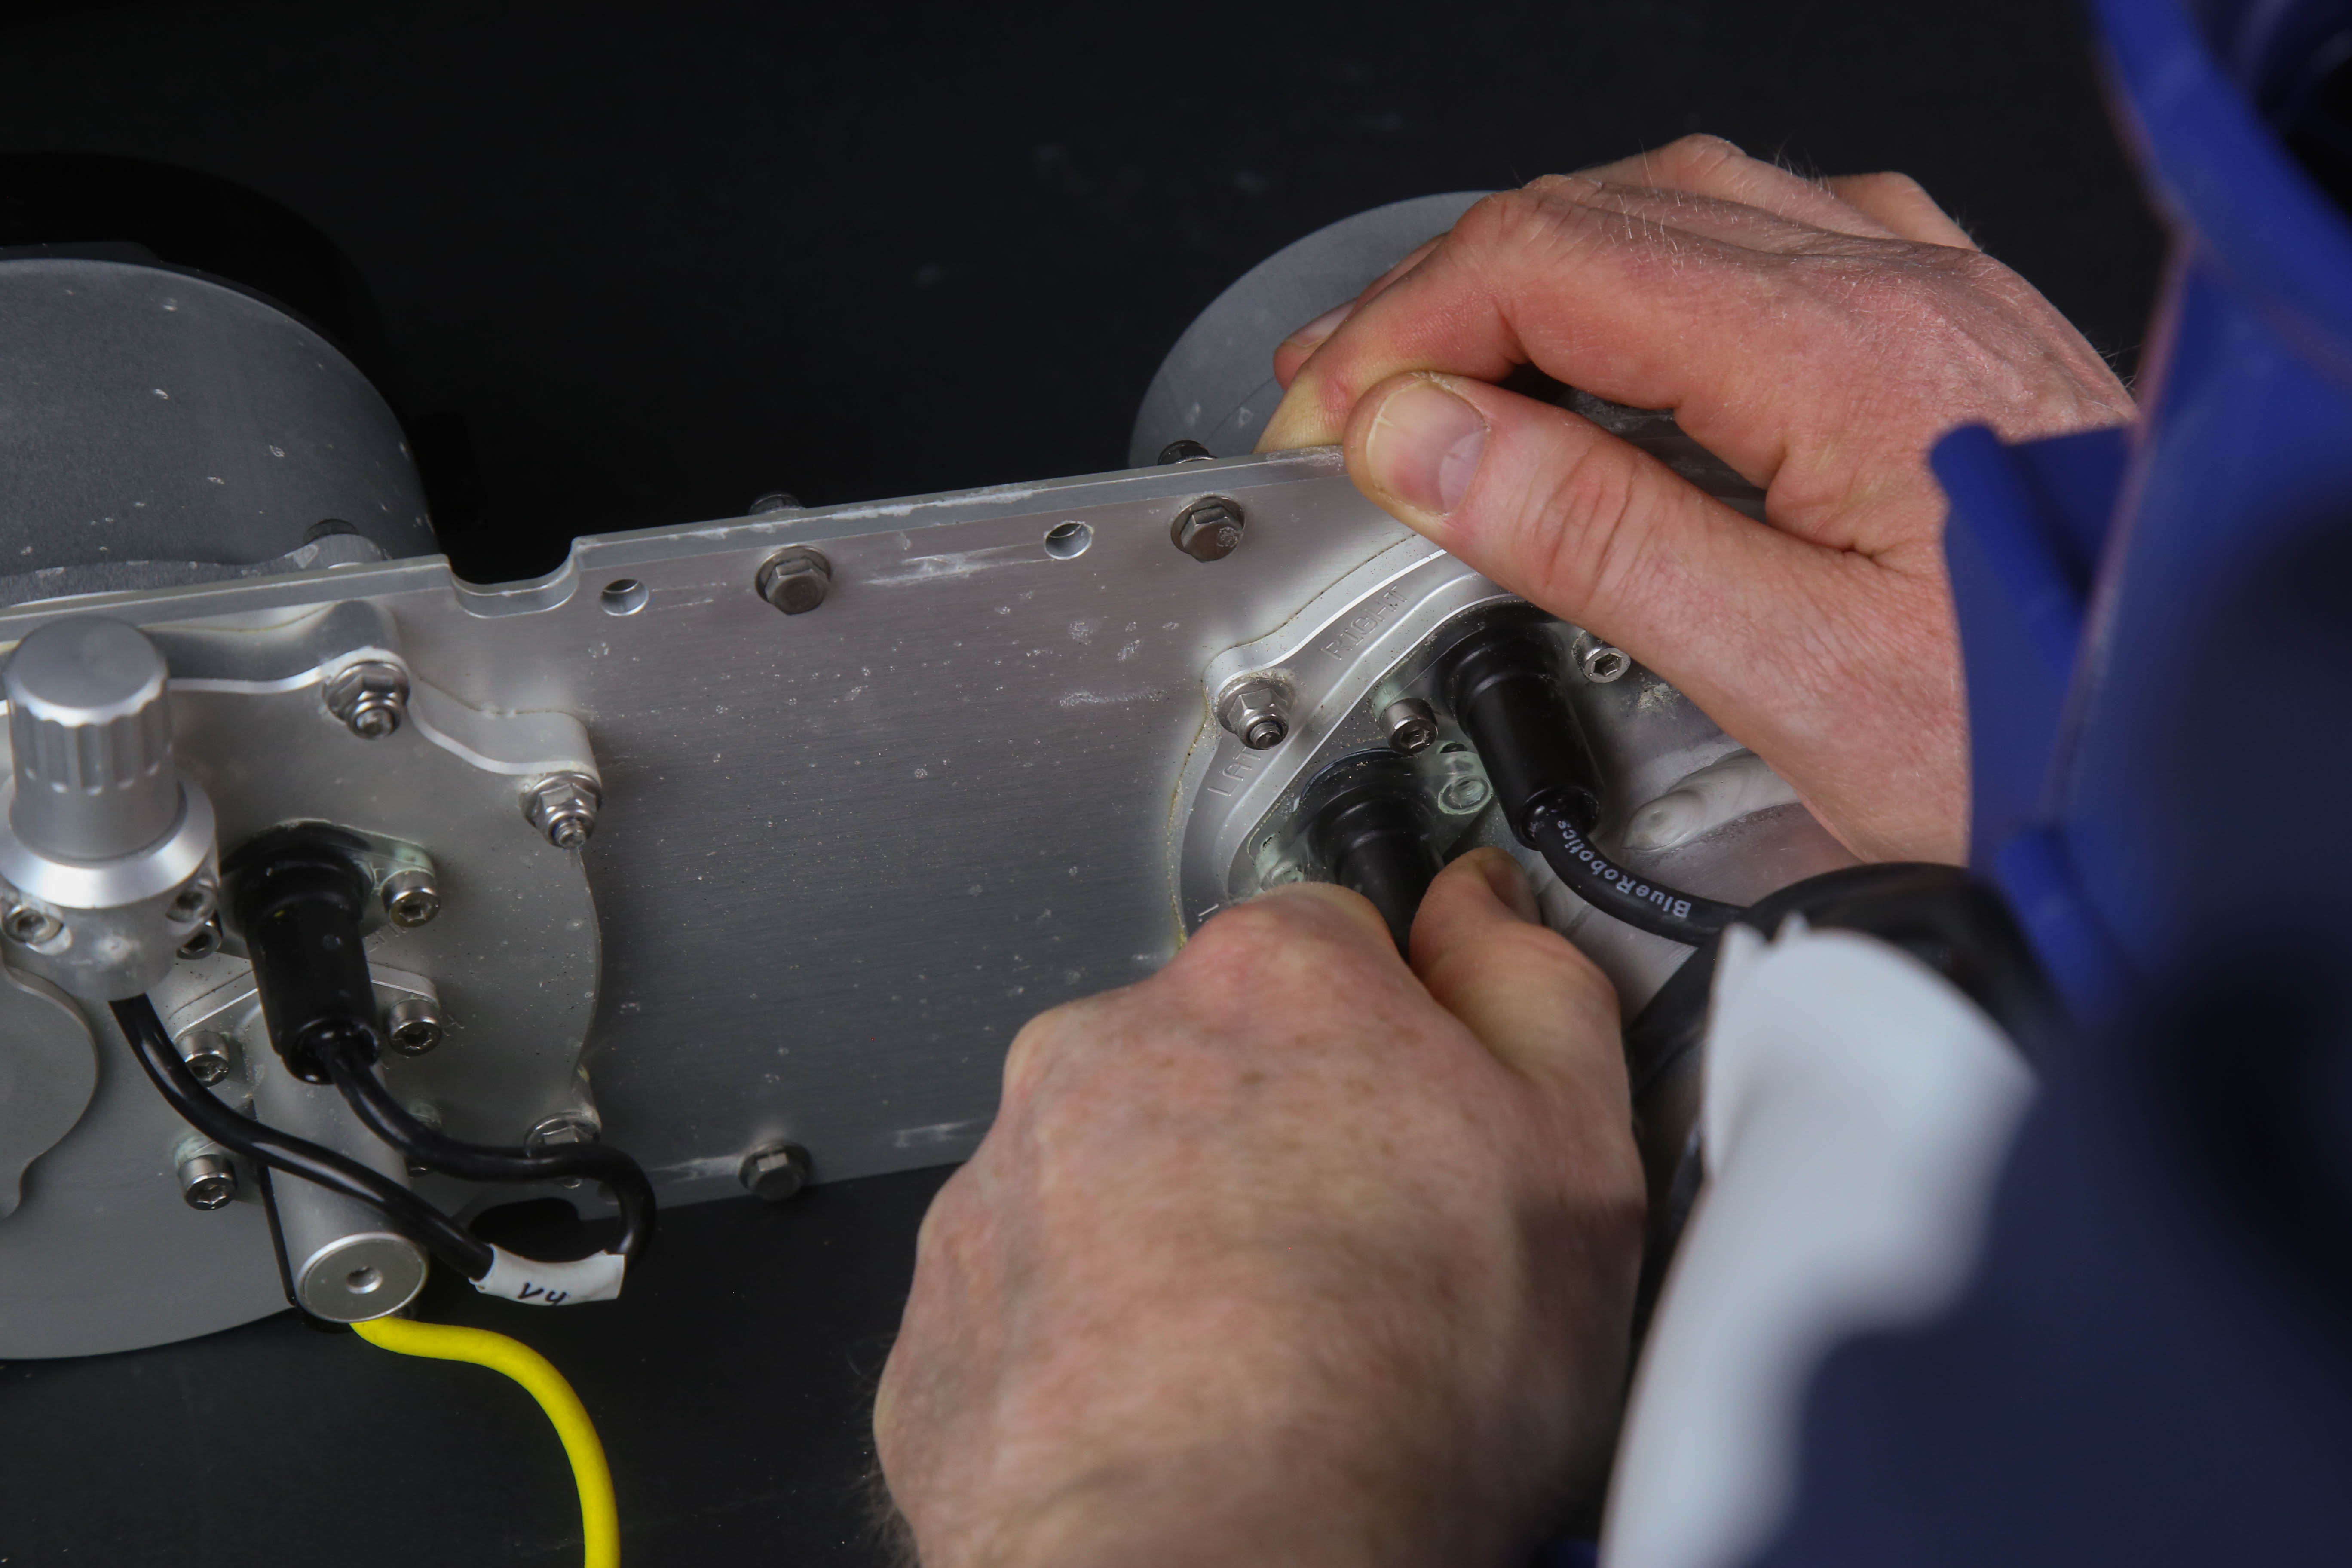
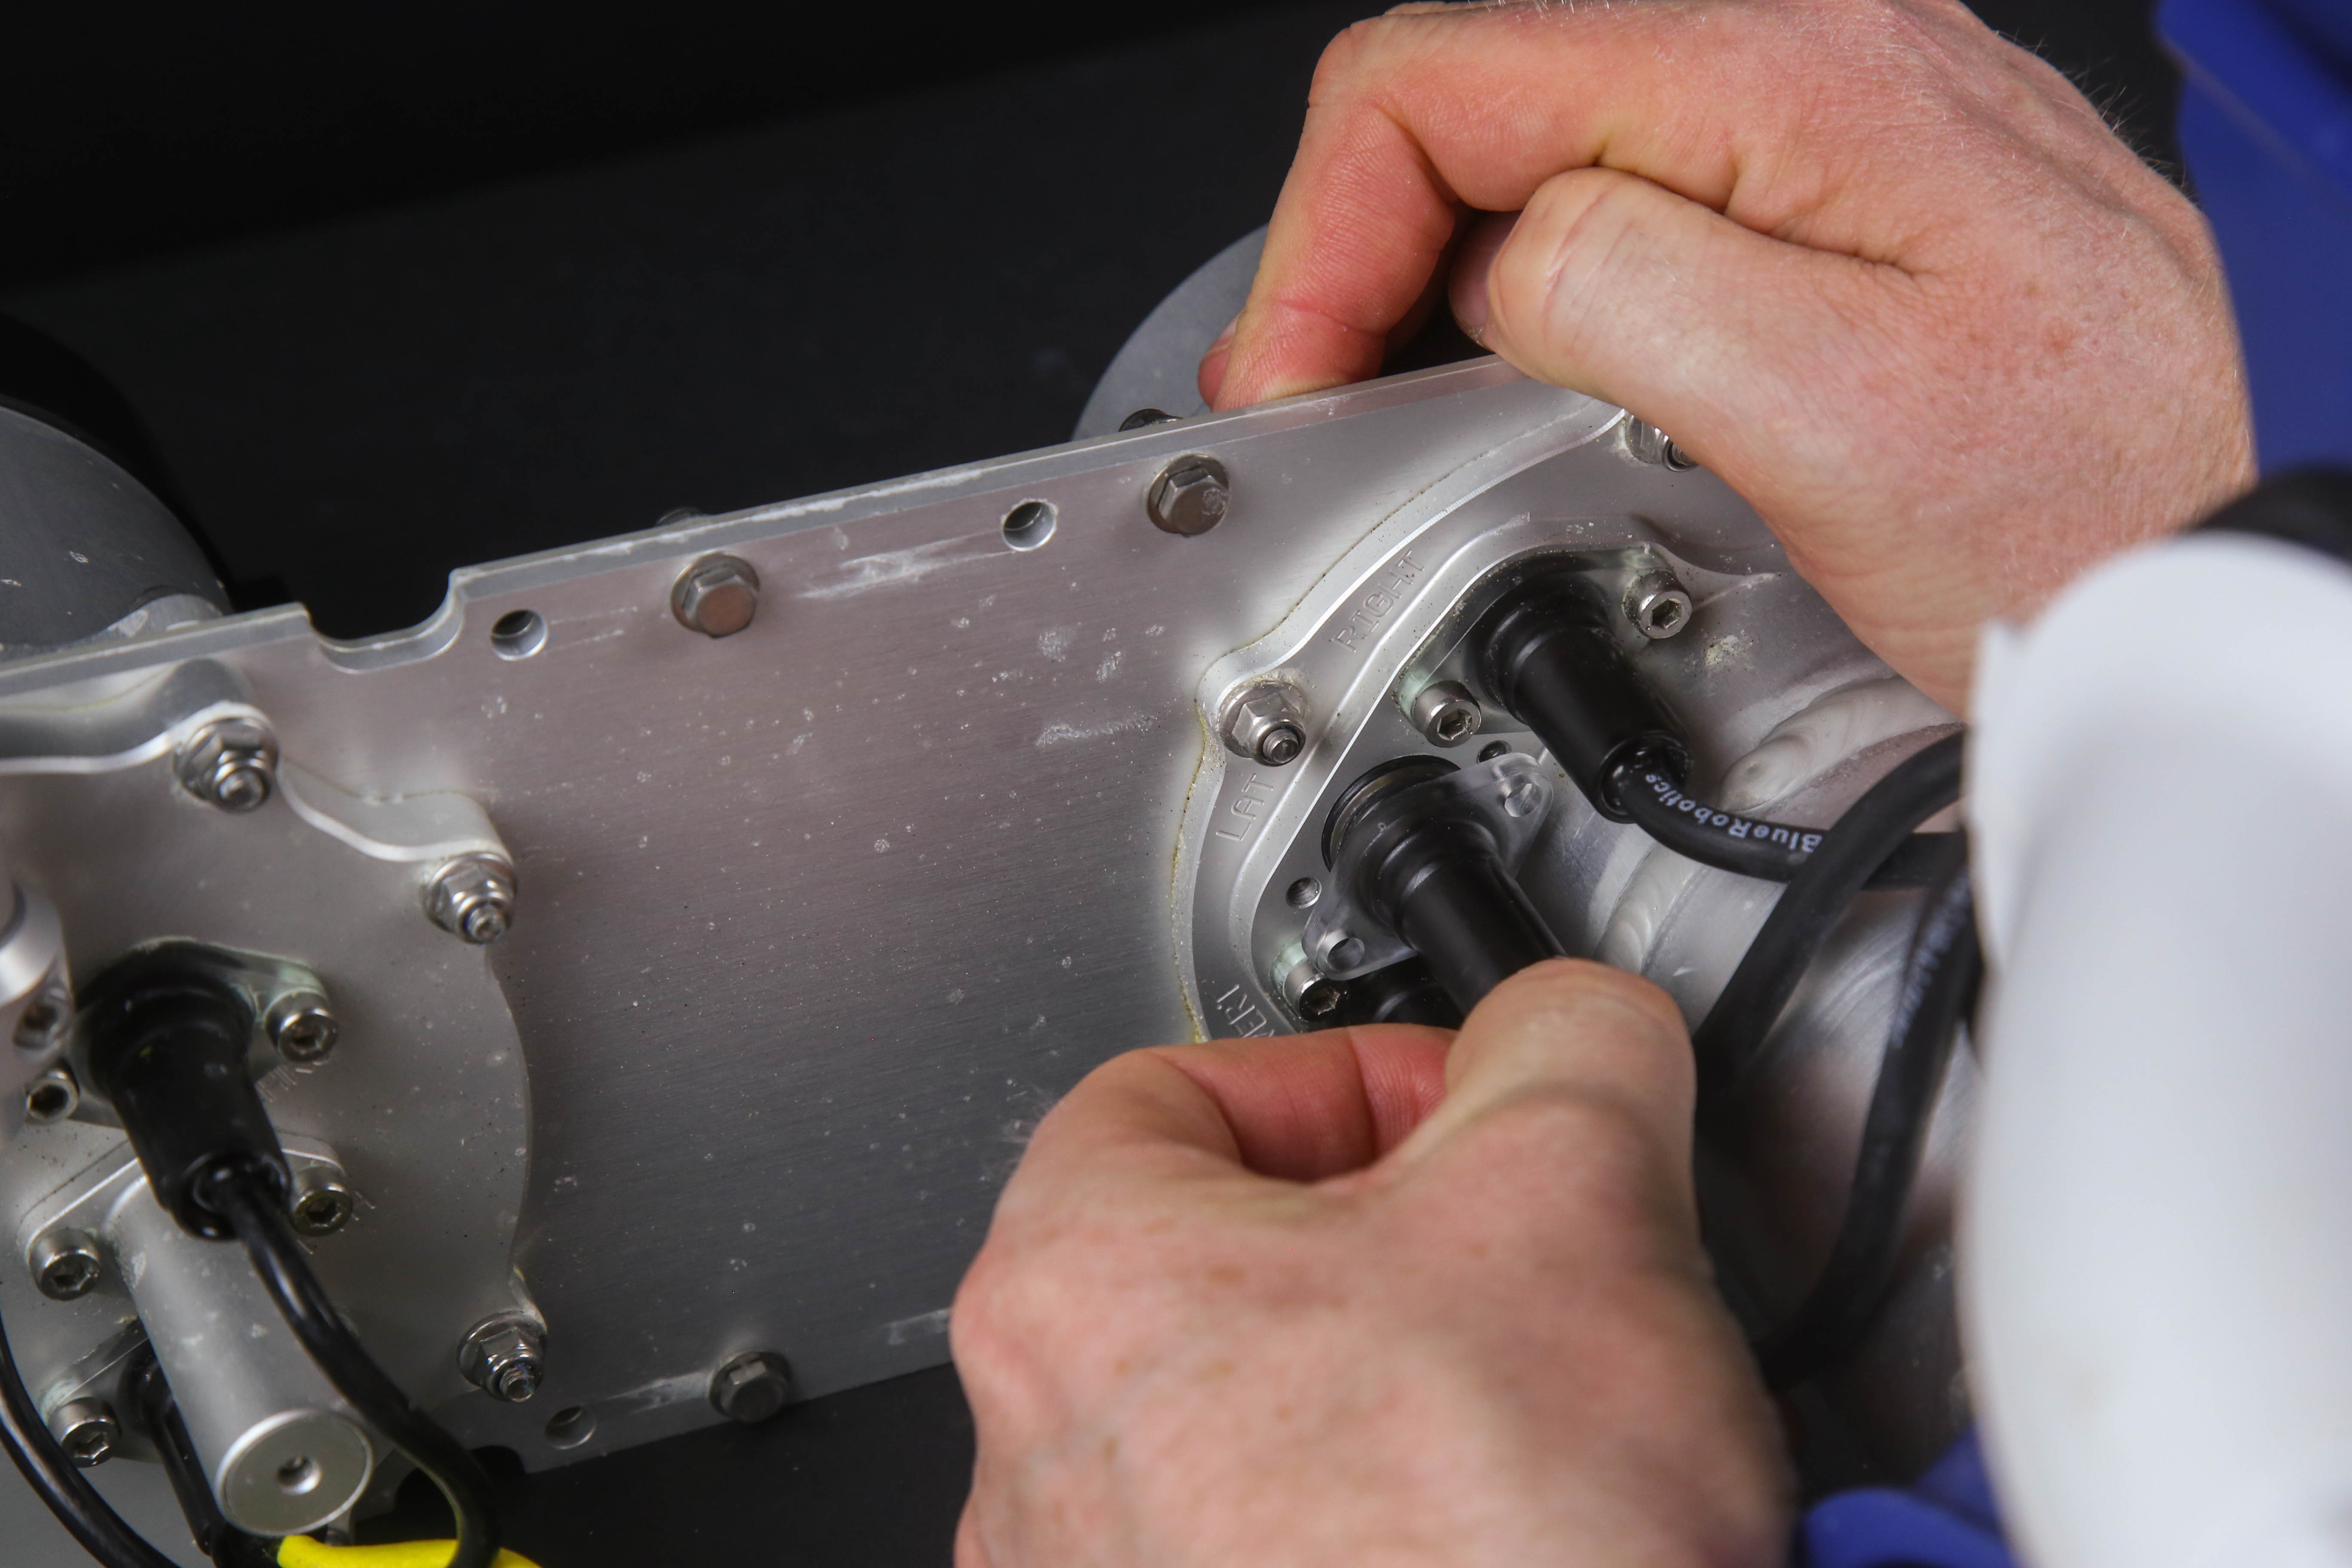
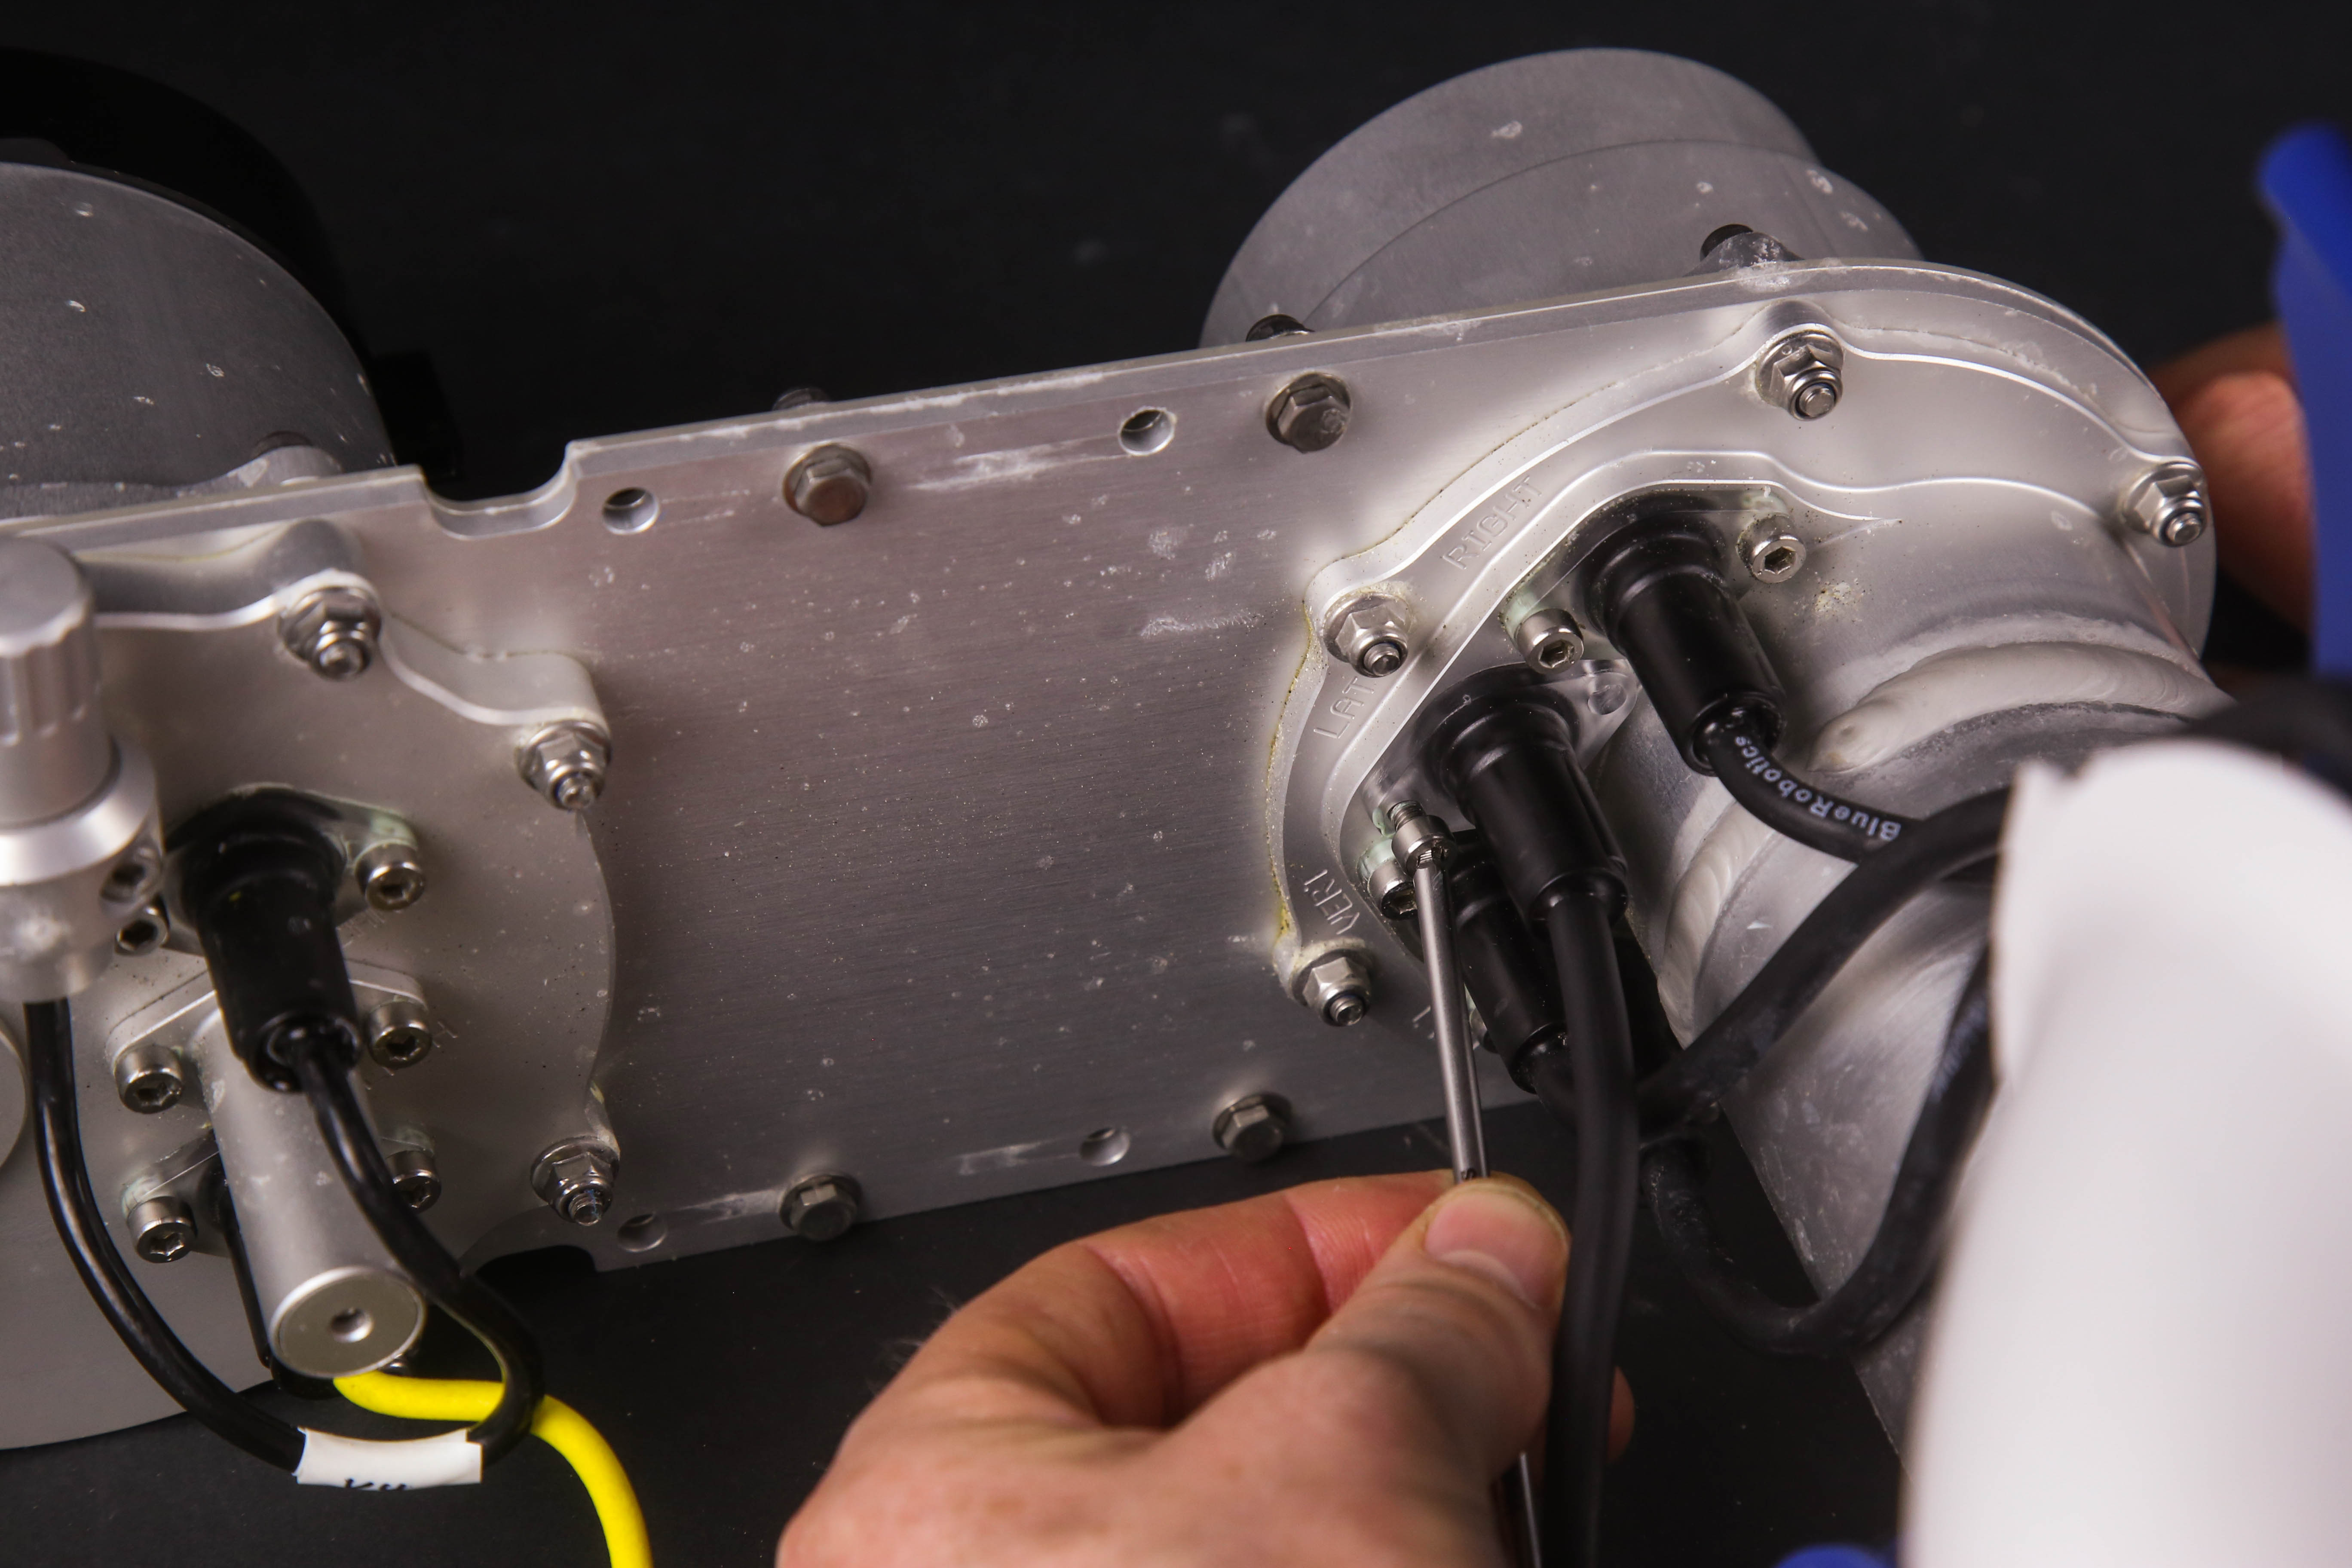
4. Remove the M4x8mm hex head screws on the thruster connector using an M3 Hex key
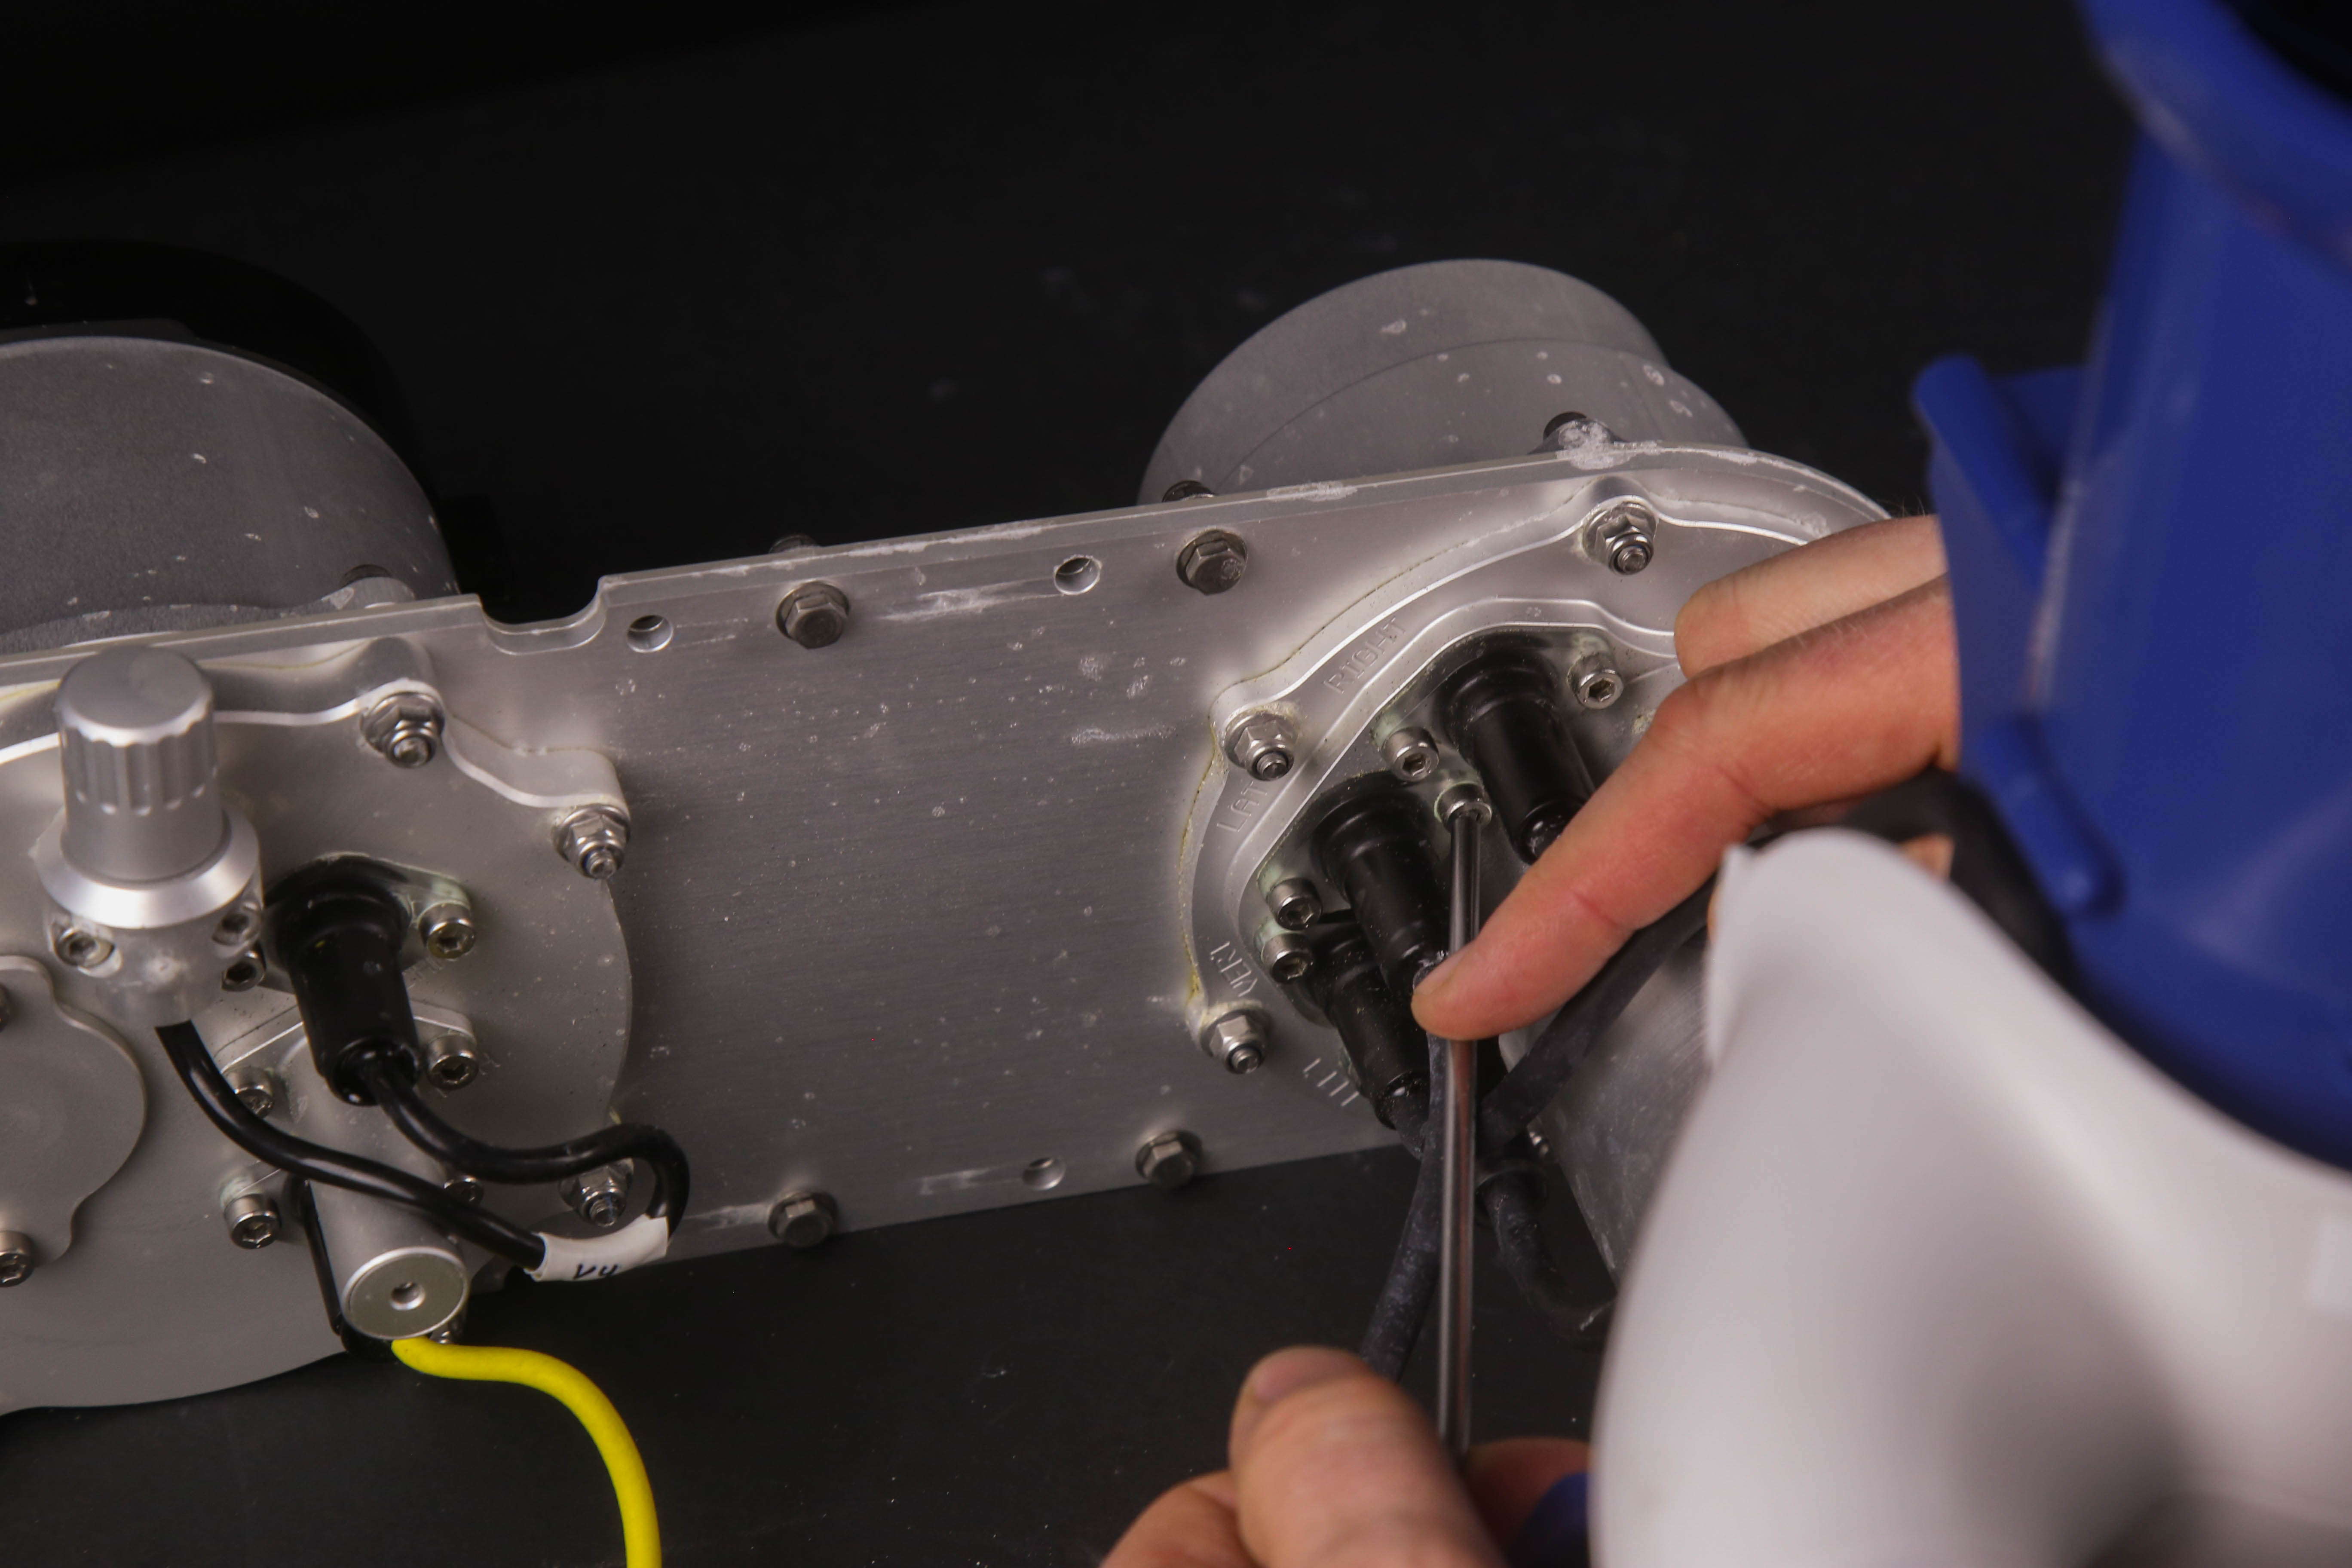
5. Pull the thruster connector out by gripping the connector body, not the cable. Some force may be required to remove it.
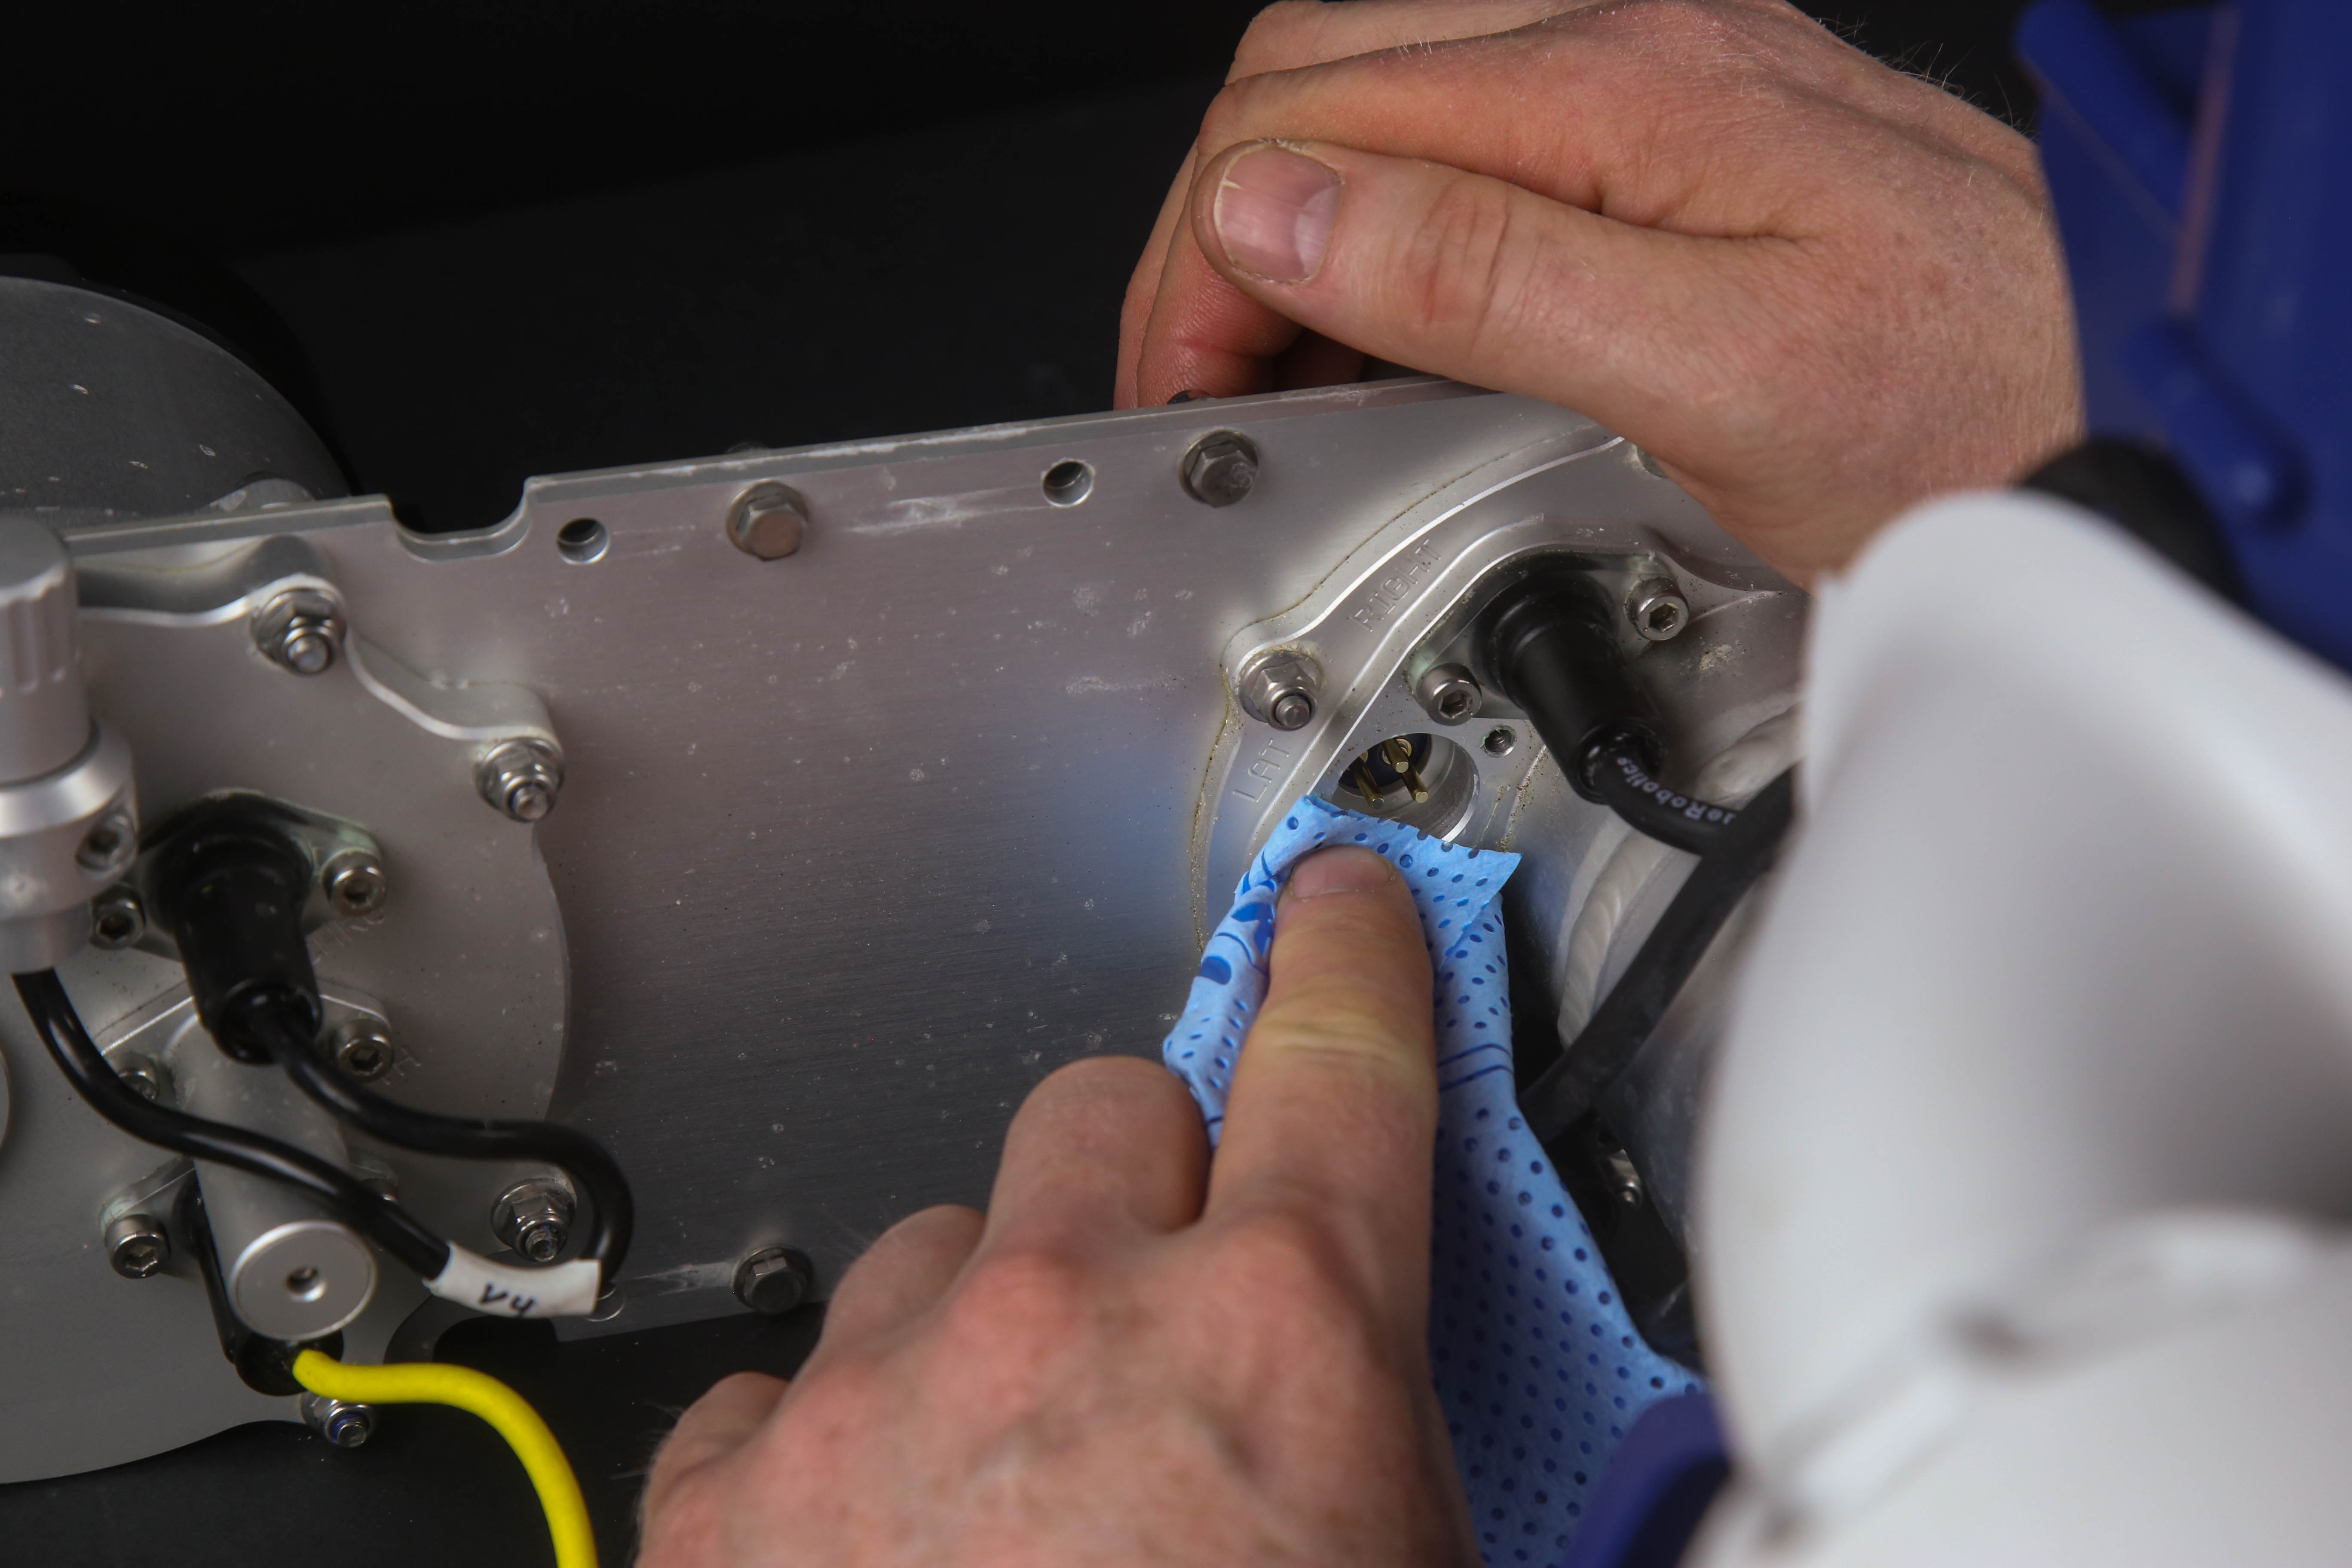
6. Clean the opening in the aluminium body with a clean workshop tissue.
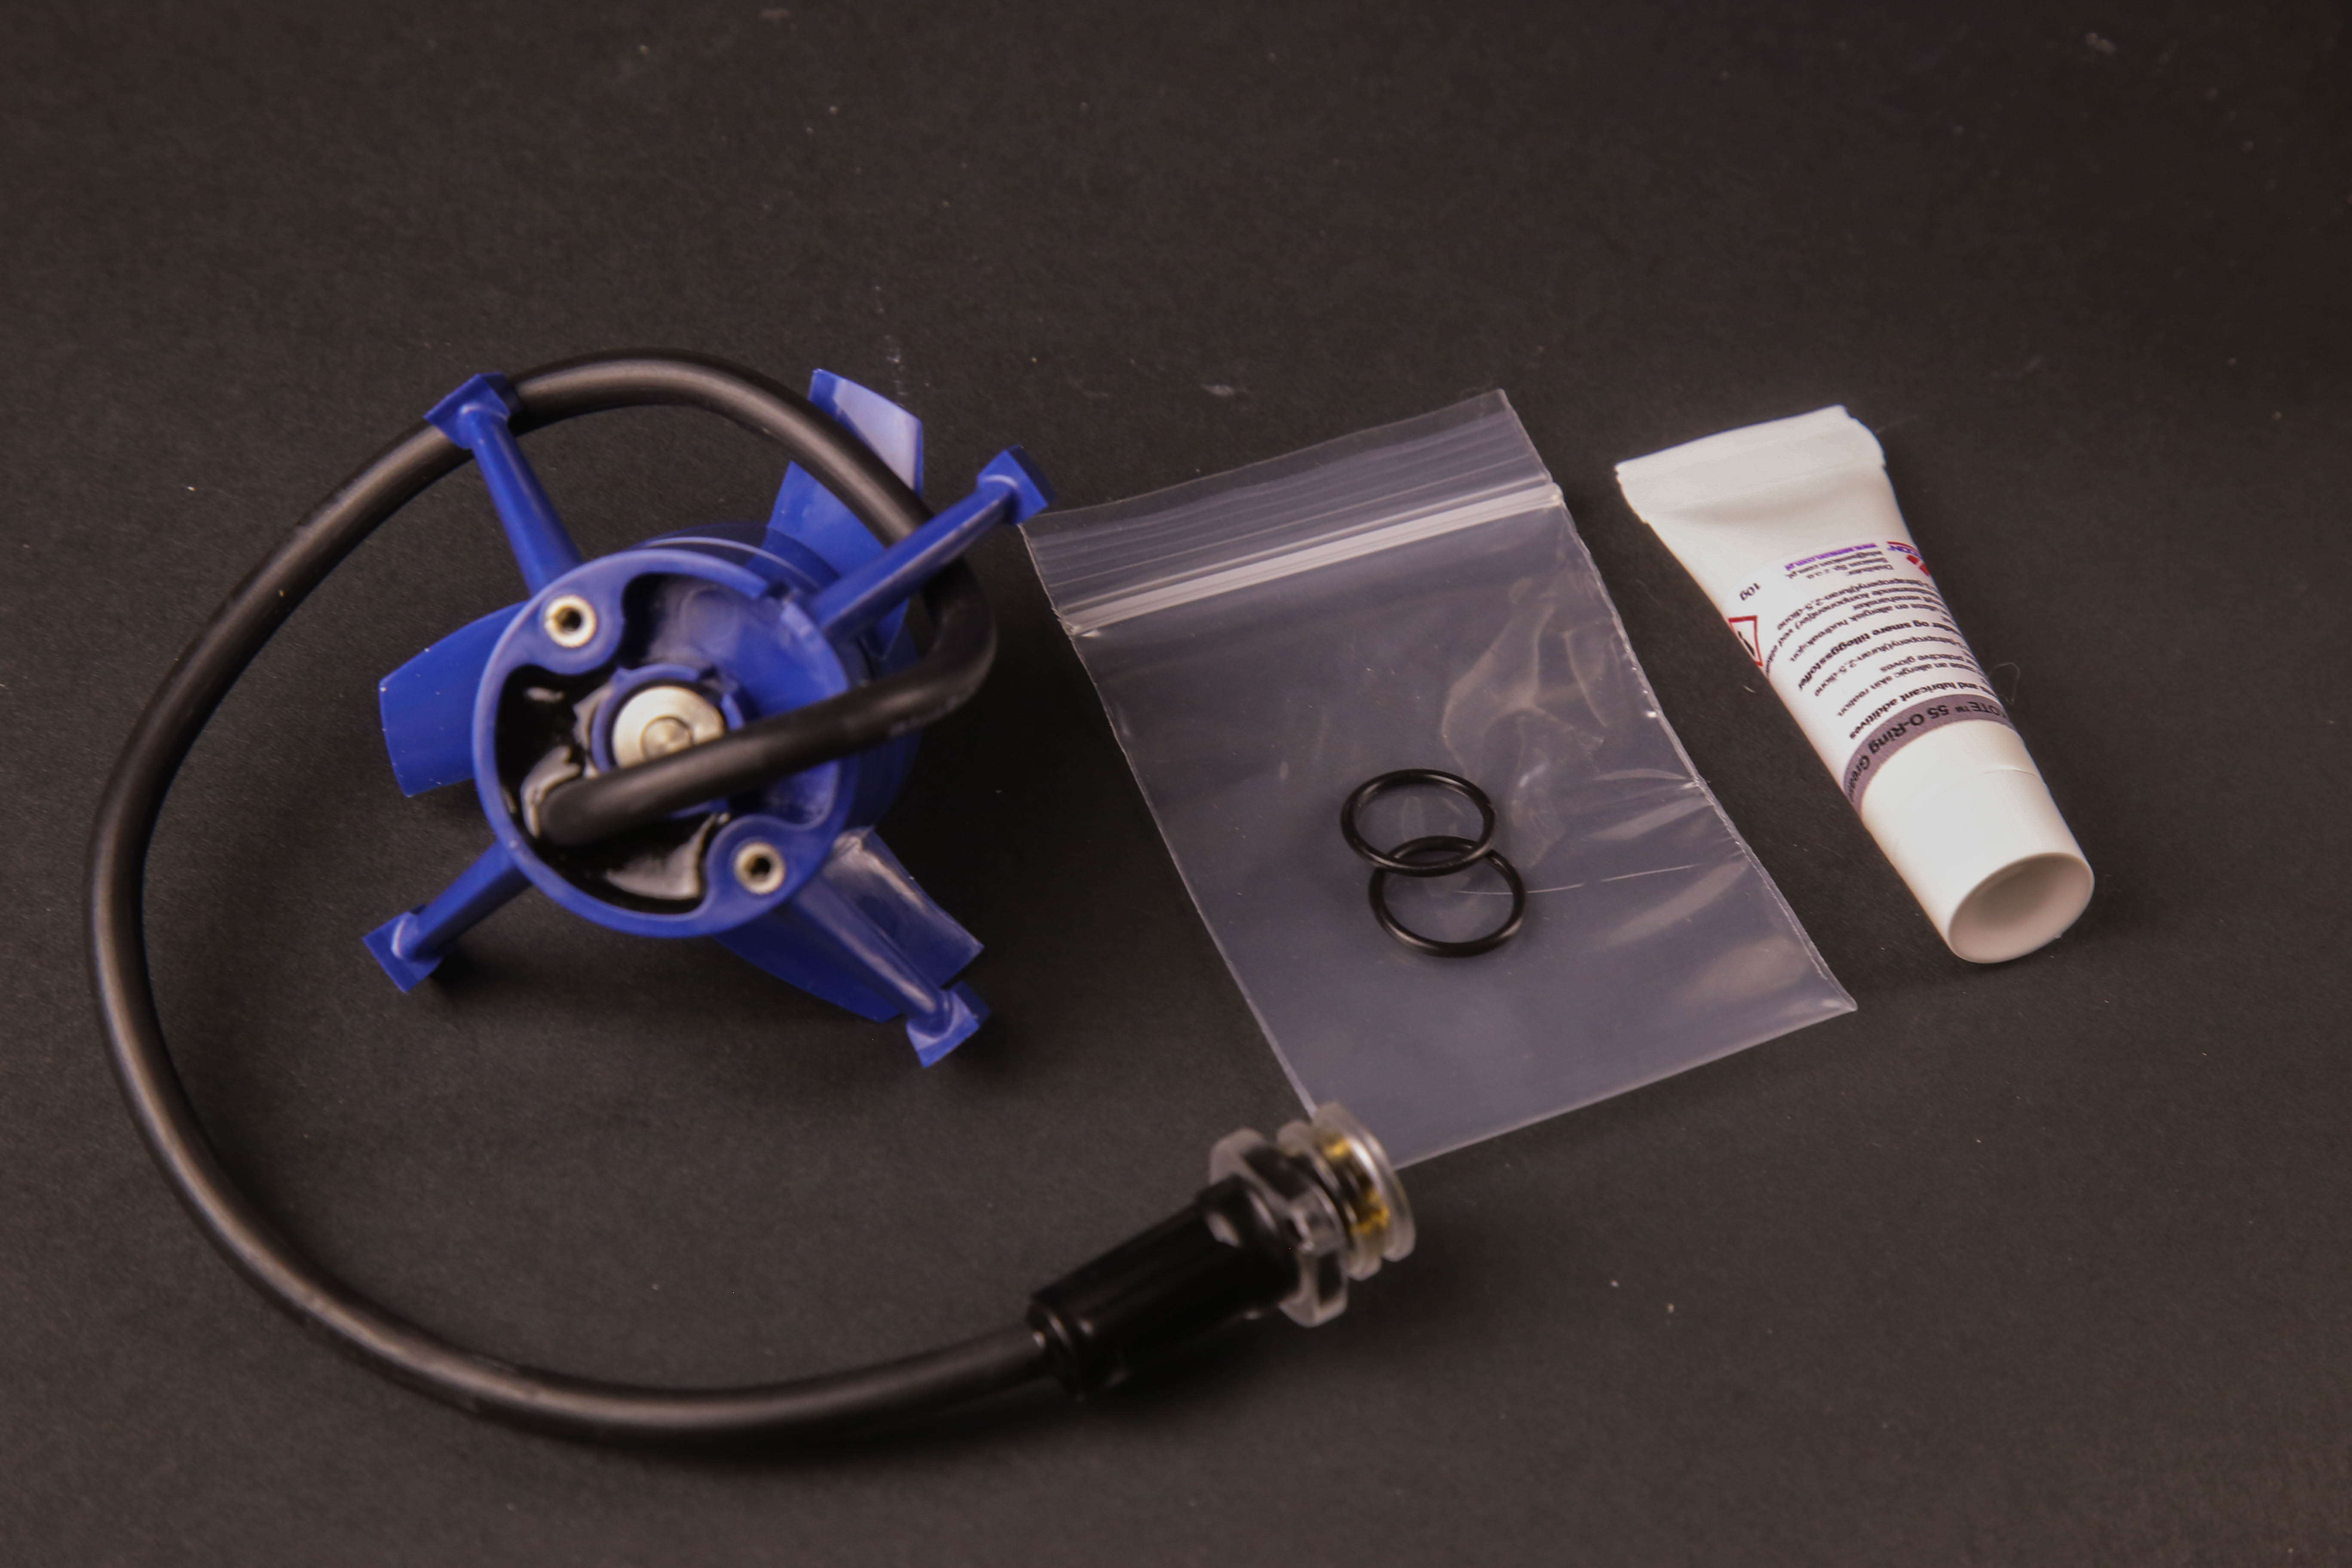
7. Add o-rings to the new thruster connector. Your workspace should be tidy and free of dust.
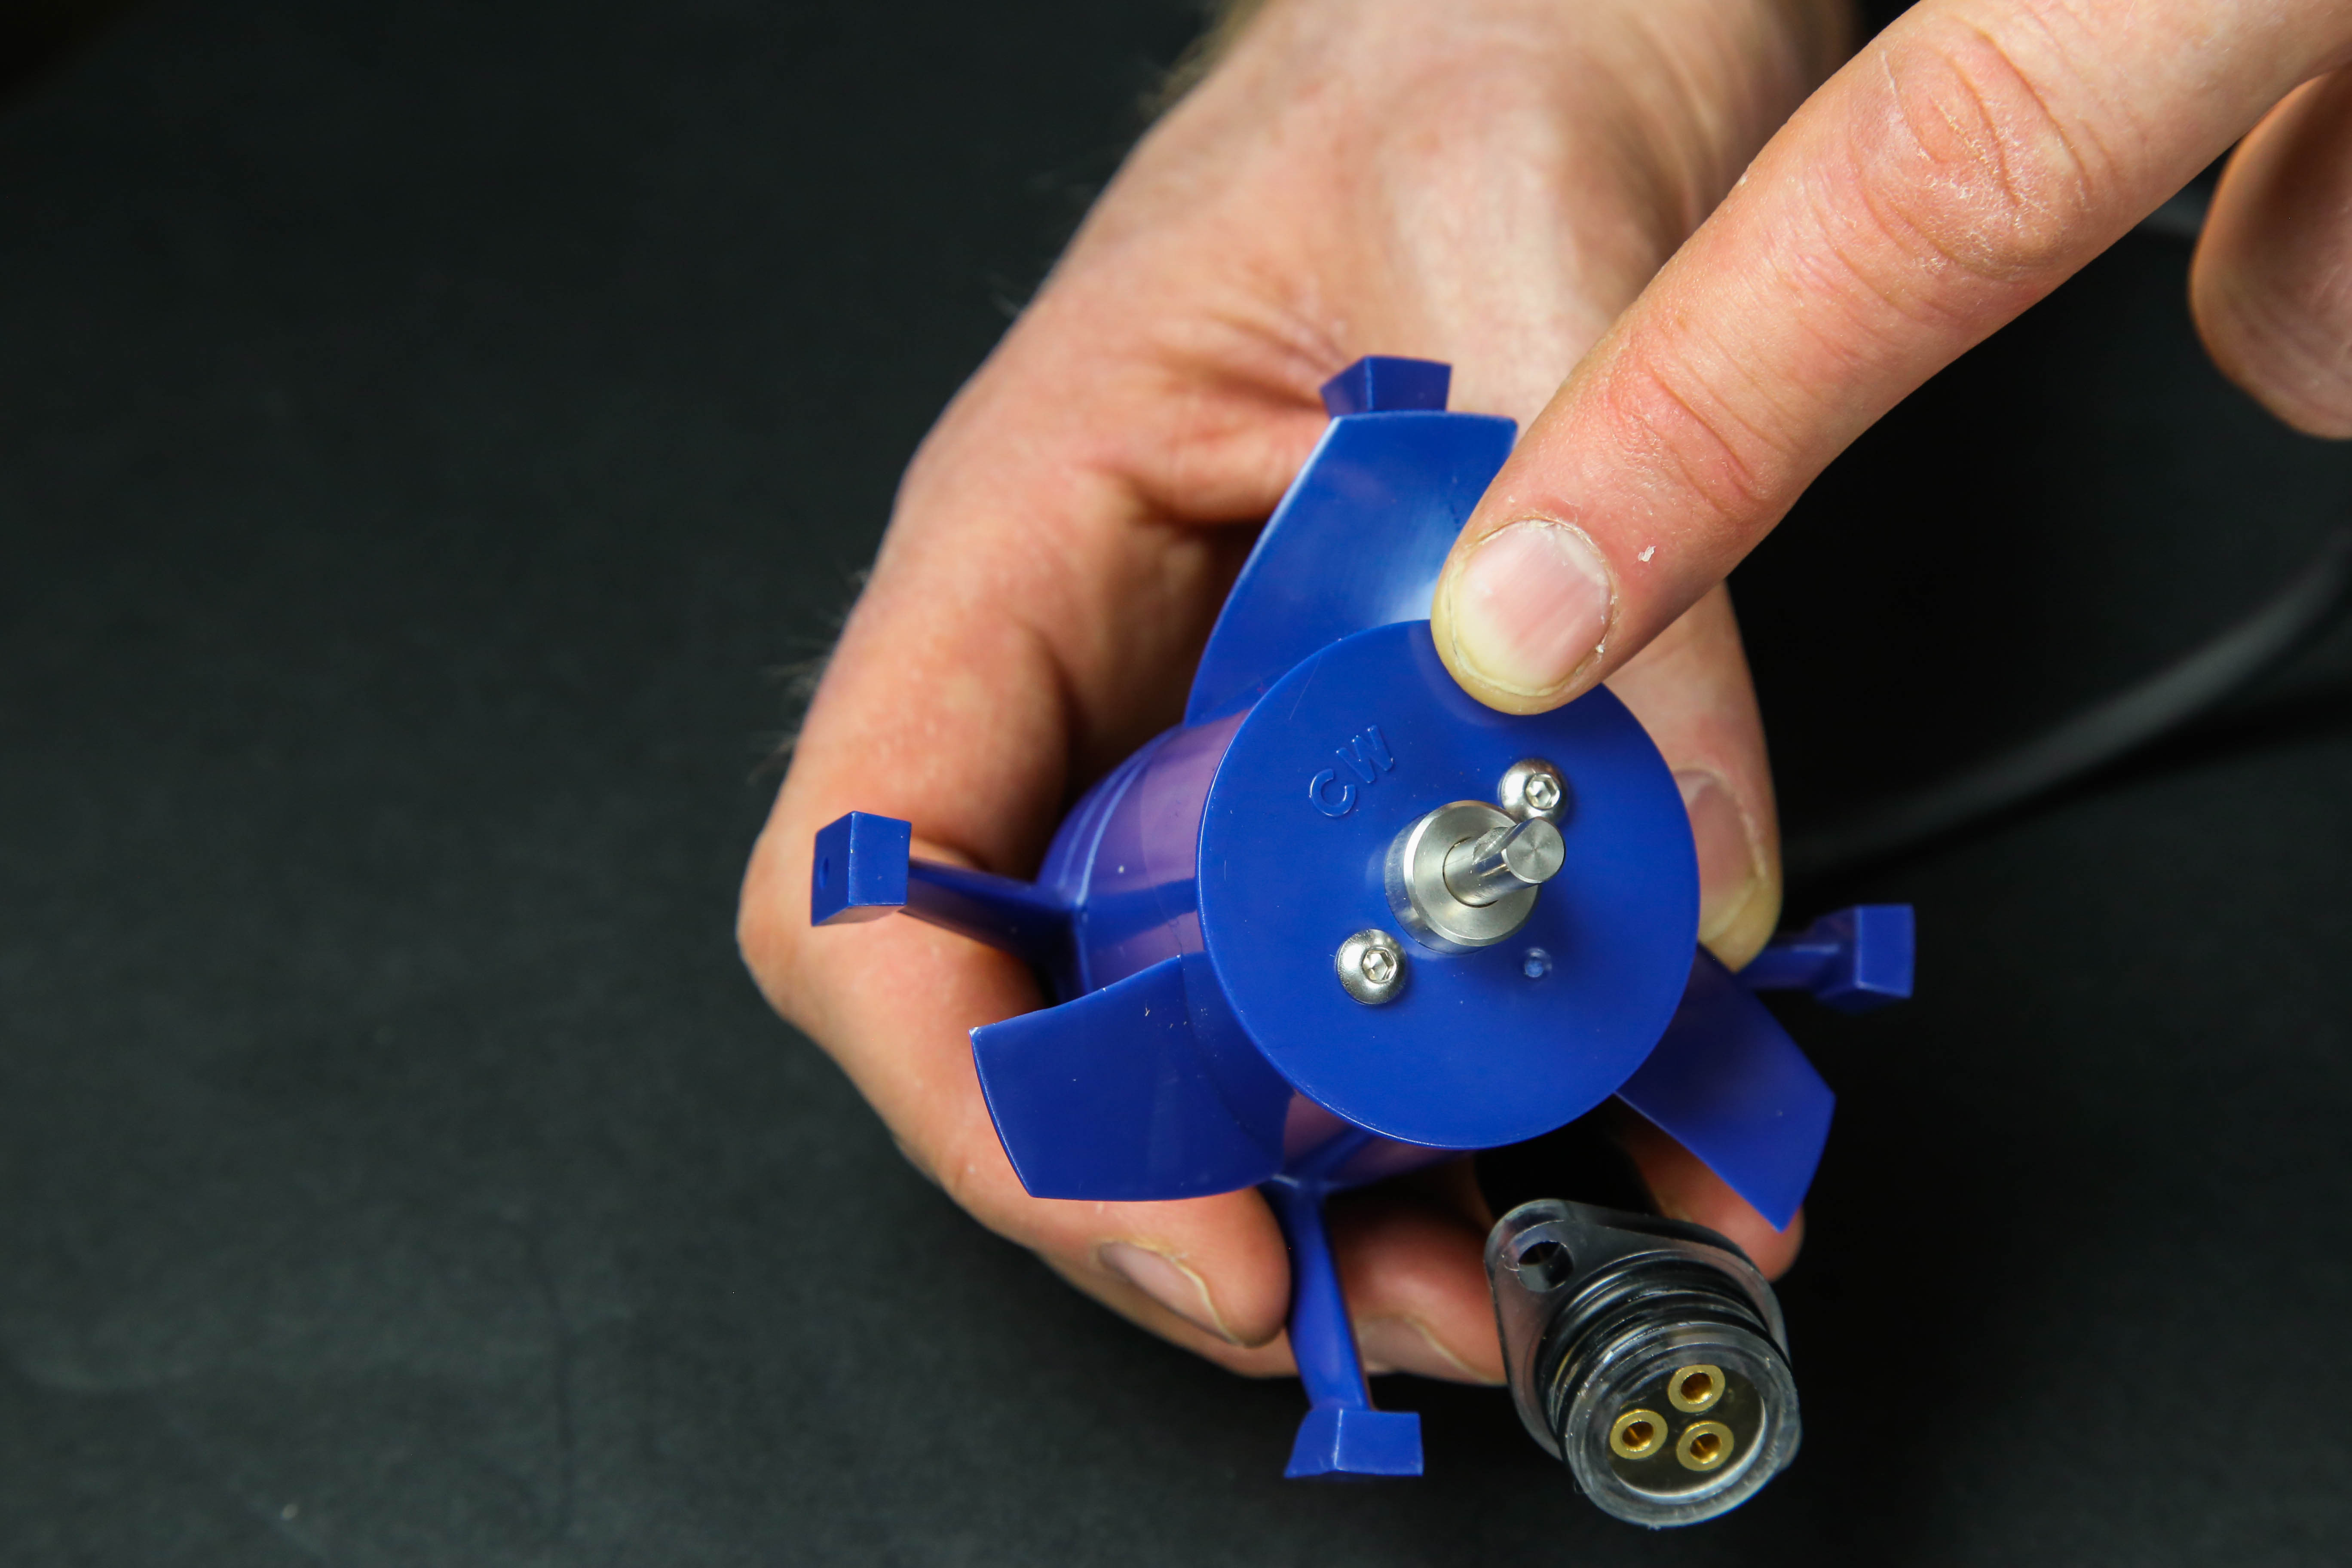
8. Make sure that the correct propeller is installed on the thruster (CCW). If not, remove the two M3x5mm screws using an M2 hex key and install the correct propeller. Reinstall the screws and hand tighten firmly.
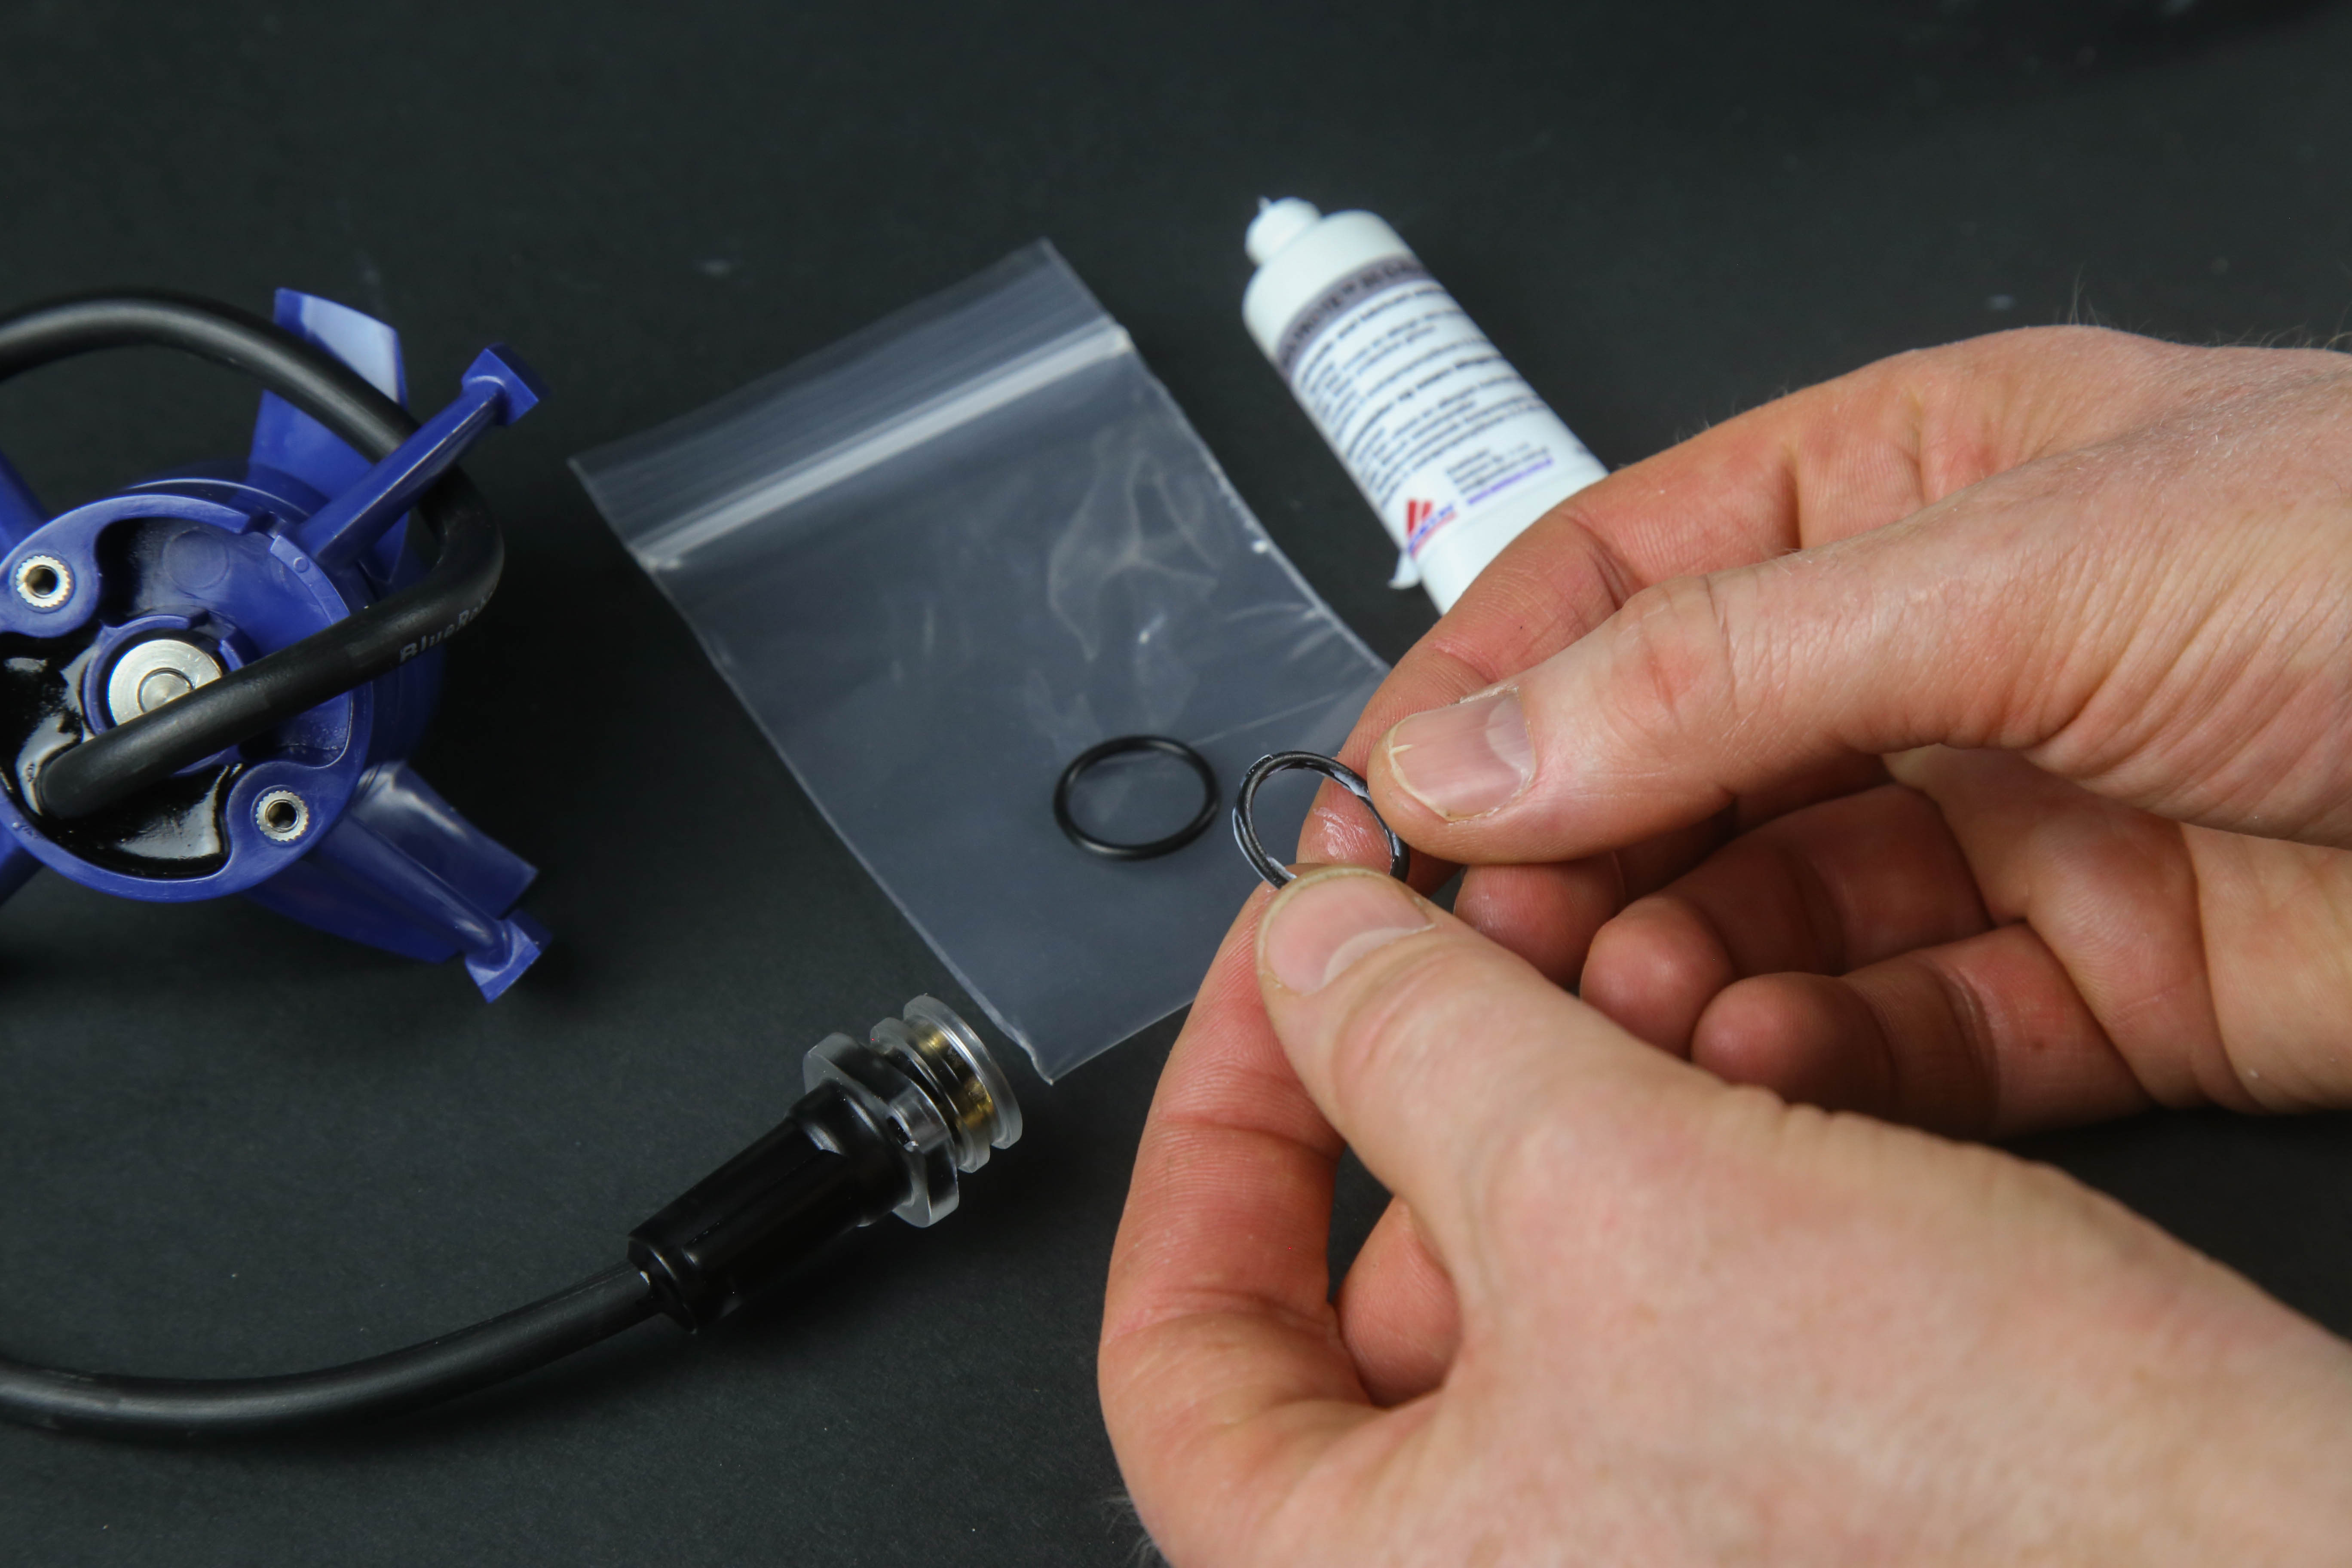
9. Apply a small amount of grease to your fingertip or the o-ring
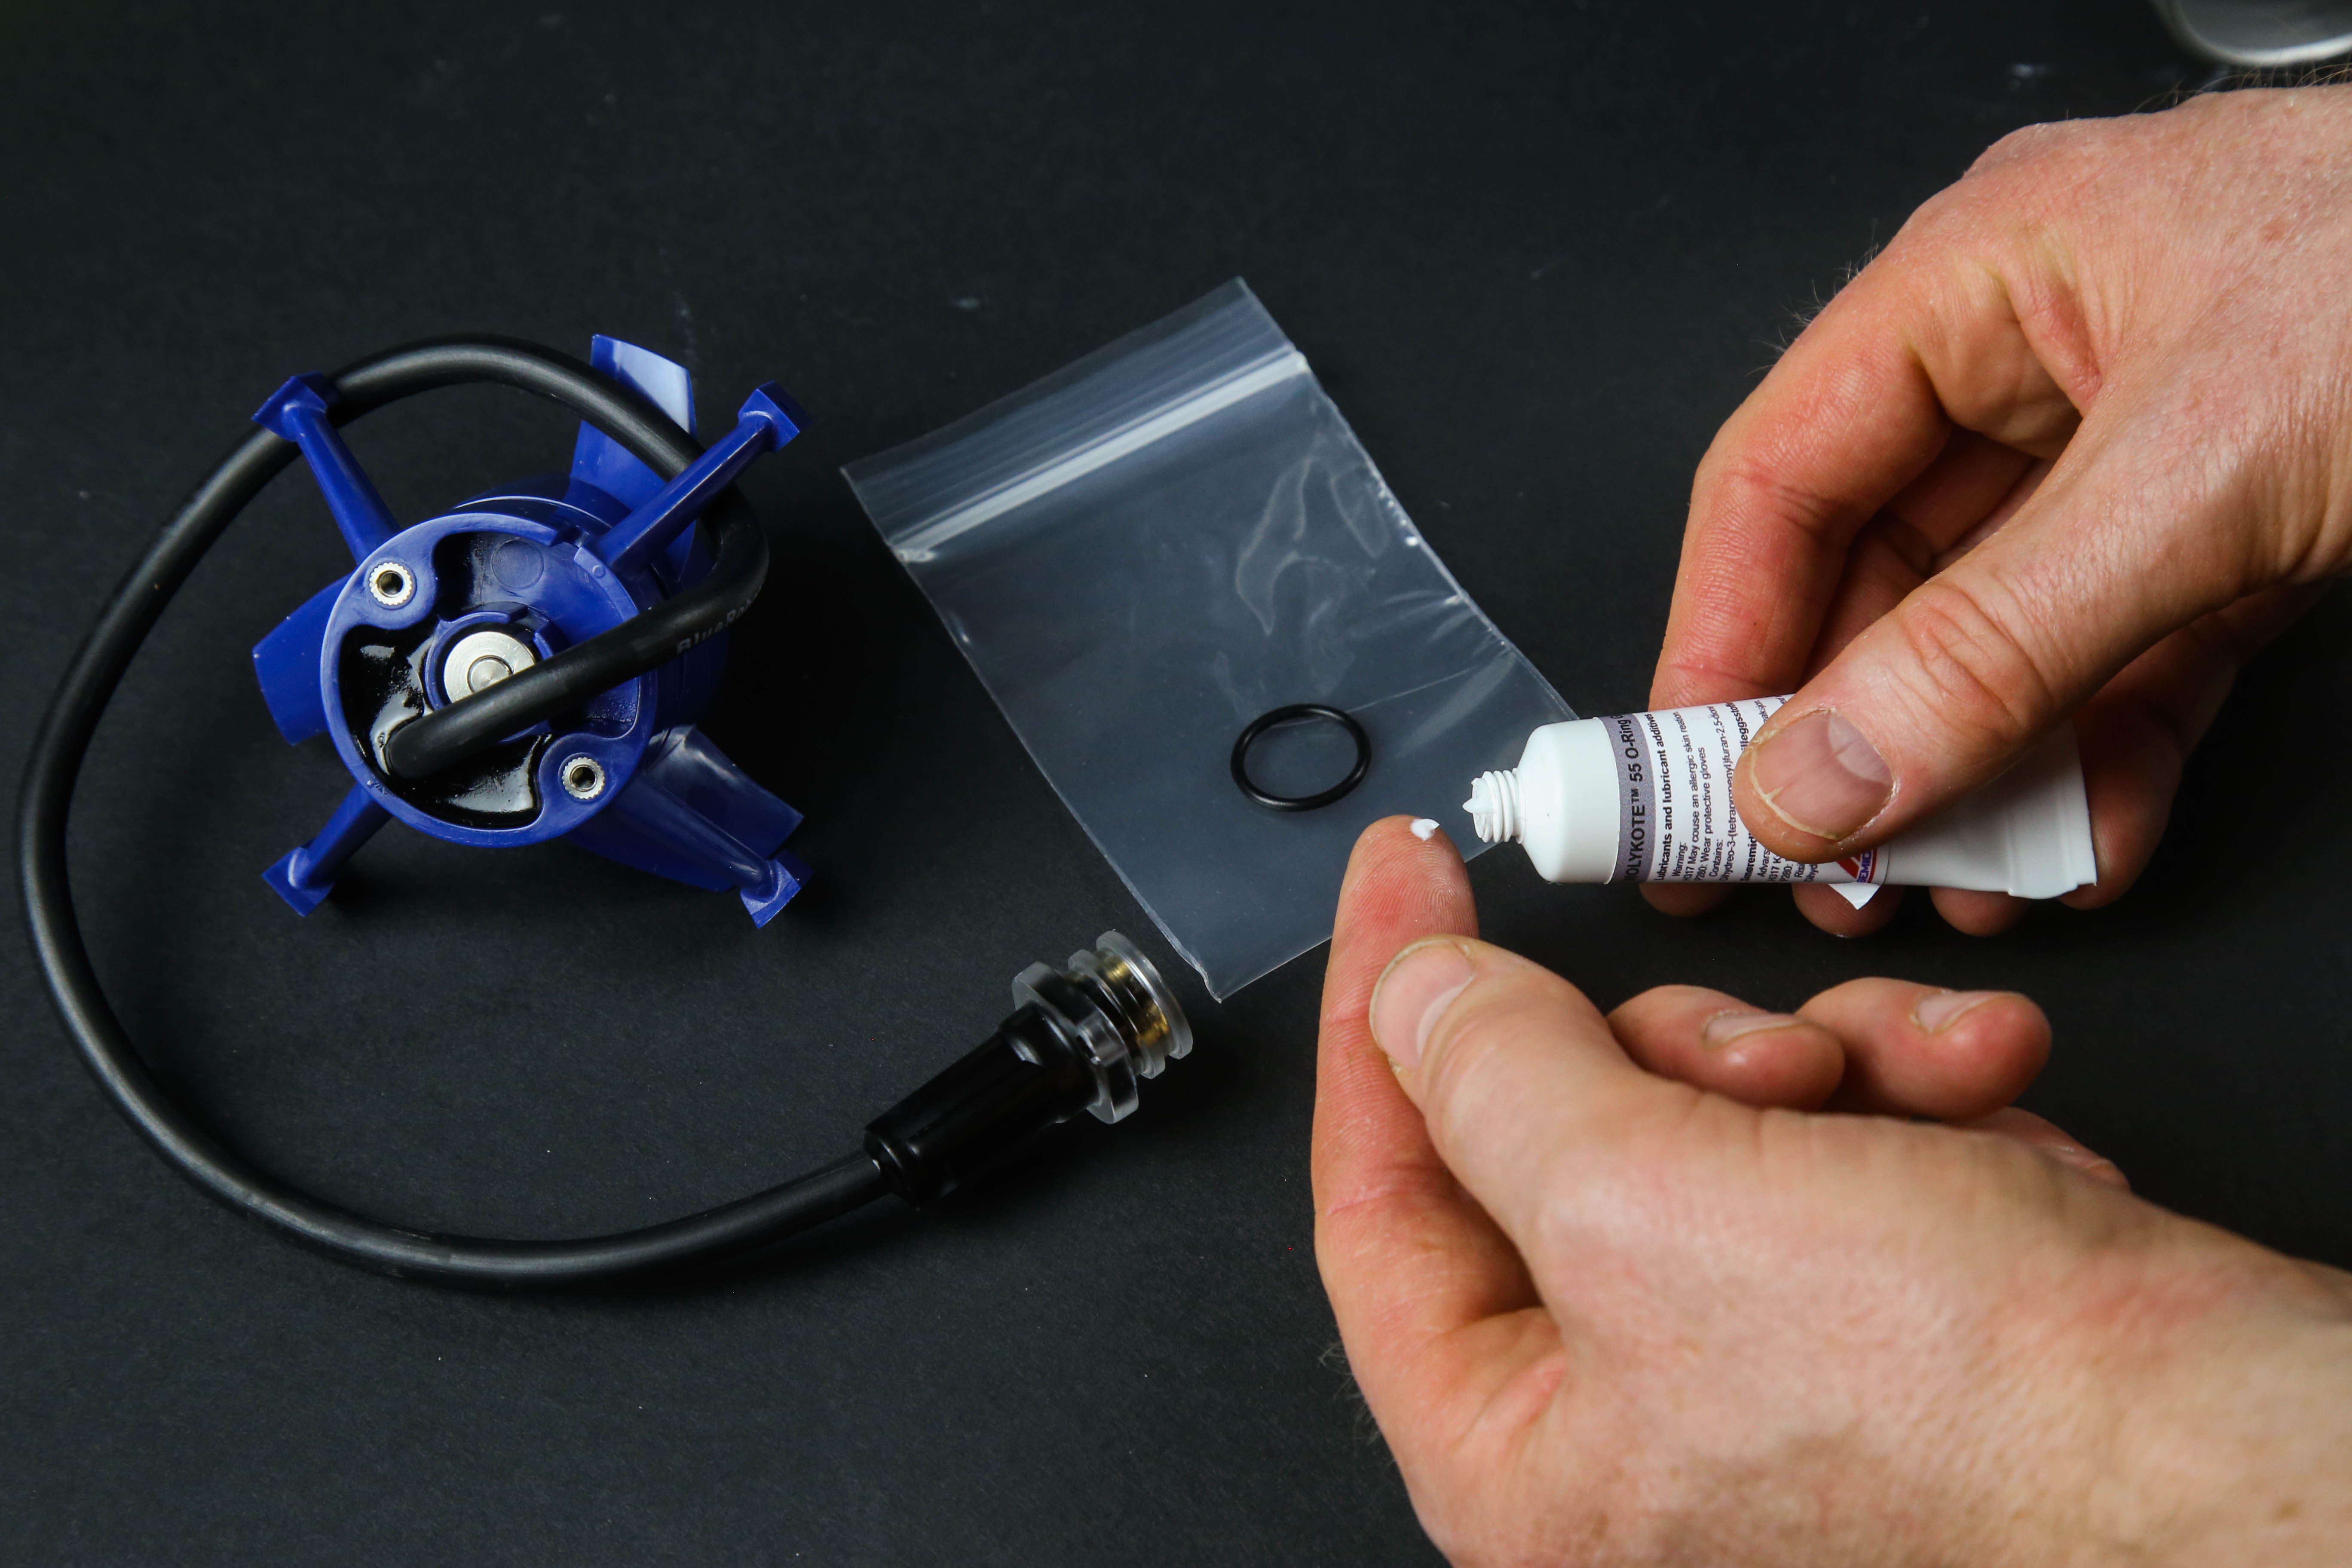
10. Distribute the grease on the ring
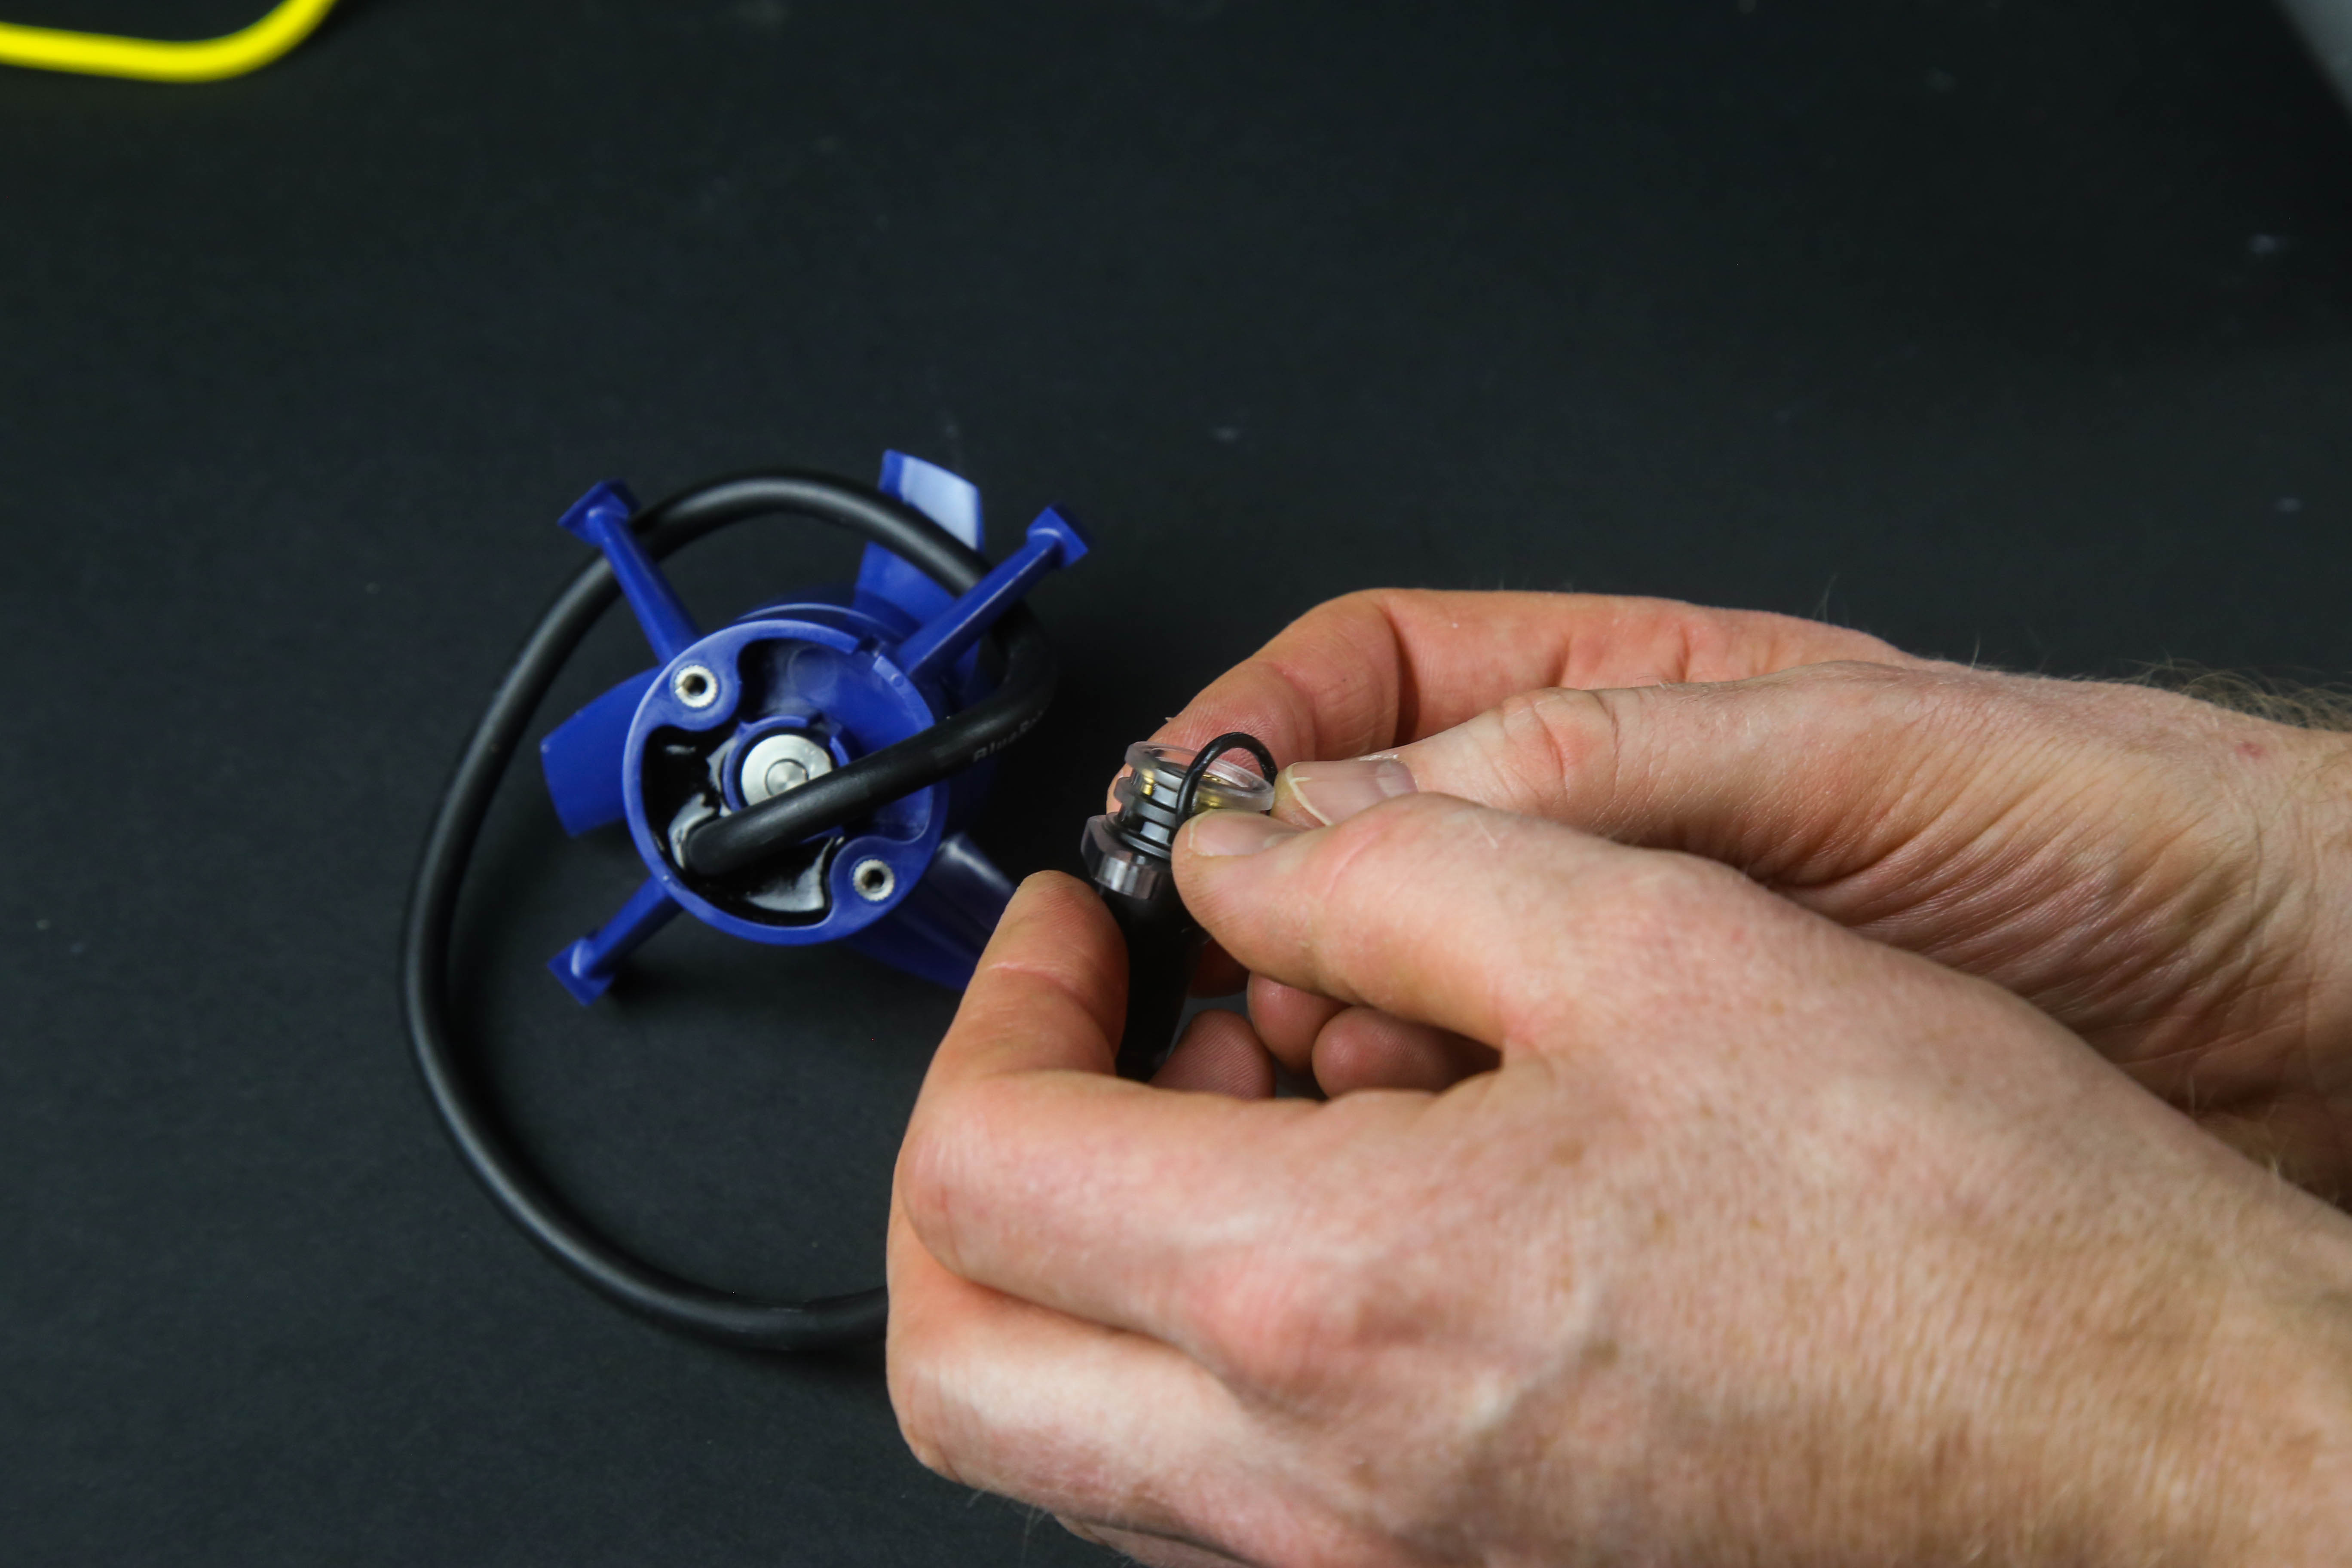
11. Install the o-ring into the glands on the connector.
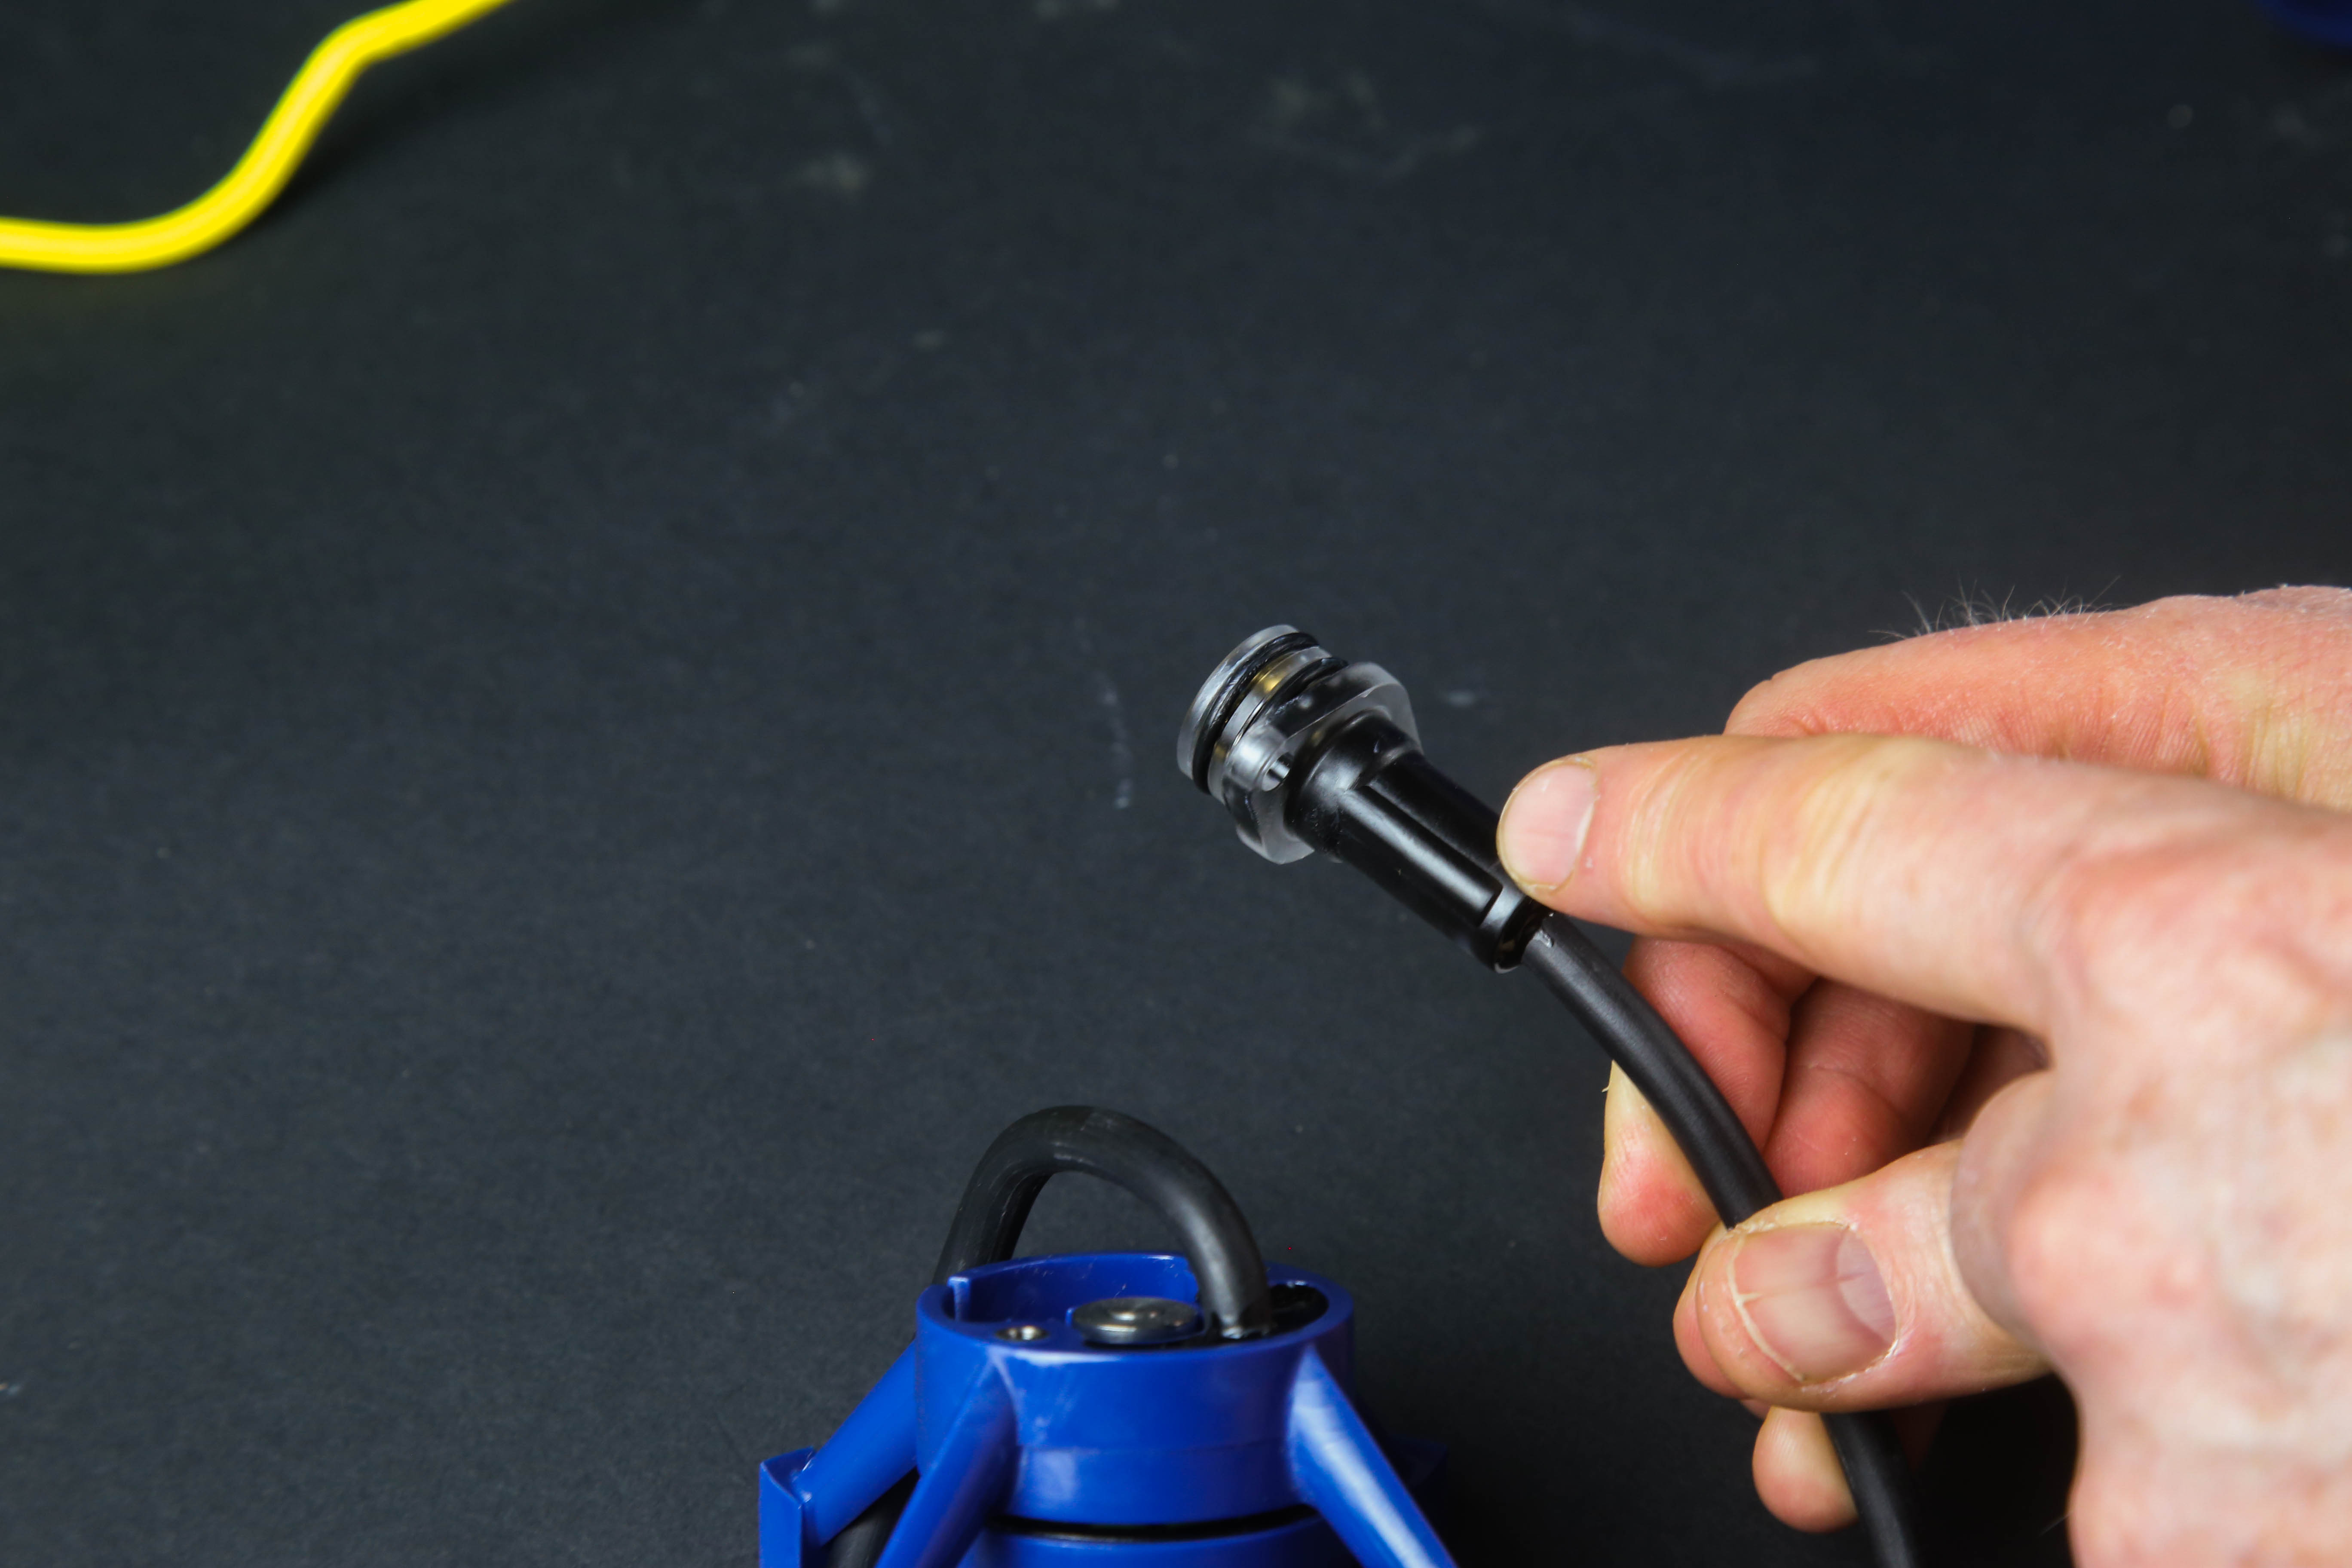
12. Note the small feature on the connector body. This feature should be pointing down when reinstalling the connector. Align the pins and receptacles before pushing the connector in place.
13. Push the connector all the way into the aluminium body.
14. Reinstall the two M4x8mm hex head screws to secure the thruster connector. Tighten lightly by hand. The seal is not dependent on the torque of the screws.
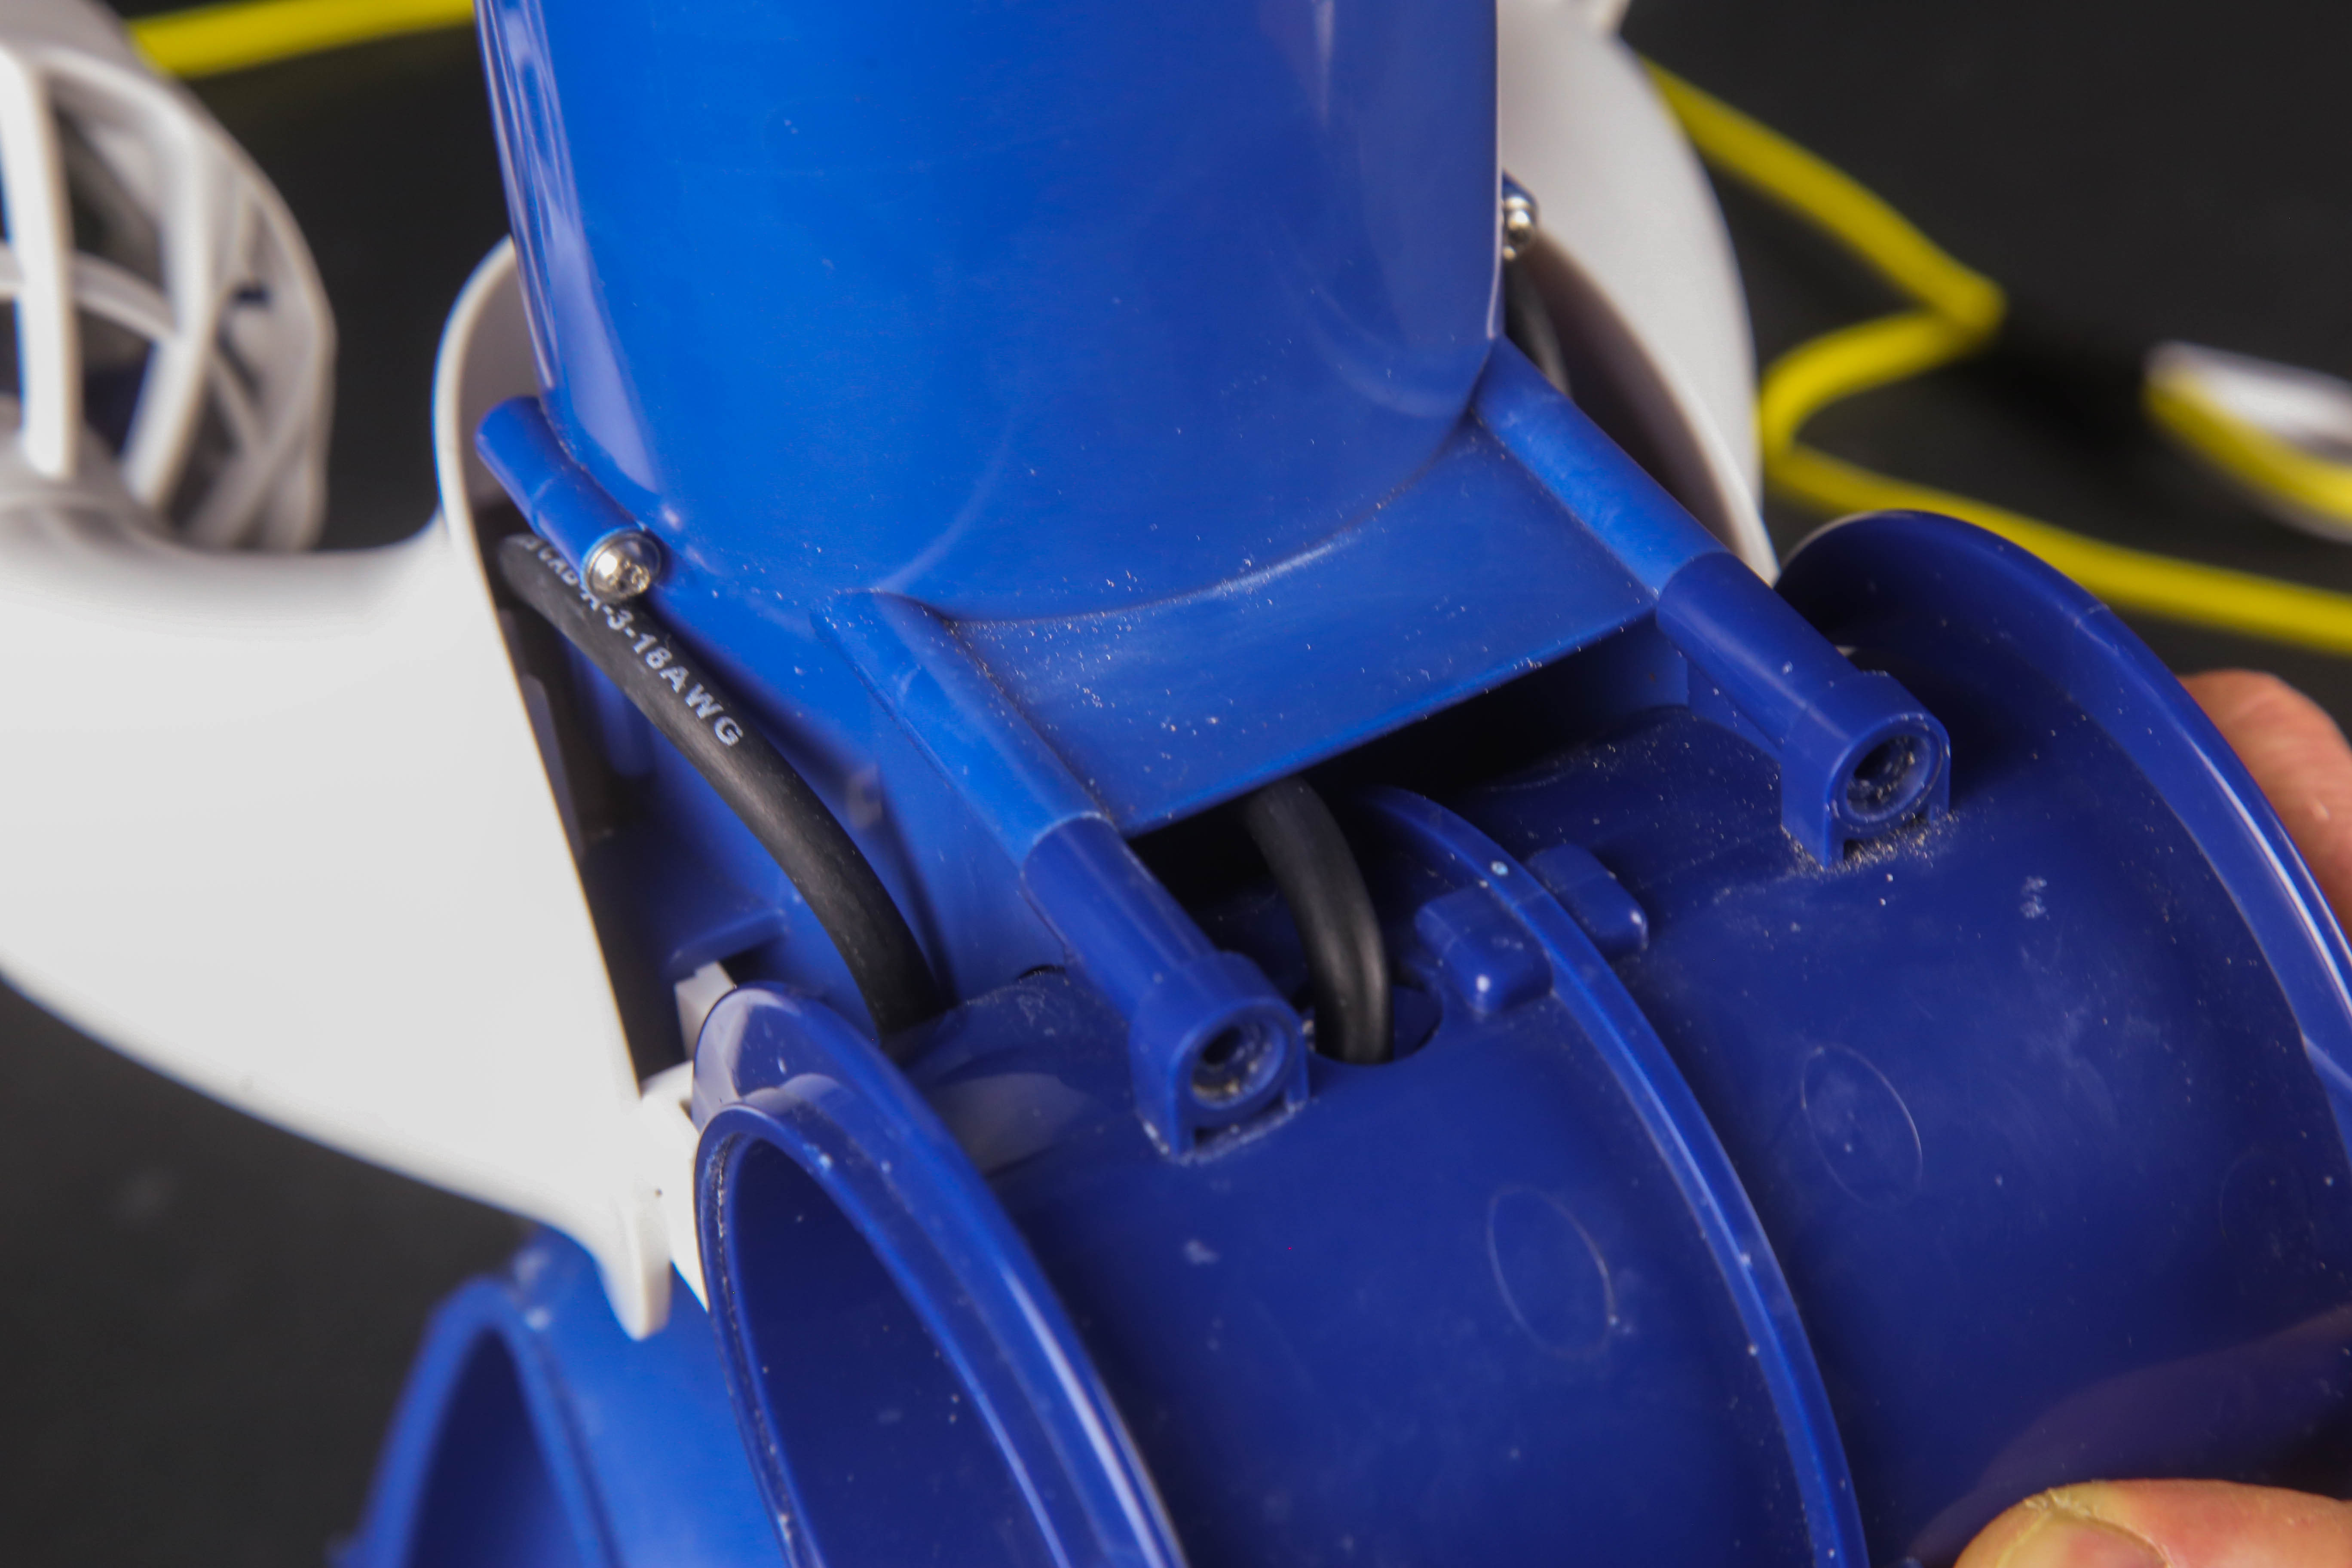
15. Install the thruster stands into the sockets on one thruster half tubes. Guide the thruster cable into the notch and to the outside of the tube
16. Install the second thruster half tube with the correct notch in the right position to allow the cable feed through the wall of the tube.
17. The thruster cable should be guided according to the picture below
18. Reinstall the complete lateral thruster tube to the plastic thruster body
19. Reinstall the four 3.5x35mm screws with a Torx T10 key.
The replacement of lateral thruster is finished.
Comments
0 comments